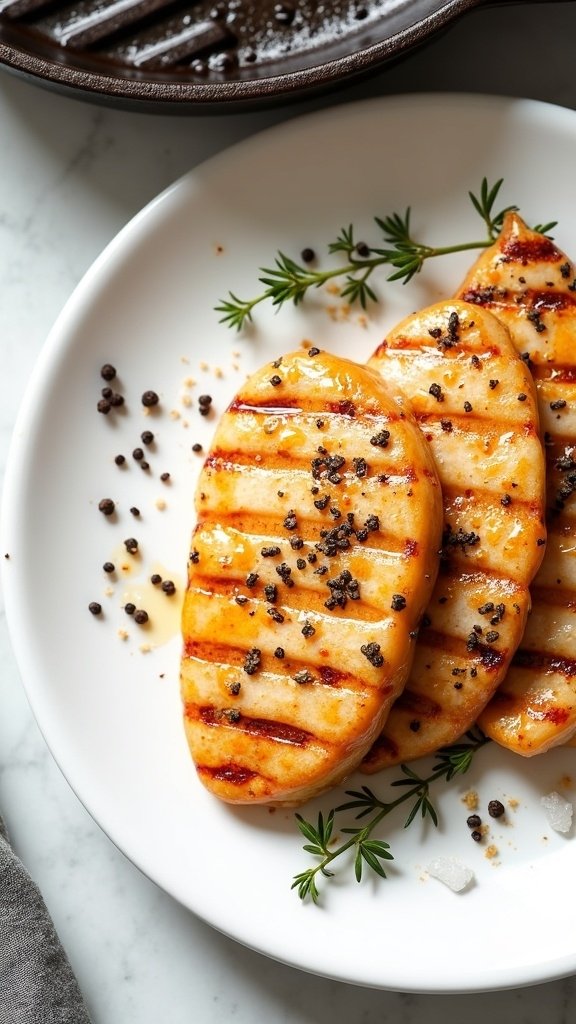
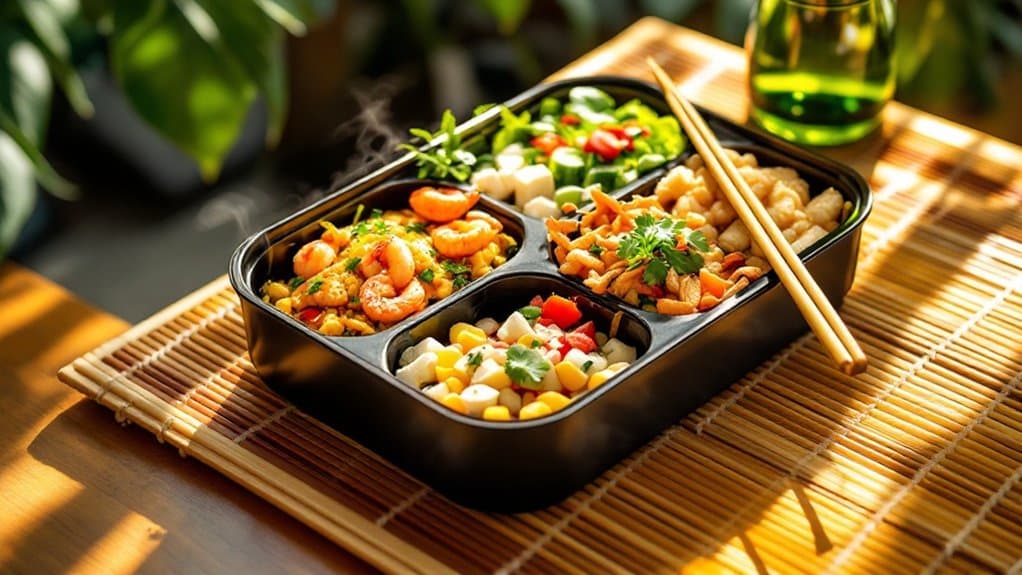
Chicken paillard is a French technique that transforms ordinary chicken breasts into tender, golden medallions in under ten minutes—I’m talking 5 minutes prep and 6-8 minutes cooking time. You’ll pound the chicken to an even thickness, season it with oil, thyme, salt, and pepper, then cook it in a grill pan for 3-4 minutes per side. It’s naturally gluten-free, high in lean protein, and pairs beautifully with everything from arugula salads to garlic mashed potatoes, proving sophisticated doesn’t mean complicated—stick around to master this weeknight game-changer.
Why You Will Love Chicken Paillard At Lunchtime (or Dinner)
While many recipes promise quick weeknight solutions but deliver mediocre results, chicken paillard stands as that rare dish that’s genuinely fast *and* impressively delicious. I’m talking about tender, perfectly seasoned chicken that cooks in under ten minutes—no marinating, no fussy techniques, just pure efficiency. You’ll pound the chicken thin (therapeutic after a long day, honestly), season it simply, and watch it transform into restaurant-quality protein. Whether you’re rushing through lunch prep or need dinner on the table fast, this technique delivers every time. It’s foolproof cooking that actually tastes like you tried. This lean protein works perfectly in protein-packed lunch bowls when paired with complex carbohydrates and healthy fats for sustained energy throughout your workday.
Recipe for Chicken Paillard
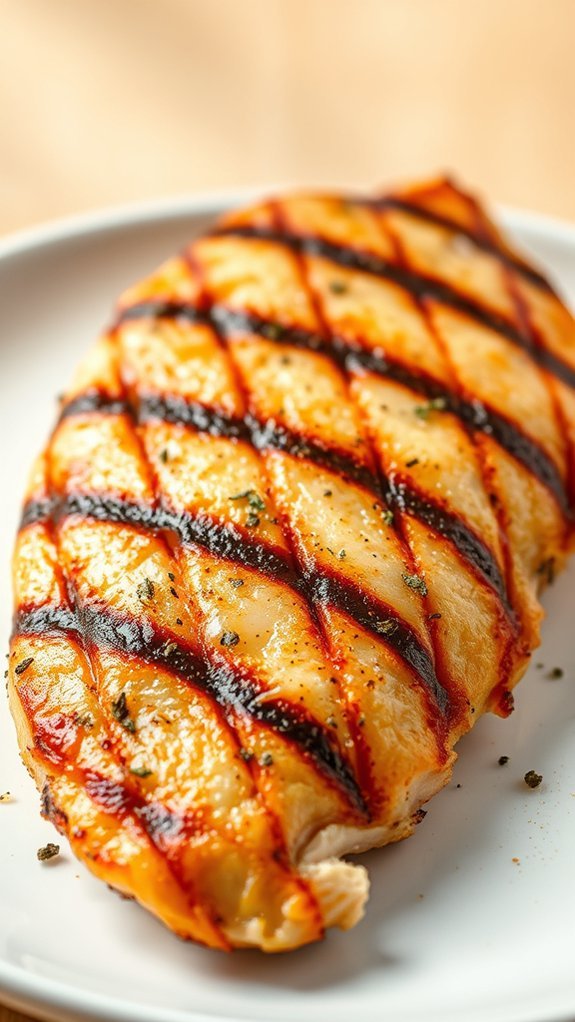
Chicken Paillard
Ingredients
Method
- Place chicken breasts between two pieces of wax paper. Using a meat mallet, pound the chicken until evenly flattened to about 1/2 inch thick, working from the center outward to avoid holes or uneven spots.
- Drizzle the flattened chicken generously with oil, coating both sides. Sprinkle evenly with thyme, salt, and pepper, gently pressing the seasonings into the meat.
- Coat the grill pan thoroughly with nonstick cooking spray. Heat the grill pan over medium-high heat until hot but not smoking.
- Carefully place the seasoned chicken in the hot grill pan. Cook for 3 to 4 minutes per side without moving it around to achieve grill marks and a golden crust.
- Once cooked, transfer the chicken to a clean cutting board and let it rest for 3-5 minutes before slicing to allow juices to redistribute.
Nutrition
Notes
Tried this recipe?
Let us know how it was!Looking for a quick weeknight dinner that feels fancy but won’t leave you crying into a pile of dirty dishes? Chicken paillard is your answer. This French technique transforms ordinary chicken breasts into tender, restaurant-quality medallions in just about 10 minutes total – 5 minutes prep, 6-8 minutes cooking. No kidding.
What makes this recipe so brilliant is the pounding step. Sure, you might feel a little aggressive whacking chicken with a mallet, but that’s half the therapy. The other half is watching perfectly golden, herb-scented chicken emerge from your grill pan. The flattened chicken cooks lightning-fast and stays incredibly juicy, while the simple oil and thyme coating creates a gorgeous crust that’ll make your kitchen smell like a bistro.
The process couldn’t be more straightforward – pound, drizzle, season, and sear. That’s it. No marinating overnight, no complicated sauces, no wondering if you’ve somehow ruined dinner again. Just beautiful, thin chicken cutlets that pair with literally anything you’ve got hanging around your fridge.
Ingredients
- Chicken breasts
- Oil
- Thyme
- Salt
- Pepper
- Nonstick cooking spray
Equipment/Tools
- Wax paper
- Meat mallet
- Grill pan
Instructions
Start by placing your chicken breasts between two pieces of wax paper – this prevents chicken bits from flying everywhere and making your kitchen look like a crime scene.
Using a meat mallet, beat the chicken until it’s evenly flattened to about 1/2 inch thick, working from the center outward to avoid creating holes or uneven spots. Once your chicken is properly pounded, drizzle it generously with oil, making sure to coat both sides so the herbs will stick and the chicken won’t dry out during cooking.
Sprinkle the flattened chicken evenly with thyme, salt, and pepper, gently pressing the seasonings into the meat so they adhere well.
Coat your grill pan thoroughly with nonstick cooking spray to prevent sticking – trust me, there’s nothing worse than beautiful chicken glued to your pan.
Heat the grill pan over medium-high heat until it’s properly hot but not smoking, then carefully place the seasoned chicken in the pan and cook for 3 to 4 minutes per side, resisting the urge to move it around so you get those lovely grill marks and a golden crust.
Nutrition Information
- High in lean protein
- Low in carbohydrates
- Contains healthy fats from oil
- Good source of B vitamins
- Naturally gluten-free
Tips
The key to perfect paillard is getting that chicken evenly thin – thicker spots will be undercooked while thin areas turn into chicken jerky. Don’t skip the wax paper unless you enjoy scraping chicken off your countertops. You can easily swap the thyme for rosemary, oregano, or whatever herbs are lurking in your spice cabinet. If you don’t have a grill pan, a regular skillet works just fine, though you’ll miss those pretty grill marks. The chicken is done when it’s no longer pink in the center and feels firm to the touch – since it’s so thin, it cooks incredibly fast, so keep an eye on it.
Cooking Steps
I’ll walk you through the essential steps that transform your chicken breast into a perfectly cooked paillard. First, we need to pound that chicken into submission—well, into a uniform half-inch thickness—then give it a quick oil massage and seasoning spa treatment. From there, it’s all about the hot grill pan dance: a few minutes per side over medium-high heat, and you’ll have a beautifully golden piece of chicken that’s ready to rest before slicing.
Step 1. Pound Chicken to Thickness
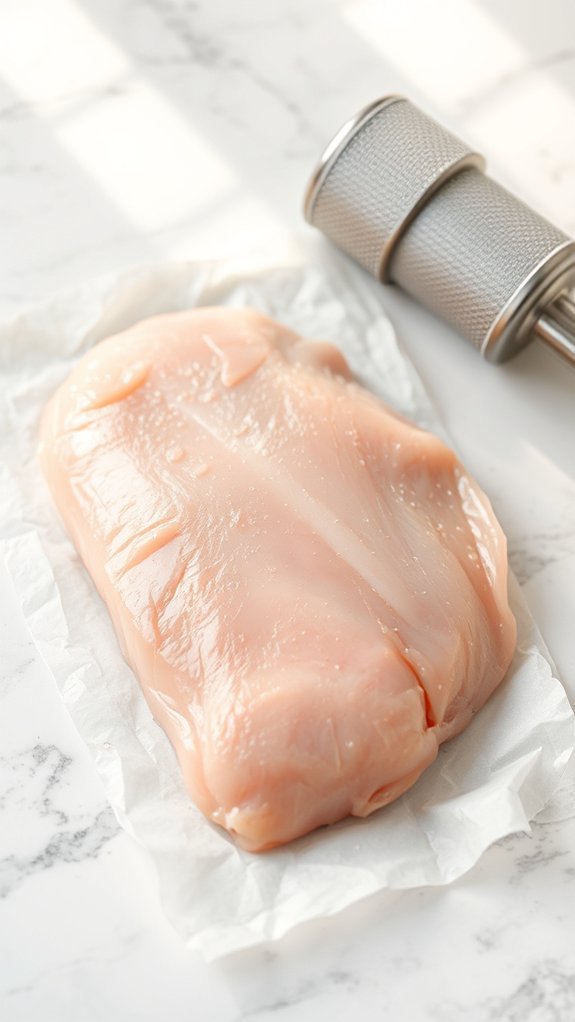
Grab your meat mallet and prepare to release some controlled culinary aggression—this is where we transform thick chicken breasts into elegant, evenly-cooked paillards. I’ll place each breast between two sheets of wax paper, creating a protective barrier that prevents messy splattering. Using firm, even strokes, I’ll pound from the center outward until the meat reaches a uniform half-inch thickness. Don’t get too enthusiastic—we’re tenderizing, not pulverizing. This technique ensures the chicken cooks evenly and quickly, preventing those dreaded dry edges while the center remains moist and tender. Think therapeutic stress relief with delicious results.
Step 2. Oil and Season Chicken

Now that our chicken’s perfectly flattened, it’s time to give it some flavor love with a simple but effective oil and seasoning treatment. I drizzle the chicken with oil—just enough to coat both sides without creating a slippery mess. Then comes the magic trio: thyme, salt, and pepper. Don’t be shy here; that flattened surface needs proper seasoning coverage. The thyme adds an earthy, aromatic note that pairs beautifully with chicken, while salt and pepper do their classic flavor-enhancing dance. Gently pat the seasonings into the meat—we want them to stick around during cooking.
Step 3. Prep Grill Pan Surface
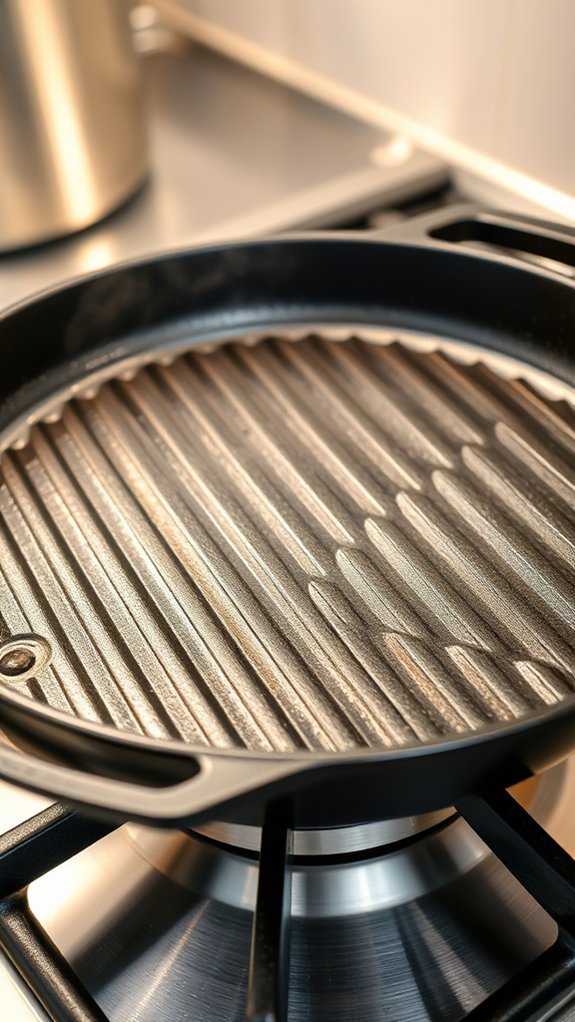
Before we introduce our seasoned chicken to the heat, let’s get that grill pan ready for action. I’m grabbing my nonstick cooking spray and giving that pan a generous coating. Think of it as creating a slippery runway for our chicken—we want it to sear beautifully without becoming permanently attached to the pan. Nobody wants to wrestle their dinner off the cooking surface! A good spray guarantees even coverage across those ridged grill lines. This simple step prevents sticking and makes cleanup infinitely easier. Trust me, your future self will thank you when it’s time to wash dishes.
Step 4. Cook Chicken Medium-High Heat
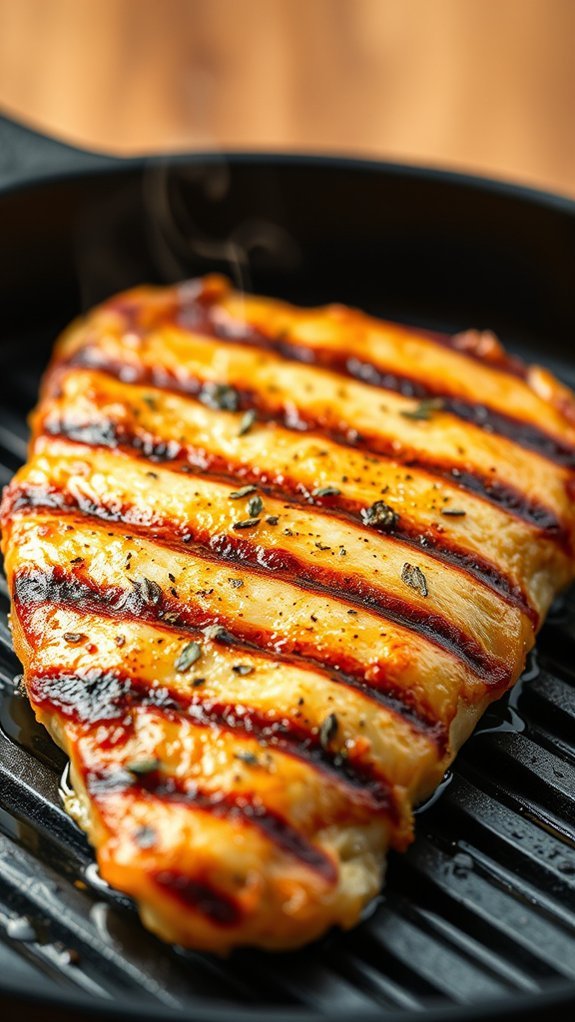
With our grill pan properly prepped and heated to medium-high, it’s time to introduce our flattened chicken to its sizzling stage debut. I carefully place each paillard onto the hot surface, listening for that satisfying sizzle—music to any cook’s ears. The key here is patience; resist the urge to peek or flip prematurely. Let each side cook for 3 to 4 minutes, allowing those beautiful grill marks to develop. You’ll know it’s ready when the edges turn golden and the chicken releases easily from the pan. Trust the process, and you’ll achieve perfectly cooked, juicy results.
Step 4. Rest Before Slicing

Once those perfectly grilled paillards come off the heat, I immediately transfer them to a clean cutting board and resist every instinct to slice right in. Trust me, I know the temptation—those beautifully marked, golden pieces are practically begging to be devoured. But here’s the thing: resting isn’t just chef pretension. During those essential 3-5 minutes, the juices redistribute throughout the meat instead of spilling onto your cutting board like a crime scene. Cover loosely with foil if you’re worried about cooling. Your patience will be rewarded with juicier, more tender chicken that actually stays moist.
Helpful Tips
Although chicken paillard sounds fancy enough to impress your dinner guests, it’s really just a dressed-up way of saying “flattened chicken breast” – and honestly, there’s something deeply satisfying about whacking meat with a mallet after a long day. I’ve learned that uniform thickness is key, so don’t rush the pounding process. Use plastic wrap instead of wax paper if you have it – less likely to tear. Keep your oil light and your seasoning bold. The beauty of paillard lies in its quick cooking time, making it perfect for weeknight dinners when you’re craving something elegant.
Chicken Paillard Pairings
Because chicken paillard cooks so quickly and has such a mild flavor, it’s practically begging for bold companions that won’t compete but will complement its tender simplicity. I love pairing it with bright, acidic elements like lemon vinaigrette or balsamic reduction—they cut through the richness beautifully. Fresh herbs like basil or arugula add peppery notes, while roasted vegetables bring earthy depth. For something more substantial, I’ll serve it alongside garlic mashed potatoes or wild rice pilaf. For a Mediterranean-inspired twist, consider serving chicken paillard over a bed of quinoa with fresh vegetables and a drizzle of olive oil for a balanced, nutrient-dense meal. The beauty lies in chicken paillard’s versatility; it’s your blank canvas for whatever flavors you’re craving tonight.
Summing it up
Chicken paillard proves that simple doesn’t mean boring—it’s the ultimate weeknight dinner that feels fancy without the fuss. I’ve shown you how five ingredients and ten minutes create restaurant-quality results. The technique couldn’t be easier: pound, season, cook. Yet this flattened beauty delivers tender, juicy chicken with crispy edges every time. Whether you’re pairing it with fresh salads, roasted vegetables, or creamy sauces, paillard adapts to your mood and pantry. It’s proof that sometimes the best dishes are the ones that don’t try too hard—they just deliver delicious simplicity.

