Published June 3, 2026 · Updated June 26, 2026
A mandoline turns ordinary sandwich vegetables into paper-thin, restaurant-quality layers in seconds. The catch is that the same razor edge that makes those flawless cucumber rounds will happily take a slice of your fingertip if you rush. Here are the techniques that get you a perfect crunch without the trip to the emergency room.
Quick Reference
Before we get to the boxes and tables, here is why this one tool earns its counter space when sandwiches are on the menu.
Why Mandoline Slicing Works
Uniform thickness: Every slice comes off the blade at exactly the same gauge, so vegetables sit flat, layer evenly, and never leave one corner of the sandwich thicker than the other.
Better texture in every bite: Paper-thin cucumber and radish practically fold into the sandwich while keeping their snap, so the crunch is distributed instead of concentrated in one chunky slice.
Speed for meal prep: A mandoline shaves a whole cucumber in the time it takes to knife-cut a few rounds, which makes batching three or four days of sandwich veg genuinely quick.
Visual appeal: Translucent fennel, ribboned carrot, and thin rings of red onion turn a plain sandwich into something that looks deliberate and fresh.
Mandoline Safety Comes First
Safety is non-negotiable with a mandoline. Always use the hand guard that came with the unit, even when you think your hands are steady, and keep your fingers well above the blade by maintaining firm, consistent pressure through the guard rather than your bare palm. A cut-resistant glove on your guiding hand is cheap insurance, and it lets you slice with far more confidence on firm vegetables like carrots and radishes.
Blade care matters just as much when you are not slicing. Store the mandoline with the blade facing down and the safety lock engaged, and use the blade cover if your model includes one. A sharp, well-kept blade is also a safer blade, because a dull edge tempts you to push harder and lose control. If you want the full picture of how edge quality affects both safety and results, our guide on how dull knives ruin your food is worth a read.
Choosing the Right Mandoline
When you are picking a mandoline, focus on three things: stability, blade options, and adjustability. A wide, non-slip base keeps the unit from wobbling while you work, which is exactly what you want when you are chasing those flawless rounds. Look for multiple blade settings so you can move between straight cuts and different thicknesses, since the sweet spot for sandwich vegetables usually lands between one and three millimetres.
You do not need the most expensive model. A mid-range mandoline with solid construction, comfortable grips, and easy adjustment knobs will serve you well for years with proper care. The details that feel minor in the store, like a grip that does not slip and a knob you can turn with wet hands, are the ones that matter most when you are prepping vegetables for a stack of sandwiches.
If you want to see safe technique in action before your first slice, this short demonstration walks through proper hand position and guard use:
Chef’s Knife vs. Mandoline for Sandwich Vegetables
| Factor | Chef’s Knife | Mandoline | Best Tool |
|---|---|---|---|
| Slice uniformity | Varies with skill | Identical every time | Mandoline |
| Paper-thin slices | Hard to achieve | Effortless at 1/16 inch | Mandoline |
| Speed for a batch | Slower | Much faster | Mandoline |
| Soft produce (ripe tomato, avocado) | Better control | Tends to crush | Knife |
| Safety for beginners | Familiar | Needs hand guard | Knife |
Perfect Thickness Settings
Every vegetable has its own ideal thickness for sandwich texture. Cucumbers and radishes shine at about 1/16 inch, thin enough to melt into the sandwich while still delivering a satisfying snap, and thin enough that they will not slide out when you bite. Firmer vegetables like carrots and beets want a slightly heartier 1/8-inch, which holds up to bigger fillings and cooks evenly if you plan to quick-pickle them.
Tomatoes are the trickiest customers. Slice them too thin, and they will turn your bread into a soggy mess, so a more generous 1/4 inch is the safe call. Because ripe tomatoes can crush under a mandoline blade, many cooks reach for a sharp serrated knife here instead and save the mandoline for the firm produce it handles best.
Best Vegetables to Slice
Firm vegetables are the mandoline’s natural partners. Cucumbers, radishes, and carrots keep their shape and produce those thin, uniform slices that make a sandwich feel considered. Fennel is a standout for maximum crunch and visual appeal, its delicate translucent crescents adding texture and a subtle anise note, while red onion sliced paper-thin loses its harsh bite but keeps that gorgeous purple color. Rainbow bell peppers, sliced precisely, genuinely turn an ordinary sandwich into something that looks like edible art, and the same thin-cut vegetables are equally at home in fresh, crunchy spring green salads.
Softer produce is best left to a knife. Ripe tomatoes and avocado tend to squash rather than slice cleanly on a mandoline, and the general rule is simple: if a vegetable feels mushy under gentle pressure, it is not mandoline-friendly. Save the blade for the crisp, structural pieces and let a knife handle the delicate ones. If you want inspiration for where all those crisp slices can go, our roundup of air fryer sandwich recipes is a good place to start.
Chef Tips for Perfect Mandoline-Cut Vegetables
Anchor with the guard, not your hand: Lock the vegetable into the hand guard from the very first pass so your fingers never have to ride low over the blade as the piece gets smaller.
Go thinner than you think for cucumbers: At 1/16 inch they practically disappear into the sandwich while keeping their crunch, which is exactly the effect you want.
Hold acid-sensitive cuts in lemon water: Drop apple, pear, or potato slices into a bowl of cold water with a squeeze of lemon right after cutting to keep them from browning.
Alternate thicknesses for texture: Mixing whisper-thin slices with slightly thicker ones builds depth, so the sandwich reads as crisp and juicy rather than flat.
Keep a dedicated cleaning brush: A soft-bristled brush used only on the mandoline scrubs in the direction of the blade without dulling it, and never use steel wool.
Dry it before you store it: Pat the blade dry with a towel rather than letting it air-dry, which prevents the rust spots that ruin a cheap mandoline fast.
Layering and Texture for Better Sandwiches
Great sandwich layering comes down to moisture control, texture balance, and structure. Build from the bottom up by placing sturdier slices like cucumber and radish closest to the bread, where they form a moisture barrier that protects the base. Arrange the more delicate pieces, such as tomato and lettuce, in the middle, where their thin, colourful stripes show off, then finish near the top with dense slices like shaved carrot or bell pepper that help hold everything in place.
Texture is where mandoline cuts really earn their keep. Paper-thin cucumber ribbons against thicker tomato create instant contrast, shaved carrot pairs beautifully with creamy avocado, and whisper-thin radish plays well against thick-cut mozzarella. The trick is to alternate gauges deliberately so each bite has both snap and softness. These same layering ideas translate straight into a fresh lettuce wrap when you want to skip the bread entirely.
Storage and Prep Suggestions
Refrigerator Storage: Keep cut vegetables in airtight containers lined with a paper towel to absorb excess moisture. Cucumber holds 3 to 4 days, onion in an airtight container with a little water keeps about a week, and lettuce stays crisp around 5 days after a spin in the salad spinner and a sealed bag.
Moisture Control: Excess water is the usual culprit behind soggy sandwiches, so always pat slices dry and store cucumber and tomato separately from the rest of your veg to keep everything fresher.
Prevent Browning: Toss acid-sensitive produce like apple and pear in water with a little lemon juice right after slicing, and store potatoes in cold water with a splash of vinegar. This works because the acid slows the natural enzymic browning reaction.
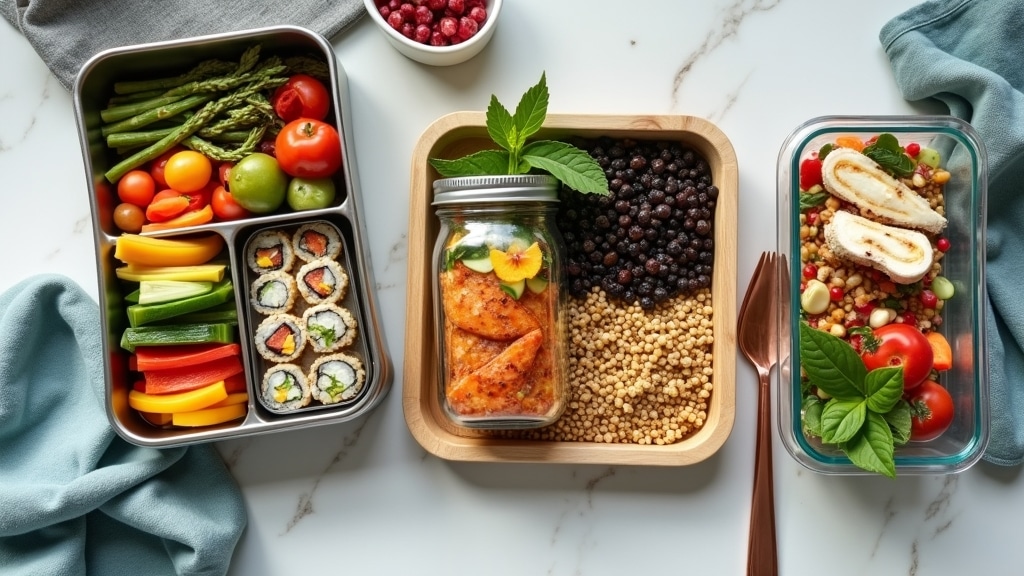
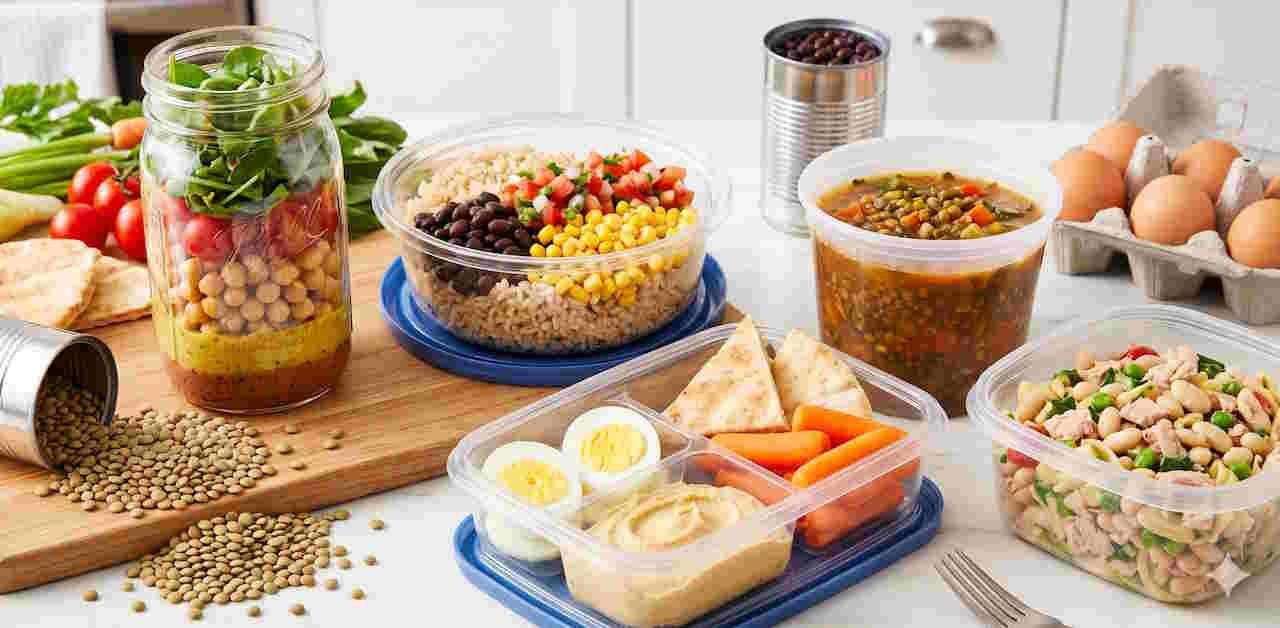
Meal Prep Strategy: Slice enough for 3 to 4 days at once, divide into meal-size portions, and label each container with the date. Prepping in bulk is what makes a mandoline a genuine time-saver for busy weeks of cheap lunch recipes.
Complete the Meal: Thin, crisp vegetables are perfect for assembly-line lunches, so pair them with quick builds like these no-cook wraps for the week ahead.
Frequently Asked Questions
What thickness should I use for mandoline-sliced vegetables for sandwiches?
It depends on the vegetable. Cucumbers and radishes are best around 1/16 inch, so they stay crisp without sliding out, firmer carrots and beets do well at about 1/8 inch, and tomatoes need a sturdier 1/4 inch to avoid making the bread soggy.
Which vegetables work best on a mandoline for sandwiches?
Firm vegetables slice cleanest, including cucumbers, radishes, carrots, fennel, red onion, and bell peppers. Soft produce like ripe tomatoes and avocado tends to crush, so a sharp knife is the better choice for those.
How do I store mandoline-sliced vegetables so they stay crisp?
Keep them in airtight containers lined with a paper towel to absorb moisture, and store the cucumber and tomato separately from other veggies. Most sliced vegetables stay fresh for 3 to 4 days this way, and acid-sensitive produce can be tossed in lemon water to prevent browning.
How do I use a mandoline safely?
Always use the hand guard, keep your fingers well above the blade, and consider a cut-resistant glove on your guiding hand. Maintain steady, even pressure rather than rushing, and store the mandoline with the blade down and the safety lock engaged.
Once your vegetables are sliced and stored, here are a few lunches that put them to good use.
You Might Also Like
Five crisp, lower-calorie sandwiches that love a layer of thin-sliced veg.
Four easy meal-prep lunches built for busy work weeks, no stove required.
Three no-heat office lunches that turn thin-sliced veg into low-carb wins.
Keto, low-carb, and make-ahead ideas for prep-and-go lunches all week.
Final Thoughts
Mastering mandoline-cut vegetables comes down to a few habits: slice safely, match the thickness to the vegetable, store with moisture control, and layer with intention. Your first attempts might not be magazine-worthy, but stick with it and you will wonder how you ever built a sandwich without them. Now grab the hand guard and start slicing.
Medical Disclaimer: The nutritional information provided in this article is for informational purposes only. While we strive for accuracy, individual responses to foods vary. Always consult with your healthcare provider or registered dietitian about dietary changes.