You’re not alone if you’re stumped on what to make for your nieces and nephews’ lunch. Balancing nutrition with taste can be tricky. Luckily, we’ve got you covered. We’ll explore kids’ nutritional needs, whip up fun sandwiches, explore healthy snacks, and even tackle allergen-free meals. Ready to become their favourite aunt or uncle? Let’s turn lunchtime into a delicious adventure!
Key Takeaways
- A balanced diet is crucial for healthy growth and development
- Teach kids about nutrition and set them up for healthy eating habits
- Make lunchtime exciting and adventurous for your nieces and nephews
- Involve your nieces and nephews in the preparation process
In this Article
Understanding Kids’ Nutritional Needs
When planning lunch for your nieces and nephews, it’s important to understand their nutritional needs, as this is a key component in promoting healthy growth and development. The importance of a balanced diet can’t be overstated. The foundation supports their physical and cognitive development, boosting their immunity and overall well-being.
There’s a slew of kids’ nutritional myths out there that can mislead you. For instance, many believe that kids should avoid fats entirely. However, not all fats are bad. Healthy fats in foods like avocados, nuts, and fish are crucial for brain development.
Another myth is that children need to eat meat for protein. While meat is a good source of protein, it’s not the only one. Foods like beans, lentils, and quinoa can also provide it.
You’re not just feeding them; you’re teaching them about nutrition, setting them up for a lifetime of healthy eating habits. So, bust those myths, make informed decisions, and ensure their meals are balanced, varied, and nutritious. You’re part of their tribe, their growth is your growth, and their health is your accomplishment.

Fun Sandwich Ideas
Let’s dive into creativity, crafting fun and nutritious sandwich ideas to keep your nieces and nephews excited about their lunch. Drawing inspiration from sandwich origins, the simplicity of bread and filling has evolved into a canvas of culinary creativity. For example, try a ‘Rainbow Veggie Sandwich‘. Packed with colourful vegetables, it’s eye-catching and a powerhouse of nutrients.
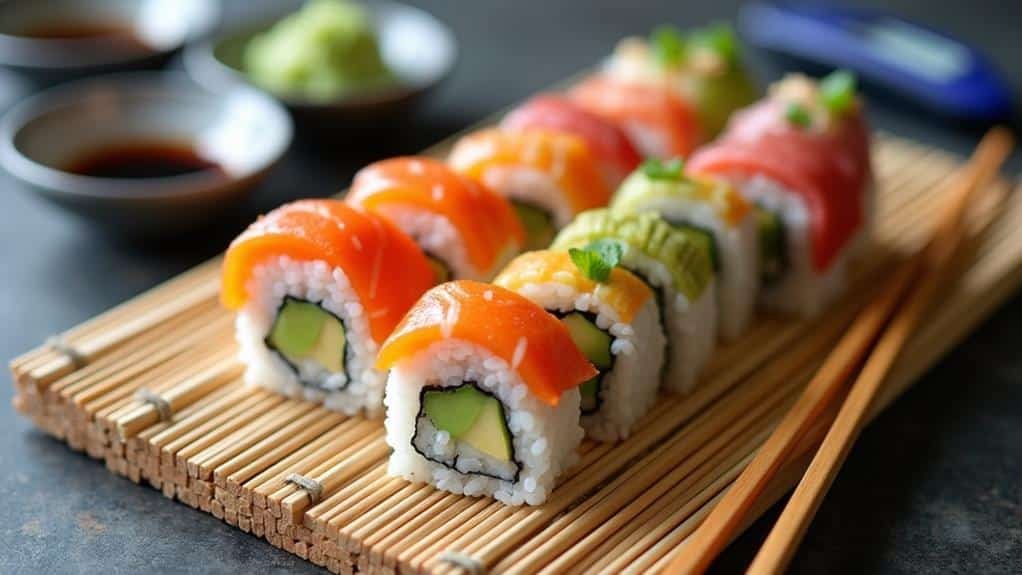
Next, imagine making a ‘Peanut Butter and Jelly Sushi Rolls‘ sandwich. Spread peanut butter and jelly on whole grain bread, roll it up, and cut it into tiny sushi-like pieces. It’s an adventurous twist on a classic that kids adore.
However, the fun shouldn’t stop at the sandwich itself. Consider sustainable packaging to keep their lunch fresh and reduce environmental impact. Bento boxes, for instance, are a great eco-friendly option. They are reusable, easy to clean, and have compartments that can help portion control.
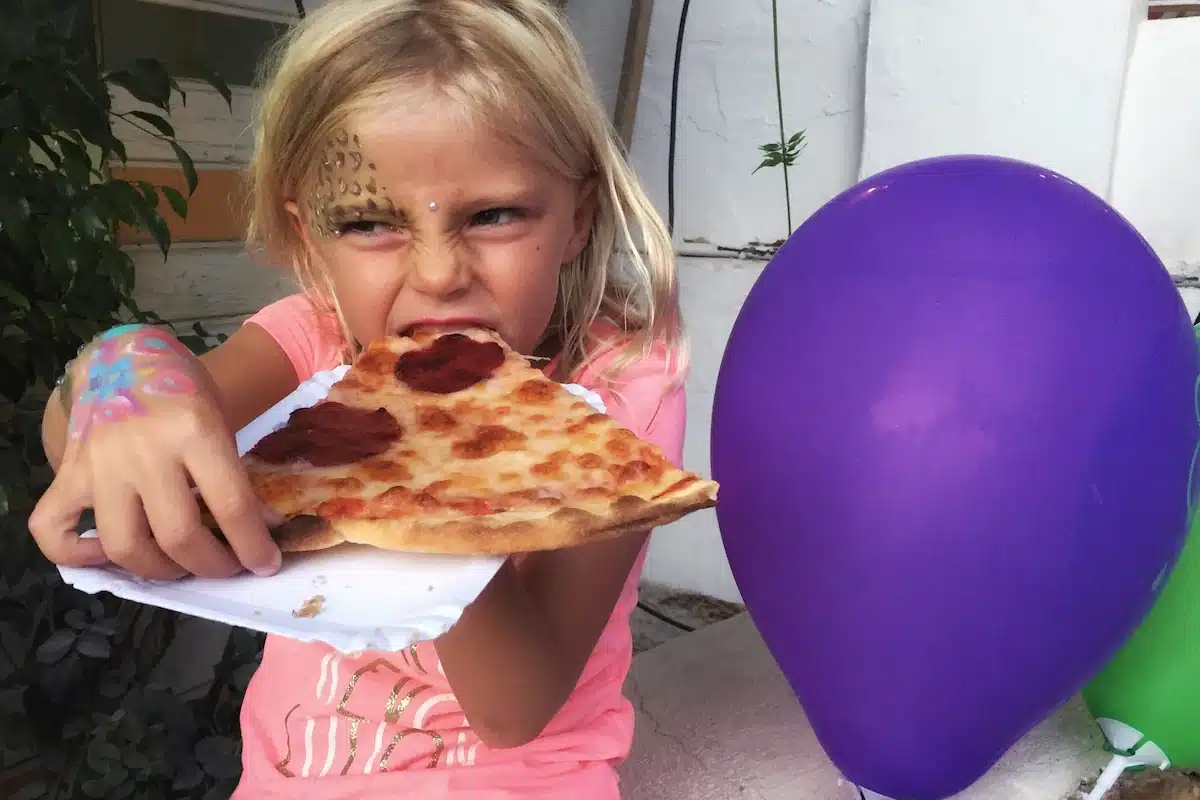
Making Pizza with Your Niece or Nephew
Let’s gather the kids and immerse ourselves in the delightful world of making pizza from scratch. First, we’ll start by measuring the flour, yeast, and water—watching their eyes widen as the dough begins to take shape in their hands. As we knead the dough together, the kitchen fills with laughter and a light dusting of flour. Next, we’ll set up a colourful assembly line of toppings, letting their creativity run wild. But the real magic happens when we slide our creations into the oven. Curious about how to keep their little hands engaged and the process smooth? Well, that’s where the fun begins.
Preparing Ingredients
Gather and prepare our ingredients before creating our delicious pizza to guarantee a smooth and fun cooking experience. Picture us in the kitchen, aprons on, with anticipation in the air. First, let’s lay out our pizza dough, pizza sauce, shredded mozzarella cheese, and a colourful array of toppings such as ham, salami, roast vegetables, and pineapple.
We’ll start by washing our hands thoroughly—good hygiene is essential when cooking together.
Next, arrange our ingredients on the counter, ensuring everything is within easy reach. We can place the shredded mozzarella in a bowl, the pizza sauce in a small dish, and our toppings on a large platter. This setup keeps us organized and makes participating easier for the kids.
Let’s get the little ones to help with some age-appropriate tasks. They can wash and dry vegetables or arrange toppings on the platter. This not only keeps them engaged but also teaches them valuable skills.
Once everything’s prepped and ready, our kitchen transforms into a bustling pizzeria filled with excitement and enthusiastic hands ready to create culinary magic.
Making the Dough
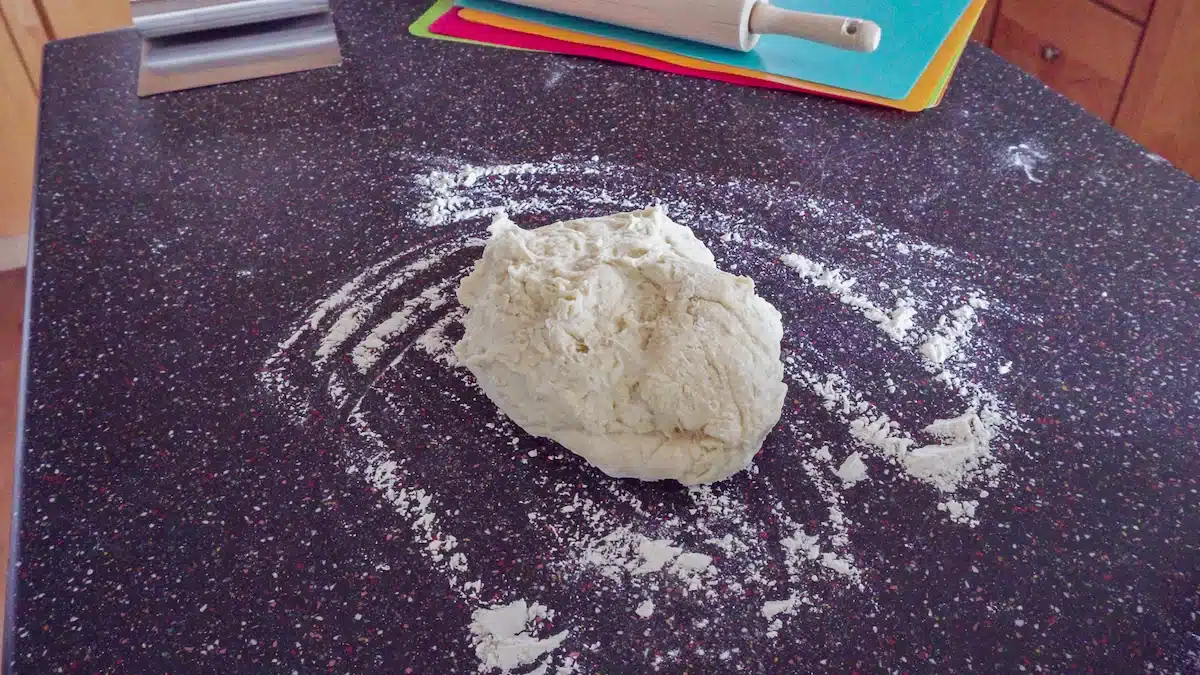
With our ingredients prepped and ready, let’s roll up our sleeves and start making the dough, the heart of our homemade pizza. First, we’ll gather the kids around the kitchen counter. Their eyes will light up as we explain that this flour, water, yeast, and salt mixture will transform into a delicious pizza crust.
We begin by mixing the flour and salt in a large bowl. Next, we create a well in the center and pour the yeast dissolved in warm water. The kids’ hands excitedly join in as we stir, feeling the texture change from dry to sticky. Once combined, we turn the dough onto a floured surface and knead. This is where the magic happens, making the dough smooth and elastic.
Kneading is a fantastic sensory activity for kids. We show them how to press, fold, and turn the dough, working it until it’s just right. To make it even more engaging, we can:
- Sing a song or count aloud to make the kneading time fun.
- Teach kids about the science behind yeast and dough rising.
- Incorporate storytelling about pizza’s origins as we work.
Now, let’s set our dough aside to rise and marvel at the teamwork that brings us closer to pizza perfection.
Choosing Toppings
Now that our dough rises, let’s explore the fun and colourful world of choosing our pizza toppings! This is where our little chefs can get creative. Gather everyone around the kitchen counter and set out various ingredients. Think juicy cherry tomatoes, crisp bell peppers, sweet pineapple chunks, and savoury slices of ham or salami.
Encourage the kids to use their senses—let them smell the fresh basil, feel the texture of the mushrooms, and admire the rainbow of colours. This makes the process enjoyable and teaches them to appreciate different foods.
We can also discuss the benefits of each ingredient. For example, bell peppers are rich in vitamins, while lean meats like ham provide protein. Don’t forget to include fun toppings like olives or a sprinkle of corn for a sweet crunch.
As we choose our toppings, remind the kids to think about the balance of flavours and textures. Do they want a bit of everything, or maybe a themed pizza like a Hawaiian pizza with ham and pineapple? By involving them in these choices, we’re not just making pizza—we’re making memories and fostering a love for cooking.
Assembling the Pizza
After our little chefs have chosen their colourful toppings, it’s time to bring our pizza creations to life by assembling them with care and creativity. First, we roll out the pizza dough on a floured surface, ensuring it’s nice and even. This is a perfect opportunity to let everyone get their hands messy and work together to shape the dough.
Next, we spread the pizza sauce evenly over the dough. Let’s encourage the kids to use the back of a spoon to swirl the sauce around, making sure every inch is covered. This step involves having fun and letting their unique artistic flair shine through.
Now, it’s time for the toppings! We can arrange them in patterns, create faces, or even spell out names with the ingredients. Here are some creative ideas to get us started:
- Animal faces: Use olives for eyes, pepper slices for mouths, and cheese for fur.
- Rainbow pizza: Layer different coloured veggies to create a vibrant rainbow.
- Personalized pizzas: Let each child create their mini pizza with their favourite toppings.
As we assemble our pizzas, let’s remember the joy of sharing this moment, fostering creativity and teamwork in the kitchen.
Baking and Enjoying
Our delicious creations are ready to meet the oven, transforming doughy masterpieces into golden, bubbly pizzas that promise joy in every bite.
We slide our carefully assembled pizzas onto the preheated baking trays, feeling the warmth radiate as we work together. The oven, set at a perfect 220°C, awaits enthusiastically. We remind the kids about oven safety, ensuring they step back as we carefully place each pizza inside.
As the kitchen fills with the tantalizing aroma of baking dough and melting cheese, we can hardly contain our excitement. The kids press their noses against the oven door, their eyes widening as they watch the cheese bubble and the crust turn a beautiful golden brown.
We set a timer for 10-12 minutes, the anticipation building with every tick.
Looking for More Ideas? Check out Delight Your Niece or Nephew with These Creative Lunch Ideas for Kids
Healthy Snacks and Sides
Add healthy snacks and sides to your niece or nephew’s lunchbox to accompany those creative sandwiches. These add-ons make the meal more fun and contribute to their overall health.
Focus on two major areas: Veggie Dips Exploration and Fruit Smoothie Variations.
Veggie Dips Exploration
- Try different veggies and dips, such as bell peppers with hummus or carrot sticks with yogurt ranch dip.
- Get creative with the presentation. Arrange the veggies in a fun pattern, or use kid-friendly containers for the dips.
- Involve your niece or nephew. Let them choose the veggies and dips and help with the prep. This will make them feel included and more interested in healthy eating.
Fruit Smoothie Variations
- Smoothies are a great way to pack a lot of nutrition into a kid-friendly format. Try different combinations of fruits, yogurt and even hidden veggies!
- Try different serving options. Pour the smoothies into a thermos for a drinkable snack, or freeze them into popsicles for a refreshing treat.
Allergen-Free Lunch Options
Sometimes, you’ll need to consider allergen-free options for your niece or nephew’s lunch so they can eat worry-free. Dietary restrictions due to allergies can be challenging, but don’t worry, there are plenty of options available.
Firstly, for those with gluten sensitivities, you can substitute regular bread with gluten-free varieties made from rice or almond flour. Similarly, soy butter can be a delicious alternative to peanut butter, a common allergen.
Dairy-free options are also abundant. Almond, oat, or soy milk can stand in for cow’s milk, and plenty of dairy-free cheeses are on the market.
If your niece or nephew is allergic to eggs, egg replacement powders made from potato and tapioca starch are great allergen alternatives.
It’s rare to have allergies to fruits and vegetables, but always be aware of the exceptions.
Having loved ones have a safe and enjoyable lunch can feel overwhelming, especially with dietary restrictions. But remember, you’re not alone. A whole community of people understand and have found creative and yummy solutions. With a bit of research and planning, you can easily navigate allergen-free lunches that are healthy and satisfying.
Creative Presentation Techniques
Make lunchtime fun with creative presentation techniques and turn your niece’s or nephew’s meal into an adventure. Here’s how you can add a dash of creativity to the meals and make them visually appealing and engaging.
Edible Artwork
- Fun Shapes: Use cookie cutters to shape sandwiches, fruits, or cheese into fun, recognizable shapes. This not only makes the meal visually appealing but also makes eating fun.
- Colour Splash: Add a variety of colourful fruits and vegetables. This adds a natural, edible rainbow to their plate, making the meal more inviting.
- Food Painting: Use natural food colourings to paint a fun scene on their sandwich bread or tortilla wrap.
Interactive Meals
- Build Your Own: Encourage them to help with the meal. Assembling your own taco or pizza kits is a great option.
- Dippables: Foods that can be dipped, like veggies with hummus or apple slices with peanut butter, add an interactive element.
- Food on Sticks: Skewers of fruits, cheeses, or cooked meats add a fun twist to the meal.
Keep it fun with your niece or nephew
Lovingly preparing lunch for your nieces and nephews is like planting seeds of health and happiness. Each sandwich, snack and allergen-free option is a healthy habit. Your creative presentation will delight their eyes and make them love healthy food. Remember, you’re not just filling their tummies but growing them and shaping their future. Let every mealtime be a special moment, a proof of your love.

