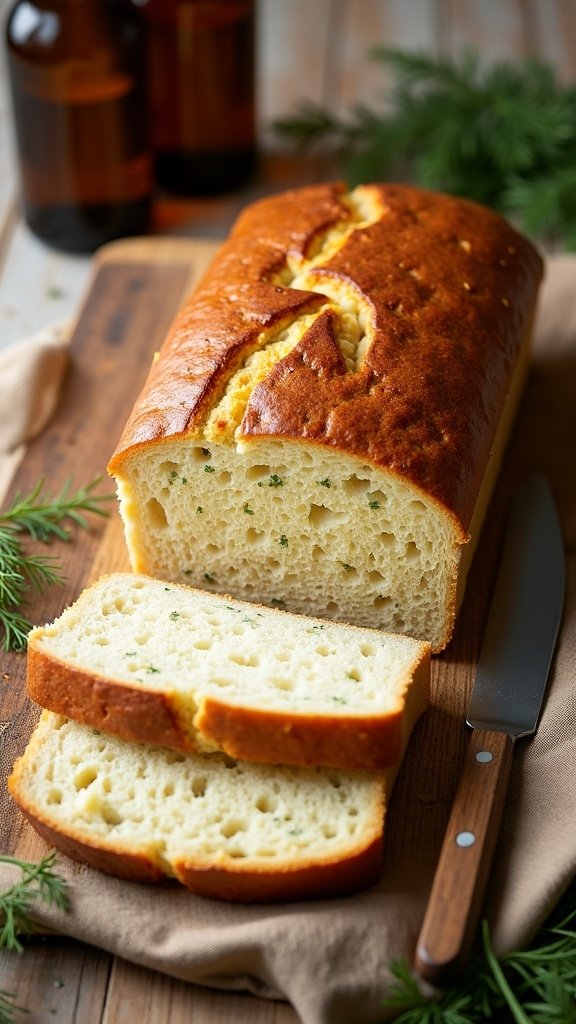
I’ve discovered that gifting homemade dill beer bread mix in a mason jar creates one of the most thoughtful presents you can give—it’s personal, practical, and transforms simple pantry staples into something genuinely special. Just layer 3 cups self-rising flour, three tablespoons sugar, and two tablespoons dried dill in a jar, then attach instructions for adding 12 oz beer and melted butter. This no-yeast recipe bakes into warm, herbaceous slices perfect for any occasion, and there’s so much more to discover about perfecting this delightful gift.
Why You Will Love This At Lunchtime (or Dinner)
Whether you’re rushing through a hectic workday lunch or settling in for a cozy dinner at home, this dill beer bread delivers exactly what your taste buds are craving. I love how it transforms simple ingredients into something that feels indulgent yet approachable. The dill adds an unexpected herbaceous note that elevates ordinary bread into conversation-worthy territory. Plus, there’s something deeply satisfying about pulling warm, buttery slices from a loaf you’ve made yourself. It pairs beautifully with soups, salads, or is simply eaten warm with butter while you catch up on your day. Since fresh herbs like dill elevate flavors without adding heaviness, this bread becomes the perfect complement to light spring meals.
Dill Beer Bread Recipe
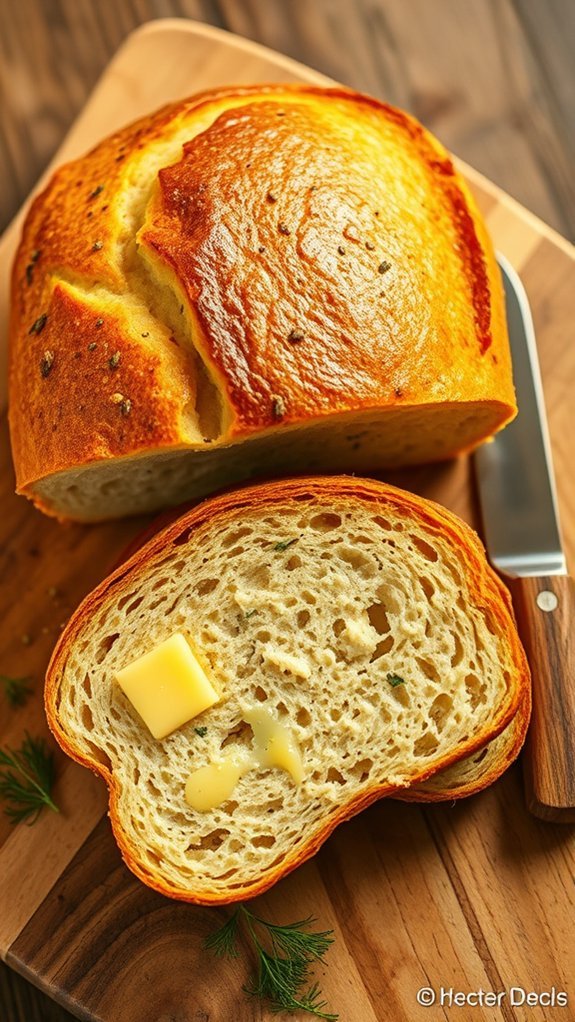
There’s something almost magical about bread that practically makes itself, and this dill beer bread delivers exactly that kind of kitchen wizardry. With just a handful of ingredients and about 60 minutes of mostly hands-off baking time, you’ll have a fragrant, herb-kissed loaf that tastes like you spent all day kneading and rising. The beauty lies in the simplicity – no yeast, no waiting, just mix and bake.
What makes this recipe particularly appealing is how the beer acts as both the liquid and leavening agent, creating a tender crumb with subtle malty notes that pair beautifully with the fresh dill. The generous amount of melted butter added in stages creates an incredibly moist interior while developing a golden, crispy crust that’ll have you reaching for slice after slice. While this bread makes for a satisfying treat, you might also consider pairing it with healthier homemade options, such as frozen yogurt that avoids artificial preservatives and processed ingredients, for a more balanced meal approach.
Dill Beer Bread (Gift in a Jar)
Ingredients
Equipment
- Wooden spoon
- Loaf pan
- Small saucepan or microwave-safe bowl
- Airtight container (for storing mix)
Method
- Combine self-rising flour, sugar, and dried dill in a large mixing bowl. Whisk together until evenly distributed. Transfer to an airtight container for storage if gifting.
- Preheat your oven to 375 degrees F.
- Melt the butter in a small saucepan or microwave and set aside to cool slightly.
- In a large mixing bowl, pour in the prepared dry mix and add the beer or seltzer. Stir with a wooden spoon until just combined; the batter will be lumpy and shaggy.
- Grease your loaf pan thoroughly to prevent sticking.
- Scrape the batter into the greased loaf pan, spreading it roughly level. Pour one-third of the melted butter over the top.
- Bake in the preheated oven for 40 minutes. After 40 minutes, pour another third of the butter over the partially baked bread and return to the oven for an additional 10 minutes. Repeat with the remaining butter and bake for another 10 minutes.
- Once golden brown and sounds hollow when tapped, remove from the oven and let cool in the pan for 30 to 40 minutes before turning out or slicing.
Nutrition
Notes
Tried this recipe?
Let us know how it was!Ingredients:
- 3 cups self-rising flour
- 3 tablespoons sugar
- 2 tablespoons dried dill
- 12 oz beer or seltzer
- 6 tablespoons butter, melted
Equipment/Tools:
- Large mixing bowl
- Wooden spoon
- Loaf pan
- Small saucepan or microwave-safe bowl
- Measuring cups and spoons
- Airtight container (for storing mix)
Instructions:
Start by creating your dry mix – combine the self-rising flour (3 cups), sugar (3 tablespoons), and dried dill (2 tablespoons) in a bowl, whisking them together until evenly distributed, then transfer this mixture to an airtight container where it can be stored until you’re ready to bake.
When you’re ready to make the bread, preheat your oven to 375°F and melt the butter (6 tablespoons) in a small saucepan or in the microwave, setting it aside to cool slightly.
In a large mixing bowl, pour in your prepared dry mix and add the beer or seltzer (12 oz). Stir with a wooden spoon just until the ingredients come together – the batter will look lumpy and shaggy. Resist the urge to overmix, as this will result in tough bread.
Grease your loaf pan thoroughly, then scrape the batter into it, spreading it evenly to roughly the same level. Pour one-third of the melted butter evenly over the top of the raw dough, then slide the pan into the preheated oven for 40 minutes.
After this initial baking time, carefully remove the pan and pour another third of the butter over the partially baked surface. Please return it to the oven for an additional 10 minutes, then repeat this process one final time by adding the remaining butter and baking for another 10 minutes.
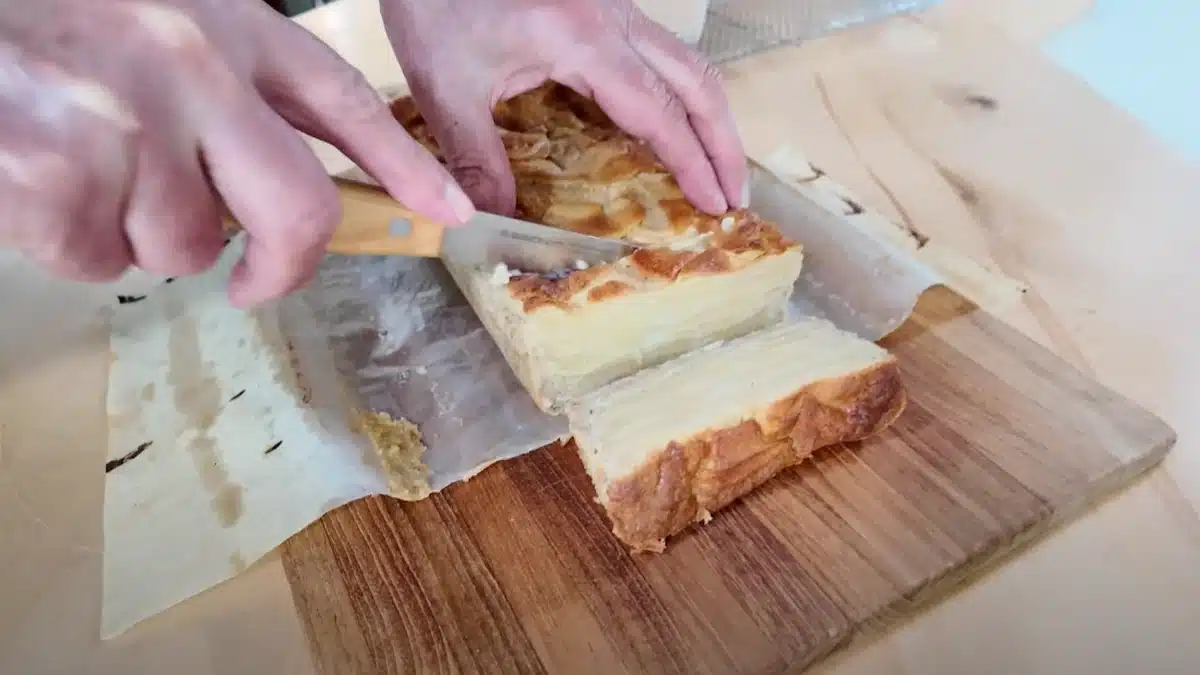
Once the bread is golden brown and sounds hollow when tapped, remove it from the oven and let it cool in the pan for 30 to 40 minutes before turning out or slicing.
Nutrition Information:
- Approximately 8 servings per loaf
- Rich in carbohydrates from flour
- Contains gluten from wheat flour
- Moderate calorie content from butter
- A small amount of alcohol may remain from the beer
Tips:
Don’t panic when your batter looks like a lumpy mess – that’s exactly what you want since overmixing develops the gluten too much and creates dense, chewy bread instead of the tender crumb we’re after. You can easily swap the beer for seltzer water if you prefer an alcohol-free version, though you’ll miss out on some of the complex flavor that beer brings to the party. The butter addition technique might seem fussy, but it’s what creates that incredible contrast between the crispy exterior and moist interior, so don’t skip those steps even if you’re tempted to dump it all on at once.
Cooking Steps
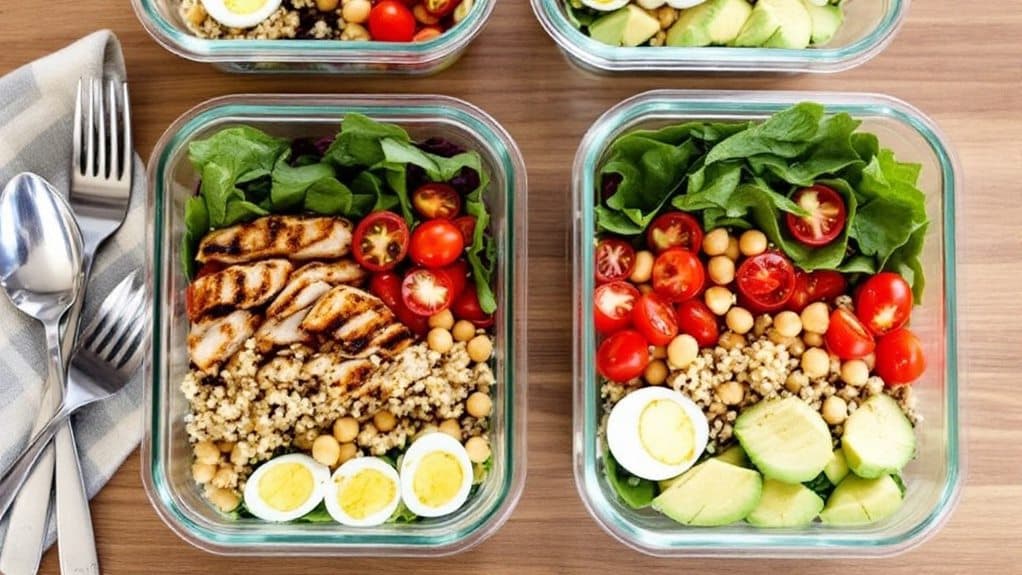
I’ll walk you through the cooking steps that’ll transform your dill beer bread mix into a golden, buttery masterpiece. First, we’re combining those dry ingredients and cranking the oven to 375°F—because nothing good happens in a cold oven, trust me. Then comes the fun part: mixing in that beer (the bread gets to drink while you bake, how’s that for fair?), greasing your loaf pan like your life depends on it, and getting that lumpy batter settled in for its hot tub session. Don’t forget to pack some insulated containers if you’re planning to share this warm bread as part of a cozy lunch later.
Step 1. Combine Dry Ingredients
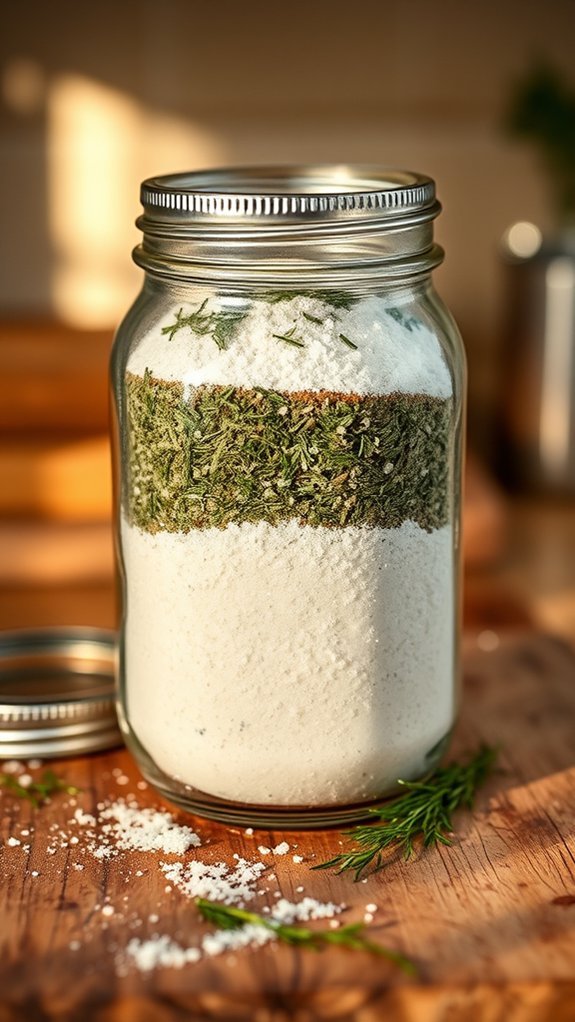
Grab your mixing bowl and let’s tackle the foundation of this aromatic bread—combining the dry ingredients is where the magic begins, and trust me, it’s invigoratingly straightforward. I’ll whisk together flour, baking powder, and dill, creating a fragrant blend that’ll make your kitchen smell like a herb garden. Don’t overthink this step—just make sure everything’s evenly distributed. The dill’s earthy notes will infuse throughout, promising that distinctive flavor we’re after. Once combined, transfer this mixture into your airtight container if you’re gifting it, or proceed directly to the wet ingredients if you’re baking immediately.
Step 2. Preheat Oven to 375°F
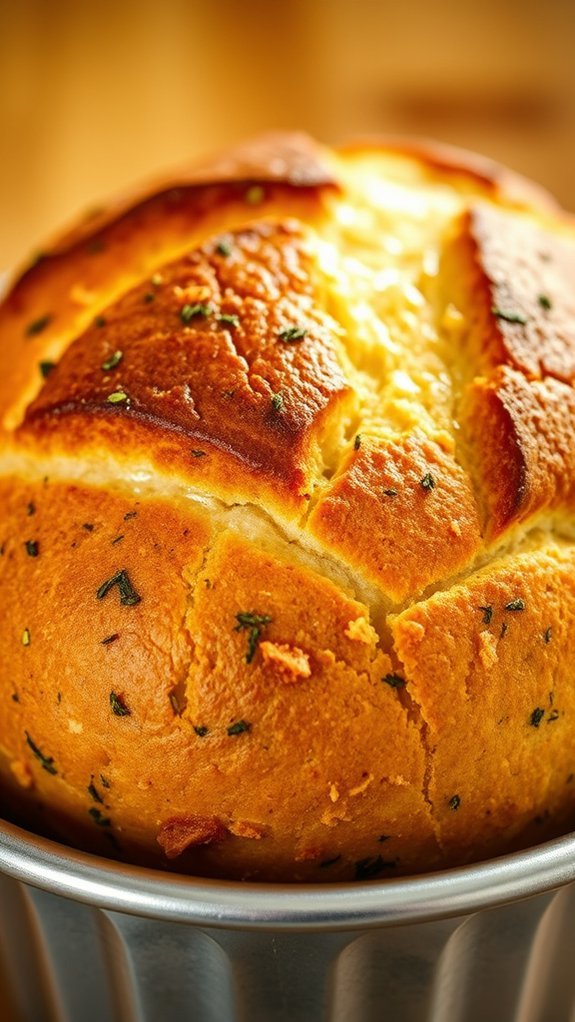
Once your dry ingredients are perfectly combined, it’s time to fire up the oven—preheating to 375°F is our next essential step. I know waiting for preheating feels like watching paint dry, but trust me, it’s important. Your dill beer bread deserves an evenly heated environment from the get-go. While that oven’s warming up (usually takes 10-15 minutes), you’ll have perfect timing to gather your beer and grease that loaf pan. Think of preheating as setting the stage for bread magic—without proper temperature, you’ll end up with dense, unevenly baked disappointment instead of golden, fluffy perfection.
Step 3. Mix Beer and Dry Ingredients

Pour that beer straight into your large mixing bowl with the dry ingredients, and here’s where things get beautifully messy. I’m grabbing my trusty wooden spoon because metal spoons can overmix this delicate beast. The batter’s going to look lumpy, bumpy, and downright rustic—that’s precisely what we want! Don’t overthink it or try to smooth every single lump out. Those irregular bits create the bread’s charming, homestyle texture. Just fold everything together gently until the flour disappears. Remember, we’re making bread, not conducting surgery. Embrace the chaos; your taste buds will thank you later.
Step 4. Grease the Loaf Pan Well
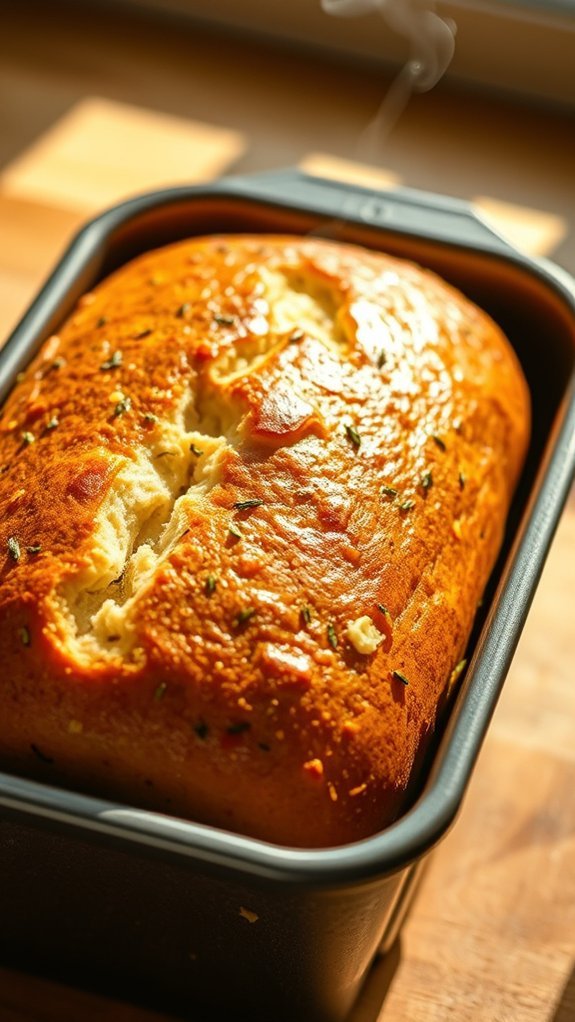
This bread’s got a rebellious streak—it loves to stick to pans like a barnacle to a ship’s hull. Don’t let it win this battle! I’m talking serious greasing here, not just a casual swipe of butter. Grab your favorite cooking spray, butter, or oil, and coat every nook and cranny of that loaf pan. Pay special attention to the corners where this bread loves to stage its escape attempts. Trust me, you’ll thank yourself later when your gorgeous loaf slides out effortlessly instead of requiring archaeological excavation tools to extract stubborn chunks.
Step 4. Add Batter to Pan
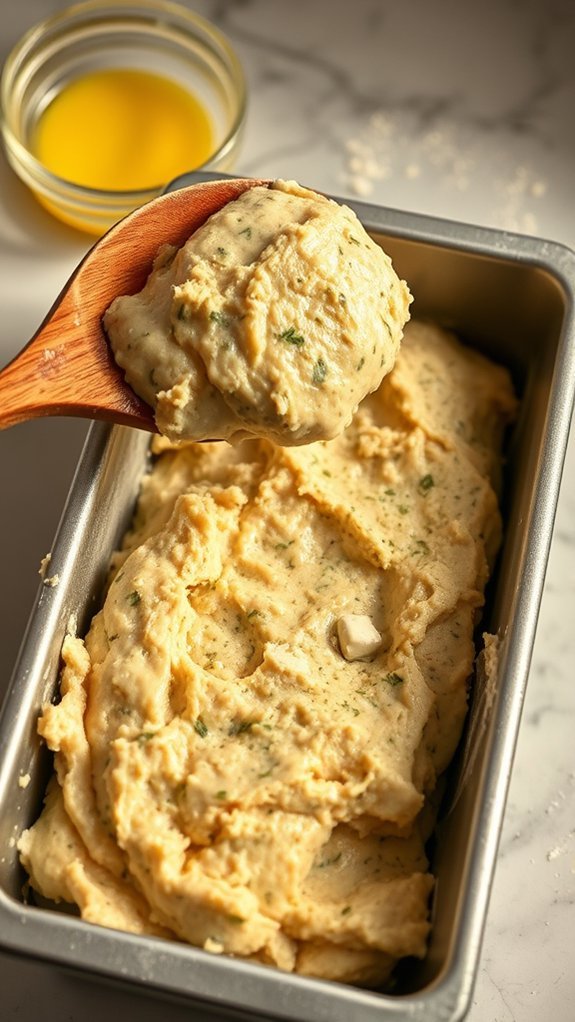
Scoop that lumpy, rebellious batter into your beautifully greased loaf pan with confidence—it’s supposed to look like a hot mess right now, so don’t panic if it resembles concrete mix more than bread dough. Use a large spoon or spatula to transfer every last bit, scraping the bowl clean. Don’t worry about smoothing the top; this isn’t a beauty contest. The batter will be thick and stubborn, fighting you every step of the way. Just plop it in there and spread it roughly to fill the corners. Your loaf pan should be about two-thirds full.
Helpful Tips
While this dill beer bread recipe couldn’t be more straightforward, I’ve learned a few tricks that’ll take your loaf from good to absolutely irresistible. First, don’t overthink the beer choice—anything from light lagers to hoppy IPAs works beautifully. Room temperature beer mixes more easily than cold, preventing those stubborn flour pockets. When greasing your pan, use butter instead of cooking spray for extra richness. Here’s my favorite secret: sprinkle coarse sea salt on top before that final butter pour. It creates a delightfully crispy crust that contrasts perfectly with the tender, herb-flecked interior. Trust me on this one! For those managing blood sugar levels, consider pairing a small slice with umami-rich ingredients like mushrooms or tofu to create a more balanced, satisfying meal.
Pairings
Whether you’re hosting a dinner party or just craving comfort food, this dill beer bread transforms ordinary meals into something special. I’ve discovered it’s absolutely divine alongside hearty soups—think creamy potato leek or robust beef stew. The dill’s herbaceous notes complement grilled salmon beautifully, while the bread’s tender crumb soaks up every drop of garlic butter. For casual gatherings, slice it thick and serve with sharp cheddar or cream cheese spreads. It even makes killer sandwiches the next day (if there’s any left). This homemade bread would fit perfectly in those cozy mom-and-pop cafes where authentic, from-scratch cooking creates lasting memories. Trust me, once you start pairing this bread, you’ll find excuses to bake it weekly.
Summing it up
After all this talk about perfect pairings and buttery goodness, you’re probably wondering if this dill beer bread lives up to the hype. Honestly? It absolutely does. This isn’t just another quick bread recipe – it’s your secret weapon for impressing dinner guests or brightening someone’s day with a thoughtful gift jar. The herb-infused crumb delivers savory satisfaction while that triple-butter treatment creates an irresistibly golden crust. Plus, mixing takes minutes, and cleanup’s a breeze. Whether you’re feeding family or spreading joy through homemade gifts, this dill beer bread proves that simple ingredients can create something truly special. Consider slicing it for bento box lunches alongside Mediterranean-inspired sides for a creative twist on packed meals.

