I’ve perfected this canning salsa recipe that transforms 16 cups of fresh tomatoes, onions, and jalapeños into restaurant-quality gold. The secret’s in the two-hour simmer time and proper water bath processing for 15 minutes – it concentrates flavors while ensuring safe preservation. You’ll control the heat level, avoid that watery mess store-bought versions give you, and end up with months of summer sunshine in every jar that’ll make your taste buds dance with joy every time you crack one open.
Why You Will Love This At Lunchtime (or Dinner)
While your coworkers are stuck with their sad desk salads and reheated leftovers, you’ll be the office hero pulling out a jar of this vibrant, flavor-packed salsa that transforms any mundane lunch into a fiesta. I’m talking about crispy tortilla chips that strike the perfect balance of tangy vinegar, sweet sugar, and spicy jalapeños, waking up your taste buds faster than your third cup of coffee. Whether you’re jazzing up a boring sandwich, topping scrambled eggs, or creating an impromptu taco bar, this homemade salsa delivers restaurant-quality flavor that’ll have everyone begging for your secret recipe. This portable salsa perfectly fits the concept of no-reheat lunch options that taste delicious at room temperature, making it an ideal addition to your workday meal rotation.
Recipe for the Best Canning Salsa
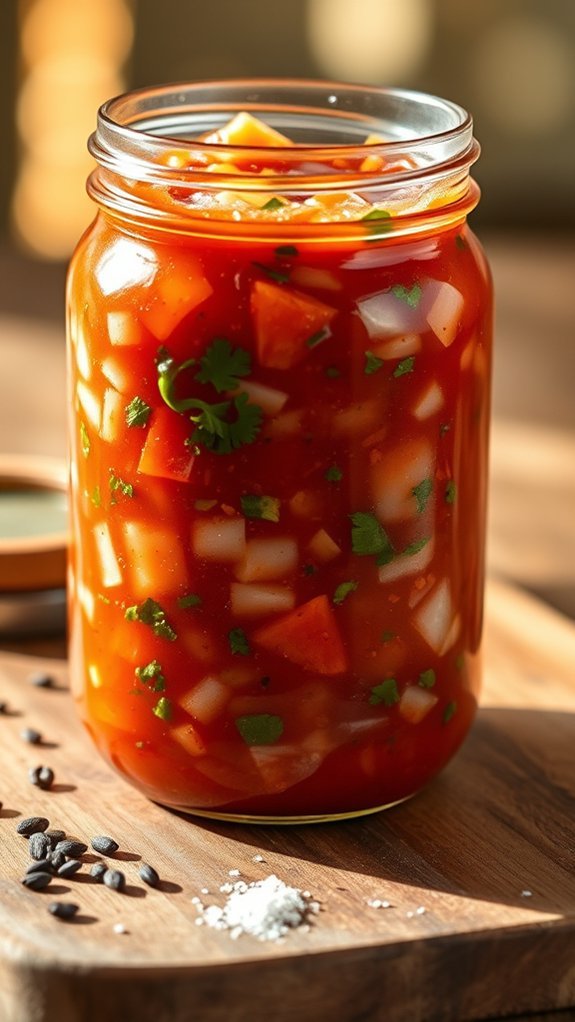
There’s something magical about opening a jar of homemade salsa in the middle of winter and tasting summer sunshine. This canning salsa recipe transforms fresh produce into shelf-stable gold that’ll last you months. With about 30 minutes of prep time and 2 hours of cooking, you’ll have enough salsa to stock your pantry and share with friends who’ll suddenly become very interested in your canning skills.
What makes this salsa special is the perfect balance of heat and flavor. The combination of jalapeños and optional red chili peppers means you control the fire level. The cumin seeds and garlic powder add depth, while the vinegar guarantees safe canning. This isn’t just throwing ingredients in a pot and hoping for the best – it’s a tested recipe that delivers consistent, restaurant-quality results every single time.
The process is surprisingly straightforward. You blend most ingredients together, simmer everything down to concentrate those flavors, then pack it into sterilized jars for water bath canning: no fancy equipment needed, just patience and attention to detail.
Ingredients:
- 16 cups of tomatoes, peeled and quartered
- 6 cups onions, chopped
- 2 cups jalapeños, chopped
- 2 1/2 cups white vinegar
- 1 cup sugar
- 2 cups red chili peppers, chopped (optional for hot salsa)
- 1/2 cup pickling salt
- 1 tablespoon garlic powder
- 2 teaspoons chili powder
- 2 teaspoons black pepper
- 2 tablespoons cumin seeds
- 2 (15-ounce) cans tomato paste
- 1/2 bunch cilantro, chopped
- Lime juice (1 tablespoon per jar)
Equipment/Tools:
- Large heavy-bottomed pot
- Blender or food processor
- Canning jars with lids and rings
- Large pot for water bath
- Jar lifter or tongs
- Ladle
- Measuring cups and spoons
- Cutting board and knife
Instructions:
Begin by preparing your tomatoes (16 cups), peeling and quartering them. Next, chop your onions (6 cups), jalapeños (2 cups), and red chili peppers (2 cups) if you’re making the hot version. In your blender, combine the prepared tomatoes, onions, jalapeños, and red chili peppers with white vinegar (2 1/2 cups), sugar (1 cup), pickling salt (1/2 cup), garlic powder (1 tablespoon), chili powder (2 teaspoons), black pepper (2 teaspoons), cumin seeds (2 tablespoons), and tomato paste (2 cans), blending until everything reaches your desired consistency – some people like chunky, others prefer smooth.
Pour this mixture into a large pot and bring to a gentle boil. Then, reduce the heat and simmer, uncovered, for exactly 2 hours, stirring occasionally to prevent sticking and ensure even cooking. While the salsa cooks down, sterilize your canning jars and lids according to proper canning procedures, keeping them hot until ready to use.
When your salsa has finished cooking and reached the correct consistency, ladle it into the hot, sterilized jars, leaving sufficient headspace. Then, evenly distribute the chopped cilantro (1/2 bunch total) on top of each jar and add lime juice (1 tablespoon per jar).
Wipe the jar rims clean, apply the lids and rings finger-tight, then process in a boiling water bath for 15 minutes, adjusting for altitude if necessary. Afterward, remove the jars and allow them to cool completely on a towel-lined counter, where you’ll hear the satisfying pop of proper seals.
Nutrition Information:
- Low in calories and fat
- High in vitamin C from tomatoes and peppers
- Contains lycopene from cooked tomatoes
- Provides dietary fiber
- Natural antioxidants from various vegetables
- Moderate sodium content from pickling salt
Tips:
The key to perfect salsa consistency is that 2-hour simmer – don’t rush it or you’ll end up with watery results. Taste and adjust seasonings during the last 30 minutes of cooking, but remember the flavors will meld and intensify during storage. If you’re new to canning, don’t skip the lime juice addition, as it helps with acidity levels for safe preservation. Want milder heat but still crave flavor depth. Remove seeds from your jalapeños before chopping, and skip the red chili peppers entirely. For extra smoky flavor, try roasting your peppers over an open flame before chopping. Always use tested canning recipes and follow proper water bath times for food safety – this isn’t the place to experiment with ratios.
Cooking Steps
I’ll walk you through the cooking steps that transform your fresh ingredients into that perfect jar of salsa you’ve been dreaming about. First, I blend everything except the cilantro—trust me, you’ll want that fresh herb to shine at the end—then let the mixture bubble away uncovered for two hours while the flavors marry and the consistency thickens. Once that’s done, it’s time to sterilize those jars, fill them up with your gorgeous salsa, and give them a proper water bath to seal the deal.
Step 1. Blend Ingredients Except Cilantro
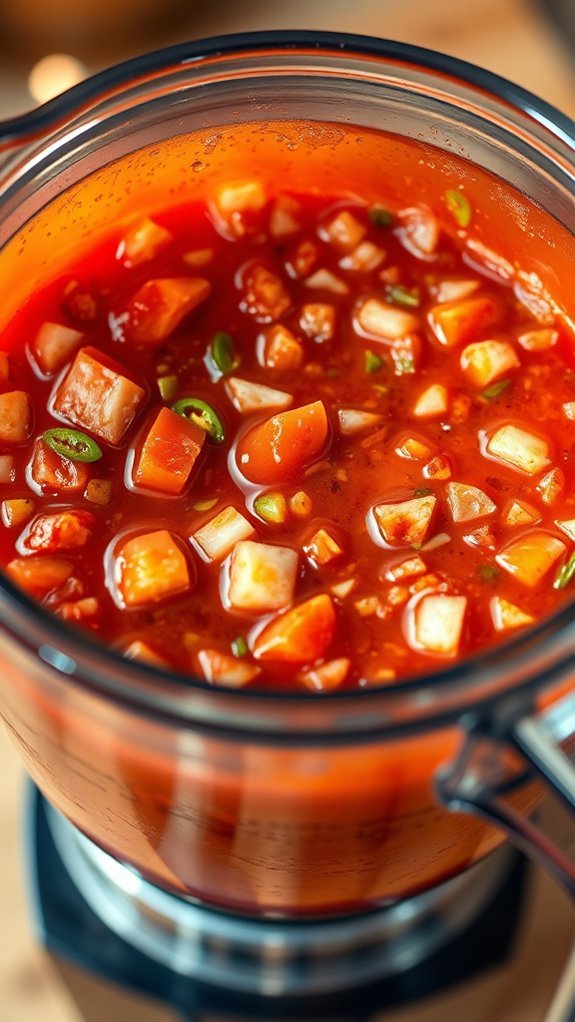
Once you’ve prepped all your ingredients, it’s time to bring this salsa symphony together in what I like to call the “great blending bonanza.” Grab a large mixing bowl or pot and combine your quartered tomatoes, chopped onions, jalapeños, and red chili peppers (if you’re brave enough for the heat), then add the white vinegar, sugar, pickling salt, garlic powder, chili powder, black pepper, cumin seeds, and tomato paste. Don’t worry about perfect mixing—this isn’t a delicate soufflé. Give everything a good stir until it resembles a chunky, colorful masterpiece that’ll make your taste buds dance.
Step 2. Cook Mixture Two Hours
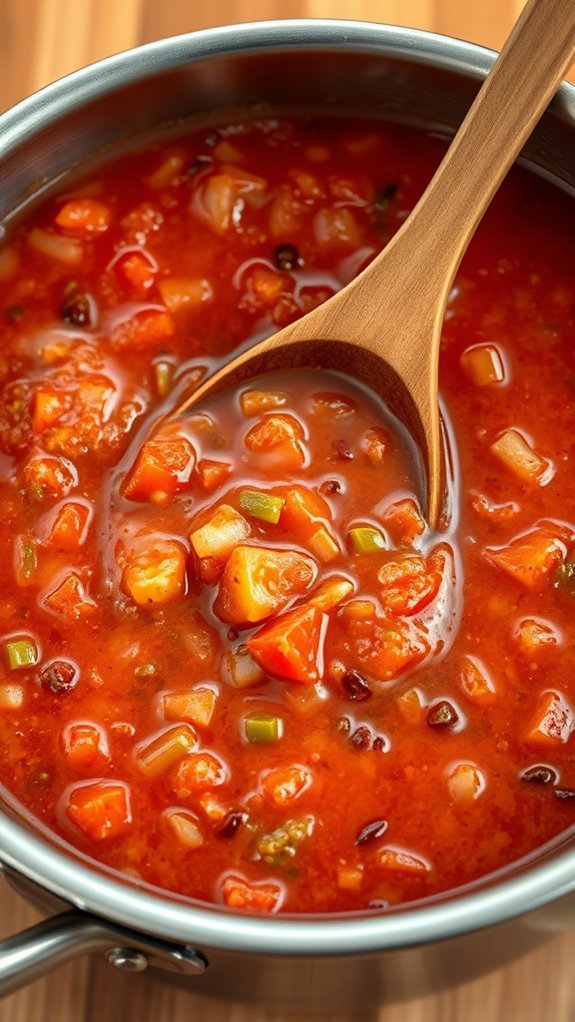
Two hours of patient simmering transforms your vibrant mixture from a raw vegetable medley into liquid gold that’ll make store-bought salsa weep with envy. Keep that pot uncovered—we want moisture escaping, not trapped like humidity in Florida. Stir occasionally to prevent sticking, but don’t hover like an overprotective parent. The magic happens as flavors meld, vinegar mellows, and everything concentrates into salsa perfection. You’ll know it’s ready when the mixture thickens noticeably and tastes balanced rather than sharp. Trust the process; good things come to those who simmer patiently while resisting the urge to rush culinary greatness.
Step 3. Sterilize Canning Jars Properly
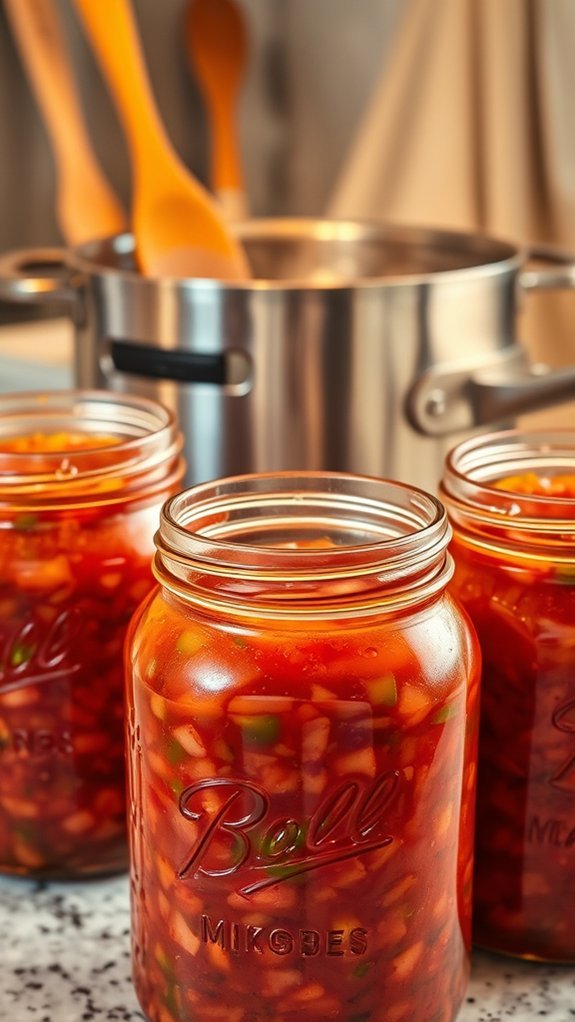
While your salsa simmers toward perfection, it’s the perfect time to tackle jar sterilization—because nobody wants their homemade masterpiece ruined by unwelcome bacteria throwing their own party. I’ll run my canning jars through the dishwasher’s sanitize cycle, or you can submerge them in boiling water for ten minutes. Don’t forget those lids and rings—they need the same treatment. Keep everything hot until you’re ready to fill them. Think of sterilization as your salsa’s bodyguard, ensuring only the good stuff makes it into those precious jars for months of delicious enjoyment ahead.
Step 4. Fill Jars With Salsa
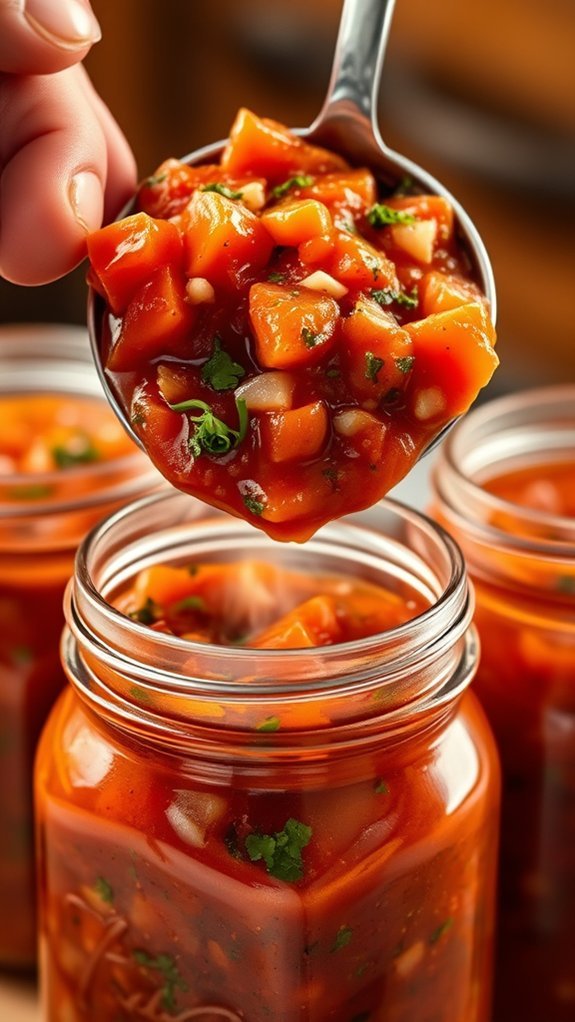
With your sterilized jars standing at attention like well-trained soldiers, it’s time to fill them with that bubbling, aromatic salsa you’ve been nurturing for the past two hours. Using a ladle, carefully portion the hot salsa into each jar, leaving about half an inch of headspace—that’s breathing room at the top. Don’t forget to distribute the fresh cilantro on top of each jar evenly; it’s like giving your salsa a green confetti celebration. I also add one tablespoon of lime juice per jar for that extra zing and acidity boost that’ll make your taste buds dance.
Step 4. Water Bath Process Jars
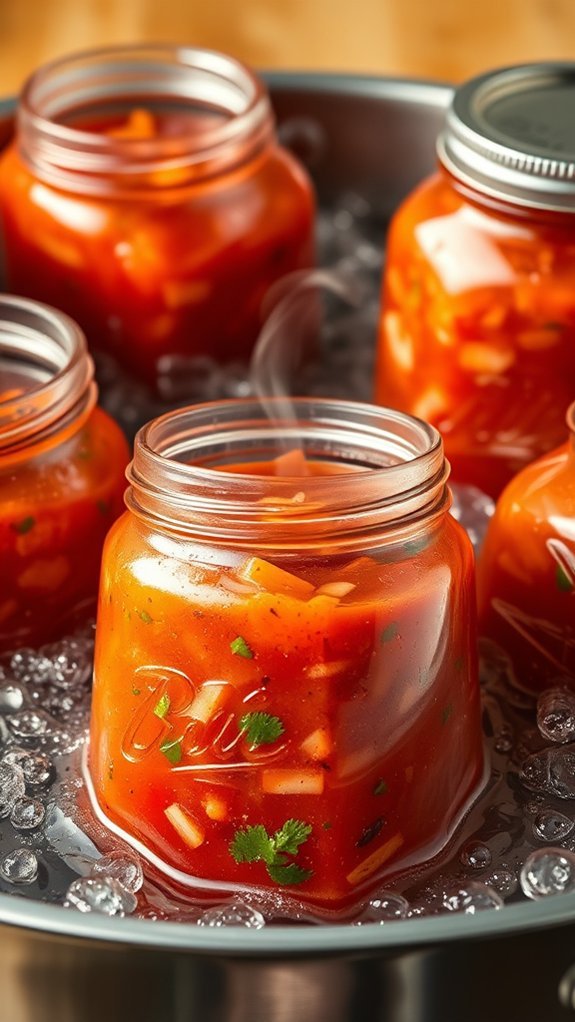
Now that your jars are filled and topped with their cilantro crowns, it’s time for the grand finale—the water bath process that’ll transform your fresh salsa into a shelf-stable treasure. I’ll submerge my sealed jars in boiling water for exactly 15 minutes. This heat treatment eliminates any lingering bacteria while creating that satisfying “pop” when the lids seal properly. The timer starts once the water returns to a rolling boil. After processing, I’ll let them cool completely on the counter. Those beautiful pings you’ll hear? That’s the sound of successful preservation—and future taco nights calling your name.
Best Canning Salsa
Ingredients
- 16 cups tomatoes, peeled and quartered
- 6 cups onions, chopped
- 2 cups jalapeños, chopped
- 2.5 cups white vinegar
- 1 cup sugar
- 2 cups red chili peppers, chopped (optional for hot salsa) Use if you prefer a spicier salsa.
- 0.5 cup pickling salt
- 1 tablespoon garlic powder
- 2 teaspoons chili powder
- 2 teaspoons black pepper
- 2 tablespoons cumin seeds
- 2 15 ounce cans tomato paste
- 0.5 bunch cilantro, chopped
- 1 tablespoon lime juice (per jar) Add for acidity and flavor.
Equipment
- Large heavy-bottomed pot
- Blender or food processor
- Canning jars with lids and rings
- Large pot for water bath
- Jar lifter or tongs
- Cutting board and knife
Method
- Start by peeling and quartering the tomatoes (16 cups). Chop the onions (6 cups) and jalapeños (2 cups), along with red chili peppers (2 cups) if you’re making the hot version.
- In your blender, combine the prepared tomatoes, onions, jalapeños, and red chili peppers with white vinegar (2.5 cups), sugar (1 cup), pickling salt (0.5 cup), garlic powder (1 tablespoon), chili powder (2 teaspoons), black pepper (2 teaspoons), cumin seeds (2 tablespoons), and tomato paste (2 cans). Blend until you reach your desired consistency.
- Pour the blended mixture into a large pot and bring to a gentle boil. Reduce heat and simmer uncovered for exactly 2 hours, stirring occasionally to prevent sticking.
- While the salsa cooks, sterilize your canning jars and lids according to proper canning procedures, keeping them hot until ready to use.
- When the salsa has finished cooking and reached the proper consistency, ladle it into the hot sterilized jars, leaving appropriate headspace. Evenly distribute chopped cilantro (0.5 bunch) on top of each jar and add lime juice (1 tablespoon per jar). Wipe jar rims clean, apply lids and rings finger-tight.
- Process the jars in a boiling water bath for 15 minutes, adjusting for altitude if necessary. After processing, remove jars and allow them to cool completely on a towel-lined counter.
Nutrition
Notes
Tried this recipe?
Let us know how it was!Helpful Tips
Why does homemade salsa sometimes turn out watery, bland, or downright disappointing when you’ve followed the recipe to the letter? I’ve learned that salting your tomatoes beforehand and letting them drain for thirty minutes prevents that dreaded watery mess. Don’t skip the two-hour cooking time; it’s what transforms your chunky vegetables into proper salsa. Taste as you go and adjust seasonings boldly. Here’s my secret: roast your peppers first for deeper flavor. And please, use fresh lime juice, not bottled. Your taste buds will thank you, and so will anyone lucky enough to snag a jar.
Pairings
Three classic pairings come to mind when I’m deciding what to serve alongside my homemade canned salsa. However, I’ll admit the possibilities stretch far beyond the obvious chips-and-dip scenario. First, there’s grilled chicken or fish—the salsa’s acidity cuts through rich proteins beautifully. Second, I love spooning it over scrambled eggs or breakfast burritos for morning heat. Third, it transforms plain rice into something spectacular. But here’s where creativity kicks in: try it with cream cheese on crackers, dolloped on baked potatoes, or mixed into pasta salad. The vinegar’s tang makes everything brighter, more vibrant.
Summing it up
While some might argue that store-bought salsa offers convenience, I can’t imagine settling for those bland, preservative-laden jars when making your own delivers such incredible rewards. This recipe transforms simple ingredients into liquid gold that’ll have your taste buds dancing. Sure, it takes effort—peeling tomatoes isn’t glamorous, and your kitchen might smell like a pepper festival for days. But when you crack open that first jar months later, hearing that satisfying pop of the seal, you’ll taste summer sunshine preserved in glass. Just like how steaming retains nutrients and natural flavors in cooking, proper canning preserves the vibrant taste and nutritional value of your fresh ingredients. Trust me, your future self will thank you for every single minute spent stirring that pot.

