
Make perfect berry oat bars for school lunches with these proven tips! Start by selecting firm, seasonal berries that aren’t too soft – fresh in summer, frozen (and well-drained) in winter. Cut your bars into kid-friendly 2×2-inch squares and wrap them individually in parchment paper to prevent crumbling. Store them in airtight containers for next-day use, or freeze portions for up to three months. You’ll save time by mixing dry ingredients ahead and preparing multiple batches at once. For extra fun, try using cookie cutters to create engaging shapes that’ll make your kids smile. There’s so much more to explore about making these lunchbox favorites truly special.
Key Highlights
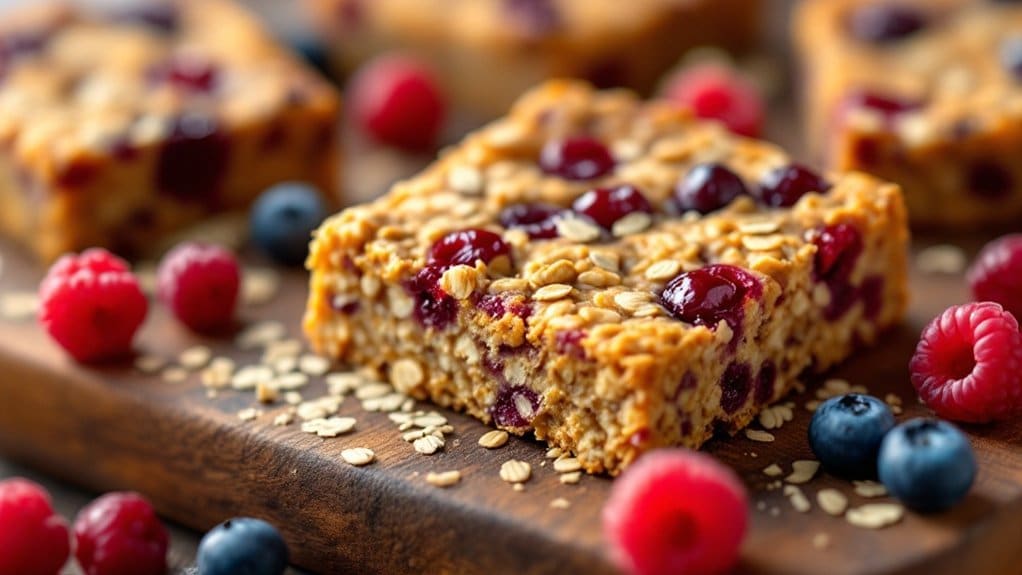
- Cut berry oat bars into 2×2-inch squares for elementary students or 2×3-inch portions for older children.
- Store bars in airtight containers, refrigerate for up to a week or freeze for three months.
- Stand bars vertically in lunch containers and wrap them individually in parchment paper to prevent crumbling.
- Choose firm, seasonal berries for optimal flavor, or use thawed and drained frozen berries in the winter months.
- Prepare multiple batches in advance and portion into weekly amounts for convenient lunch packing.
In this Article
Perfect Berry Selection Guide
When choosing berries for your oat bars, focus on firm fruits that show no signs of mold or bruising. You’ll want to select ripe but not overly soft berries, as they will hold their shape better during baking.
Consider seasonal berry options for the best flavor and value. You can’t go wrong with fresh strawberries, blueberries, or raspberries in summer. Frozen berries work surprisingly well during winter; just thaw and drain them first.
Berry flavor pairings can make your bars extra special. Strawberries and blueberries create a classic combo that kids love. Try mixing raspberries with blackberries for a twist that will make your little ones feel fancy. I’ve found that mixing tart and sweet berries keeps everyone coming back for more.
Remember – local berries in season will give you the most flavor bang for your buck!
Proper Storage Methods
Since these berry oat bars contain fresh fruit, proper storage is essential for maintaining freshness and preventing spoilage. You’ll want to master these refrigeration techniques to keep your bars tasting delicious all week long.
For the best results, store your bars in airtight containers using these proven methods:
| Storage Location | Max Duration | Best Container Type |
|---|---|---|
| Counter | 1 day | Glass with lid |
| Refrigerator | 1 week | Plastic sealed |
| Freezer | 3 months | Freezer bag |
| Lunch box | 4 hours | Insulated pack |
Remember to wrap each bar individually before placing them in your container – this prevents them from sticking together. Don’t forget to date the package if you’re planning to freeze them. Trust me, you don’t want to play the “guess how old this is” game with your snacks!
Make-Ahead Preparation Tips

Preparing berry oat bars in advance can transform your hectic weekday mornings into smooth sailing. With smart make-ahead freezing techniques, you will always have these nutritious treats ready to go.
Start by mixing your dry ingredients in labeled containers on Sunday night. You can even prepare multiple batches at once – trust me, your future self will thank you! For ingredient substitutions, keep a handy chart on your fridge noting what works best: honey for maple syrup, different berry combinations, or nut-free alternatives.
Portion and freeze your completed bars in weekly amounts. They will thaw perfectly in lunch boxes by mealtime. Pro tip: Cut them before freezing – it’s much easier than trying to saw through a frozen block of oaty goodness!
Remember to date everything clearly. No one wants to play the “Guess the Freezer Bar age” game!
Smart Portion Sizing
Three key factors determine the perfect portion size for berry oat bars: your child’s age, activity level, and lunch schedule.
For elementary schoolers, you’ll want to cut bars into 2×2-inch squares, which provide just enough energy without overwhelming their appetite. Middle and high schoolers can handle 2×3-inch portions, especially if they’re involved in after-school sports.
Consider your child’s flavor combinations preferences when sizing portions. Smaller portions with varied nutritional balance might work better if they’re not big fans of certain berries. You’ll know you’ve found the sweet spot when the lunchbox comes home empty!
Pack an extra half-portion on days with late lunch periods or afternoon activities. It’s better to have a little extra than a hungry kiddo who can’t focus in class.
Whole grain options provide essential fiber and nutrients that help keep your child satisfied throughout the school day.
Creative Shape Ideas

Making berry oat bars visually appealing can boost your child’s interest in eating them. You’ll be amazed at how excited kids get when their snacks come in fun shape ideas that break away from the traditional rectangle.
Try using unique cookie cutters to transform your bars into stars, hearts, or their favorite animals. You can even match shapes to upcoming holidays or seasons – pumpkins for fall, trees for winter, and flowers for spring. Don’t toss those leftover pieces – they make perfect nibbles for taste-testing!
For an extra special touch, create initial shapes with their first letter or cut bars into puzzle pieces they can reassemble at lunch. These playful presentations aren’t just about looks – they turn everyday snacks into memorable moments that’ll have your kids looking forward to lunchtime.
Fun food presentations help fuel children’s imagination while ensuring they get proper nutrition during the school day.
Prevent Crumbling During Transport
While those fun shapes add excitement to your child’s lunch, keeping berry oat bars intact until mealtime requires smart packing strategies. The key lies in perfecting your binding ingredients and moisture balance from the start.
You’ll want to wrap each bar individually in parchment paper before placing them in containers. This extra step creates a protective barrier that prevents sticking and crumbling. For added stability, try standing the bars vertically rather than stacking them.
If you’re using a softer recipe, chill the bars thoroughly before packing. When they’re cold, they will hold together better during the inevitable bumps and jostles of a backpack journey.
Don’t forget to remind your little one to keep their lunch bag upright. Even the most carefully packed treats can tumble when turned upside down!
Quick Assembly Tricks

Preparing berry oat bars for the week doesn’t need to eat up your Sunday afternoon. With a few assembly shortcuts, you will have these treats ready quickly. Line your pan with parchment paper that extends over the edges, making removal and cutting a breeze.
Here’s one of my favorite time-savers: measure all your dry ingredients into labeled containers on grocery day. When it’s baking time, you will just dump and mix! For ingredient substitutions, keep instant oats on hand instead of rolled oats – they will mix faster and still taste great.
Pre-mix your favorite dried fruit combinations in advance. I store mine in Mason jars, which are ready to grab and sprinkle. You will save precious minutes when the kids are clamoring for their next week’s treats.
Using vacuum-sealed bags for storing extra bars helps maintain freshness and prevents spills in lunch boxes.
Frequently Asked Questions
Can These Bars Be Frozen for Longer Storage Periods?
You can freeze these bars using proper freezing methods. Place them in airtight storage containers or freezer bags for up to 3 months. They will maintain quality when you separate layers with parchment paper.
Are These Berry Oat Bars Suitable for Children With Nut Allergies?
With 1 in 13 children having food allergies, you’ll be glad to know you can make these completely nut-free. Just verify you’re using allergy-friendly ingredients and checking labels for potential cross-contamination warnings.
What Alternatives Can Replace Oats for Gluten-Sensitive Children?
For a gluten-free alternative, you can substitute oats with quinoa flakes or buckwheat groats. They will provide similar texture and nutritional benefits. Both options work well in baked treats for gluten-sensitive kids.
How Long Do These Bars Stay Fresh at Room Temperature?
You’ll find your bars stay fresh for 5-7 days when stored properly at room temperature. For best freshness tips, keep them in an airtight container and avoid storage conditions with high humidity or direct sunlight.
Can Artificial Sweeteners Be Used Instead of Regular Sugar?
You can use artificial sweeteners to replace sugar, but you will need to adjust quantities since they are more concentrated. While they will reduce calories, you might miss some health benefits that natural sweeteners provide.
To Sum it Up
You’ll never look at school lunches the same way after mastering these berry oat bar techniques! With these tips, you’re ready to create snacks that’ll make your kids the envy of the cafeteria. Your bars will stay fresh, perfectly portioned, and actually make it to lunch without turning into crumbs. Remember: a little extra prep time means the difference between “meh” and “mind-blowing” when that lunchbox opens.
