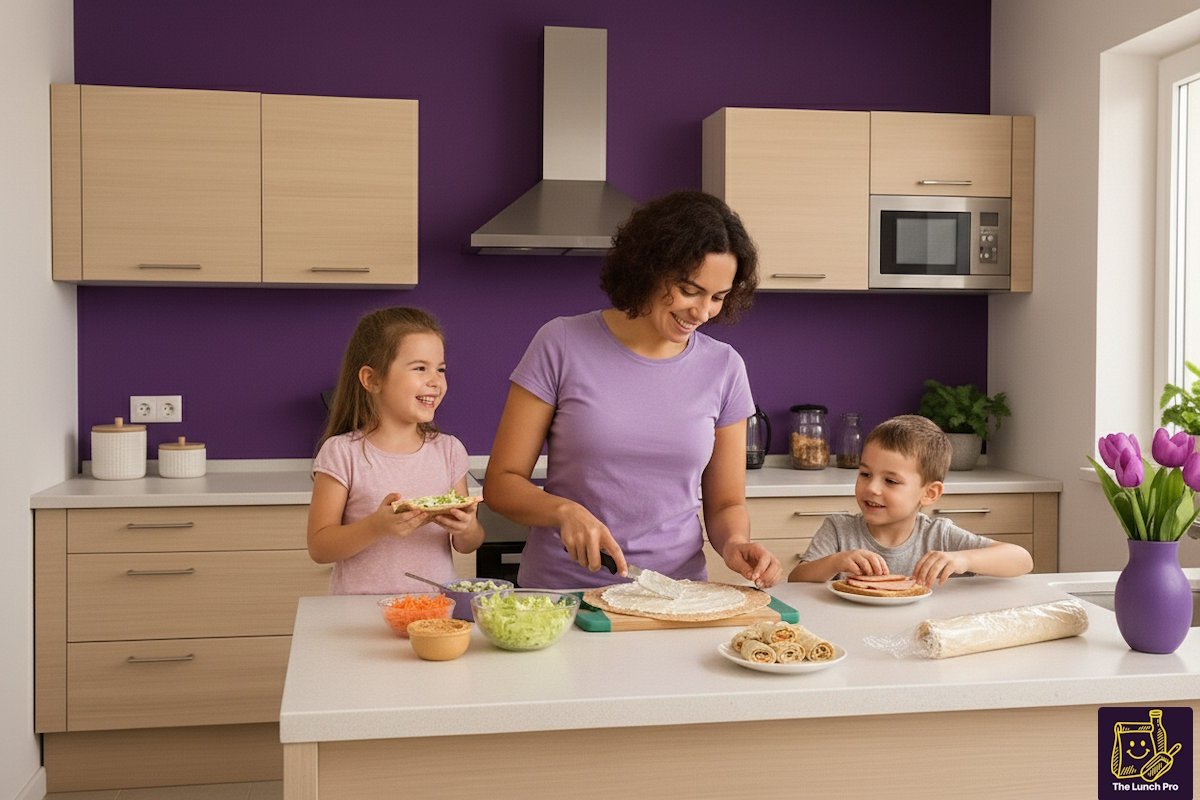
Listen, we need to talk about the great lunchbox dilemma. You know the one – where you lovingly pack a nutritious meal only to have it return home untouched, looking sadder than a wilted lettuce leaf at a pizza party. But here’s the thing: making lunches that are both healthy AND kid-approved isn’t some mystical art form reserved for Pinterest parents. Nope, it’s totally doable, and we’re about to prove it.
These ten lunch ideas aren’t just nutritious powerhouses (though they absolutely are). They’re also the kind of meals that’ll have your kids trading UP at the lunch table – imagine that! So grab your favorite spatula, maybe pour yourself that well-deserved coffee, and let’s turn you into the lunch-packing legend you were meant to be.
Quick Facts About Kid-Friendly Lunch Ideas (Because Knowledge is Power, Friends)
- Veggies are the secret agents of nutrition – they sneak essential vitamins into unsuspecting taste buds.
- Protein doesn’t have to be boring – chicken, turkey, tofu, and tuna can all be lunch box rock stars with the proper preparation.
- Whole grains are your friend – think of them as the reliable sidekick that keeps energy levels steady all afternoon.
- Customization is key – letting kids help choose ingredients increases the chances they’ll actually eat what’s packed (revolutionary, we know)
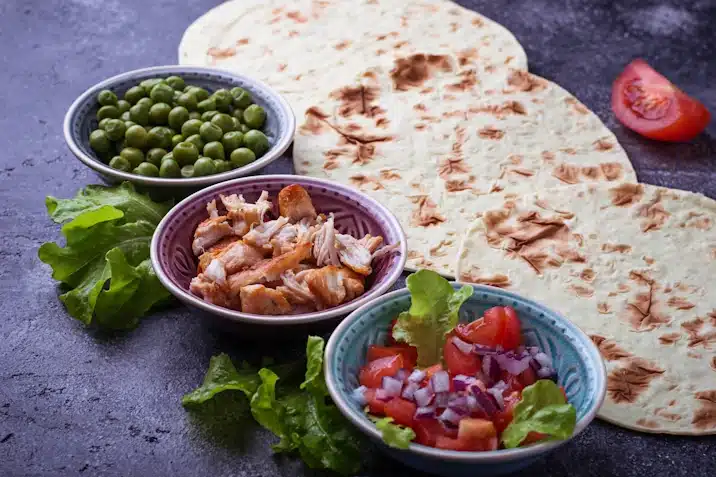
1. The Wholesome Chicken Quesadilla That’ll Make Taco Tuesday Jealous
Ingredients You’ll Need for our first Kid-Friendly Lunch:
- 2 whole wheat tortillas (8-inch works perfectly)
- 1 cup cooked, shredded chicken (rotisserie chicken is your time-saving friend here)
- ½ cup shredded cheese (cheddar, Monterey Jack, or a Mexican blend)
- ¼ cup black beans, drained and rinsed
- 2 tablespoons corn kernels (frozen works great, just thaw them first)
- 1 tablespoon mild salsa
- Optional: diced bell peppers, spinach leaves
The Method to the Madness:
- Heat a non-stick pan over medium heat – no oil needed if you’re using a good non-stick surface.
- Place one tortilla in the pan and sprinkle half the cheese over one half of it (this creates your “glue” layer – genius, right?).
- Layer on your chicken, beans, and corn over the cheese. If your kid’s feeling adventurous, sneak in those bell peppers or spinach leaves.
- Add the remaining cheese on top of everything (this is your top “glue” layer – see where we’re going with this?).
- Fold the tortilla in half and cook for 2-3 minutes until golden and crispy.
- Flip carefully (use a spatula and your hand to guide it) and cook another 2-3 minutes.
- Let it cool for a minute before cutting into triangles – nobody wants a cheese lava situation.
Pro Parent Tip: Make these on Sunday, cut them up, and freeze individual portions. Reheat in the toaster oven for instant lunch wins all week long.
The Switcheroo Options: Not into chicken? Turkey works beautifully. Vegetarian household? Black beans and sweet potato make an amazing combo. Dairy-free? There are some surprisingly good vegan cheeses out there that melt like a dream.
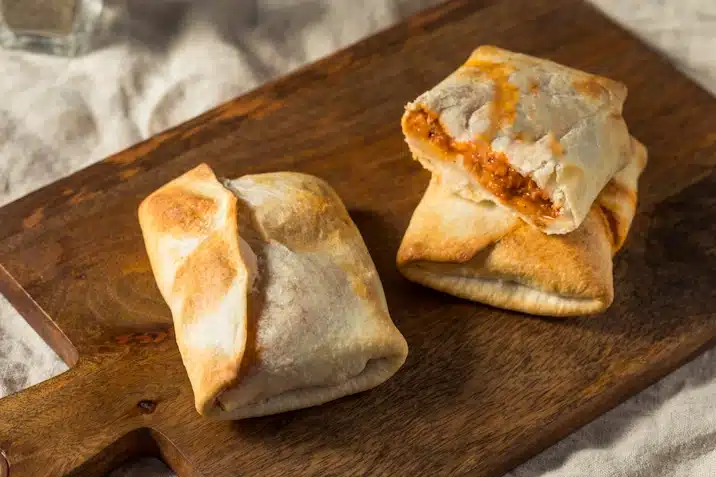
2. Easy Veggie Pizza Pockets (That Won’t Explode in the Lunchbox)
What You’re Working With:
- 1 pound whole wheat pizza dough (store-bought is totally fine – we’re not judging)
- 1 cup pizza sauce (divided)
- 1½ cups shredded mozzarella cheese
- 1 cup total of diced veggies (bell peppers, mushrooms, spinach, olives – whatever doesn’t cause a meltdown)
- 1 egg, beaten (for that golden, professional-looking finish)
- Italian seasoning for sprinkling
Let’s Make Some Magic:
- Preheat your oven to 400°F and line a baking sheet with parchment paper (cleanup = minimal).
- Divide the dough into 8 equal pieces – a kitchen scale makes this super easy, but eyeballing works too.
- Roll each piece into a roughly 5-inch circle on a floured surface. Don’t stress about perfect circles; rustic is charming.
- Place 2 tablespoons of sauce on one half of each circle, leaving a ½-inch border for sealing.
- Add about 3 tablespoons of cheese and a handful of veggies on top of the sauce.
- Fold the dough over to create a half-moon shape and crimp the edges with a fork (kids love helping with this part).
- Brush with beaten egg and sprinkle with Italian seasoning for that pizzeria vibe.
- Cut 2-3 small slits on top of each pocket (steam vents = no explosions).
- Bake for 15-18 minutes until golden brown, making your kitchen smell amazing.
Storage Wisdom: These freeze beautifully for up to 3 months. Wrap individually in foil, and reheat from frozen at 350°F for about 15 minutes.
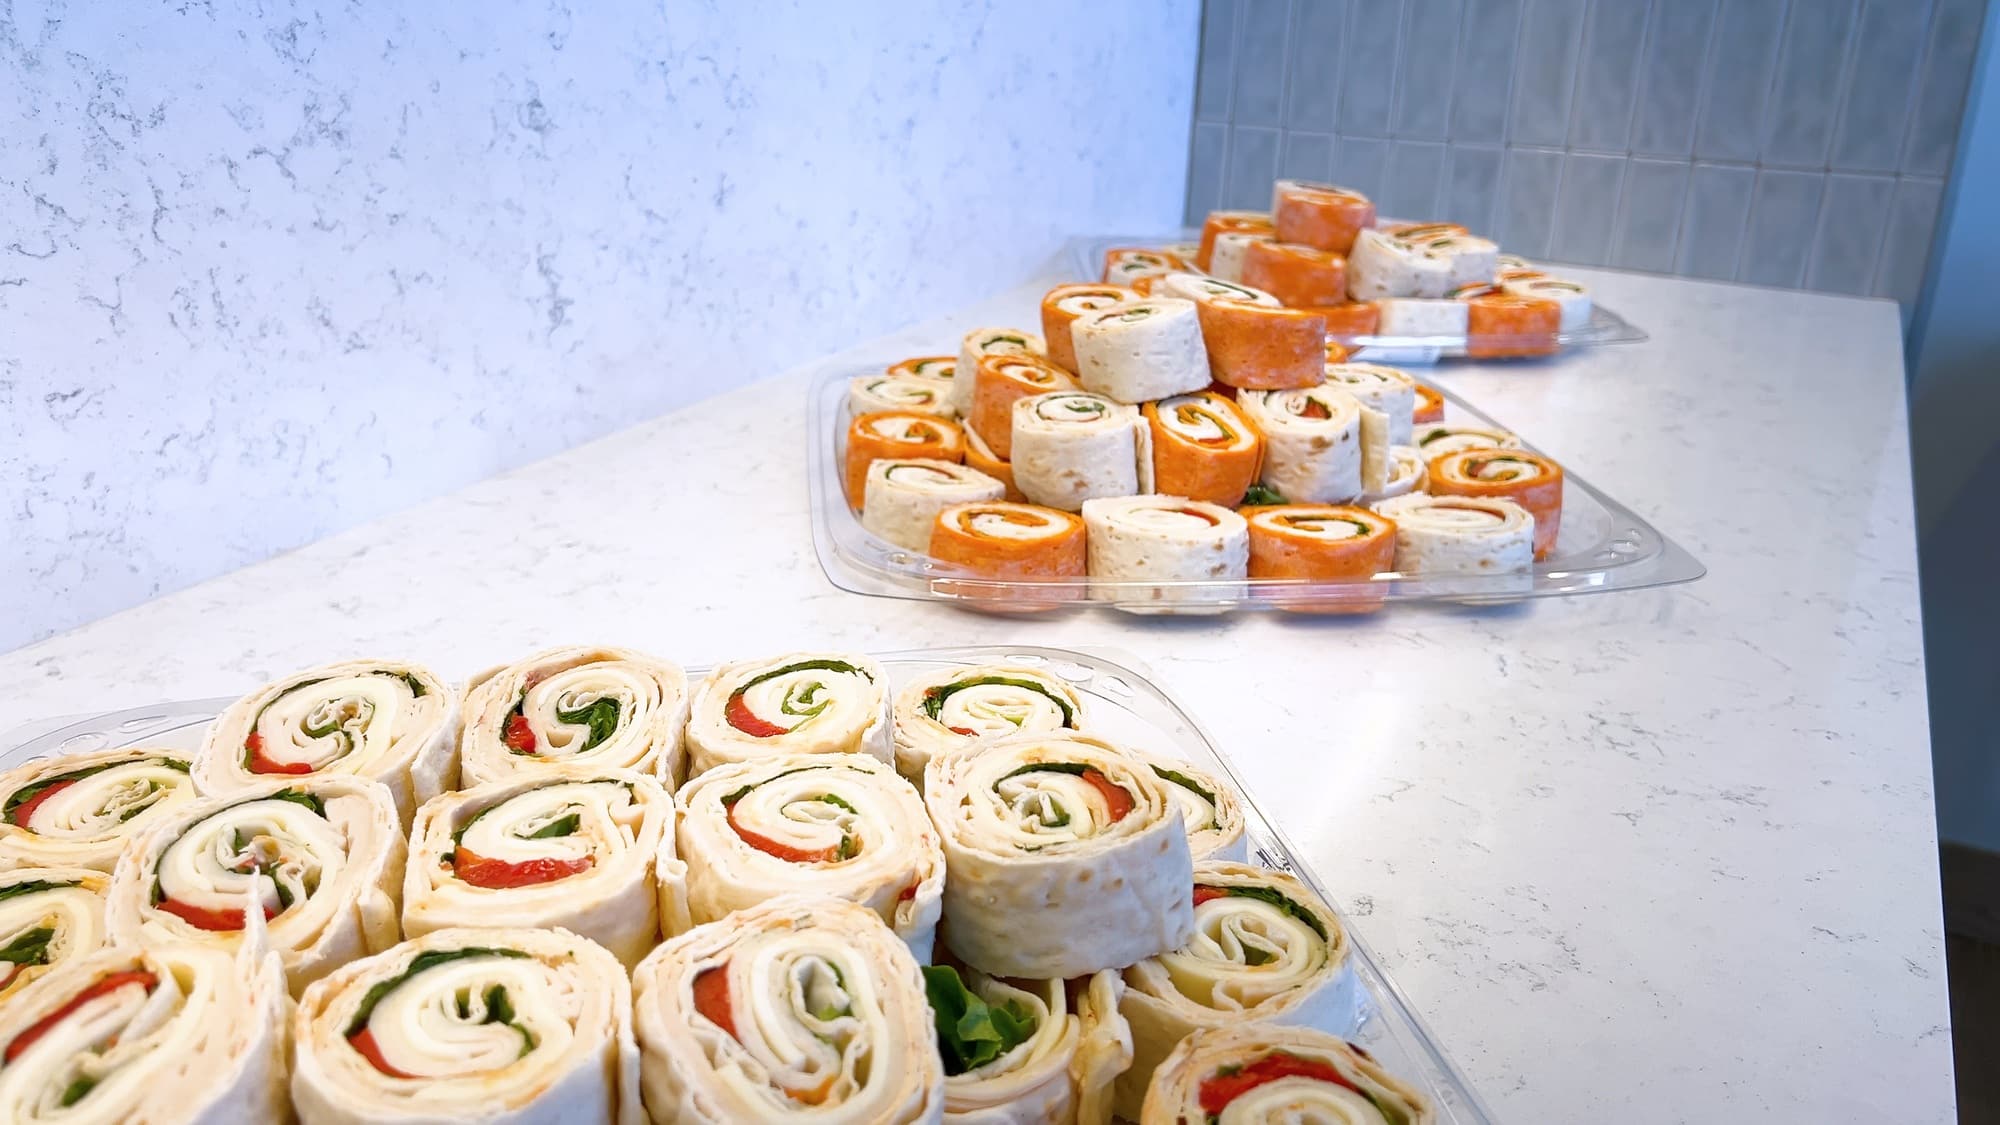
3. Fun Turkey Pinwheels (The Sandwich Alternative That Actually Works)
Your Shopping List:
- 4 large whole wheat tortillas
- 8 oz cream cheese, softened (leave it out for 30 minutes before starting)
- 12 oz sliced turkey (get the good stuff from the deli counter)
- 1 cup shredded lettuce
- ½ cup shredded carrots
- ½ cup diced cucumbers
- Optional: ranch seasoning packet mixed into the cream cheese for extra flavor
Rolling Into Success:
- Spread 2-3 tablespoons of cream cheese evenly over each tortilla, going all the way to the edges (this is crucial for good adhesion).
- Layer turkey slices over the cream cheese, leaving about an inch clear at one end (this will be your sealing edge).
- Sprinkle veggies in a line about 2 inches from the bottom edge – this gives you a nice veggie center when rolled.
- Starting from the veggie side, roll tightly but not so tightly that everything squishes out the sides.
- Wrap each roll in plastic wrap and refrigerate for at least 30 minutes (this is the secret to clean cuts).
- Slice into 1-inch pinwheels with a sharp knife, wiping between cuts for pretty spirals.
Level-Up Move: Use flavored tortillas (spinach, tomato, etc.) for extra visual appeal and sneaky nutrition.
4. Protein-Packed Tofu Stir Fry (Hear Us Out on This One)
The Cast of Characters:
- 14 oz extra-firm tofu, pressed and cubed
- 2 tablespoons soy sauce (low sodium if you’re watching that)
- 1 tablespoon honey
- 1 teaspoon sesame oil
- 2 cups mixed veggies (snap peas, carrots, broccoli work great)
- 2 cups cooked brown rice
- 1 tablespoon cornstarch
- 2 tablespoons vegetable oil for cooking
Tofu Transformation Steps:
- Press that tofu properly – wrap in paper towels, place between two plates, and put something heavy on top for 15 minutes. This is non-negotiable for good texture.
- Toss tofu cubes with cornstarch until lightly coated (this creates that crispy exterior kids actually like).
- Heat oil in a large pan or wok over medium-high heat until shimmering.
- Cook tofu cubes for 2-3 minutes per side until golden and crispy. Remove and set aside.
- In the same pan, stir-fry veggies for 3-4 minutes until crisp-tender.
- Mix soy sauce, honey, and sesame oil in a small bowl.
- Return tofu to the pan, add the sauce, and toss everything together for 1 minute.
- Serve over brown rice in lunch containers.
The Truth About Tofu: When it’s crispy on the outside and flavored well, even tofu skeptics come around. Trust the process!
5. Homemade Rainbow Pasta Salad (Because Eating Colors is Fun)
Rainbow Ingredients:
- 3 cups cooked pasta (fun shapes like bowties or corkscrews)
- 1 cup cherry tomatoes, halved (red)
- 1 cup diced orange bell pepper (orange, obviously)
- 1 cup corn kernels (yellow)
- 1 cup diced cucumber (green)
- ½ cup shredded purple cabbage (purple)
- ½!– /wp:list-item –>
For the Dressing:
- ¼ cup olive oil
- 2 tablespoons lemon juice
- 1 tablespoon honey
- 1 teaspoon Dijon mustard
- Salt and pepper to taste
Assembly Instructions:
- Cook pasta according to package directions, but subtract 1 minute (slightly firm pasta holds up better in salads).
- Rinse with cold water and drain thoroughly – nobody likes soggy pasta salad.
- While pasta cools, prep all your veggies – uniform dice makes for better fork-ability.
- Whisk dressing ingredients together until emulsified (fancy word for “well mixed”).
- Combine pasta and veggies in a large bowl.
- Pour dressing over everything and toss well.
- Refrigerate for at least 1 hour before serving – the flavors need time to mingle.
Make-Ahead Champion: This actually tastes better on day two, making it perfect for meal prep on Sunday.
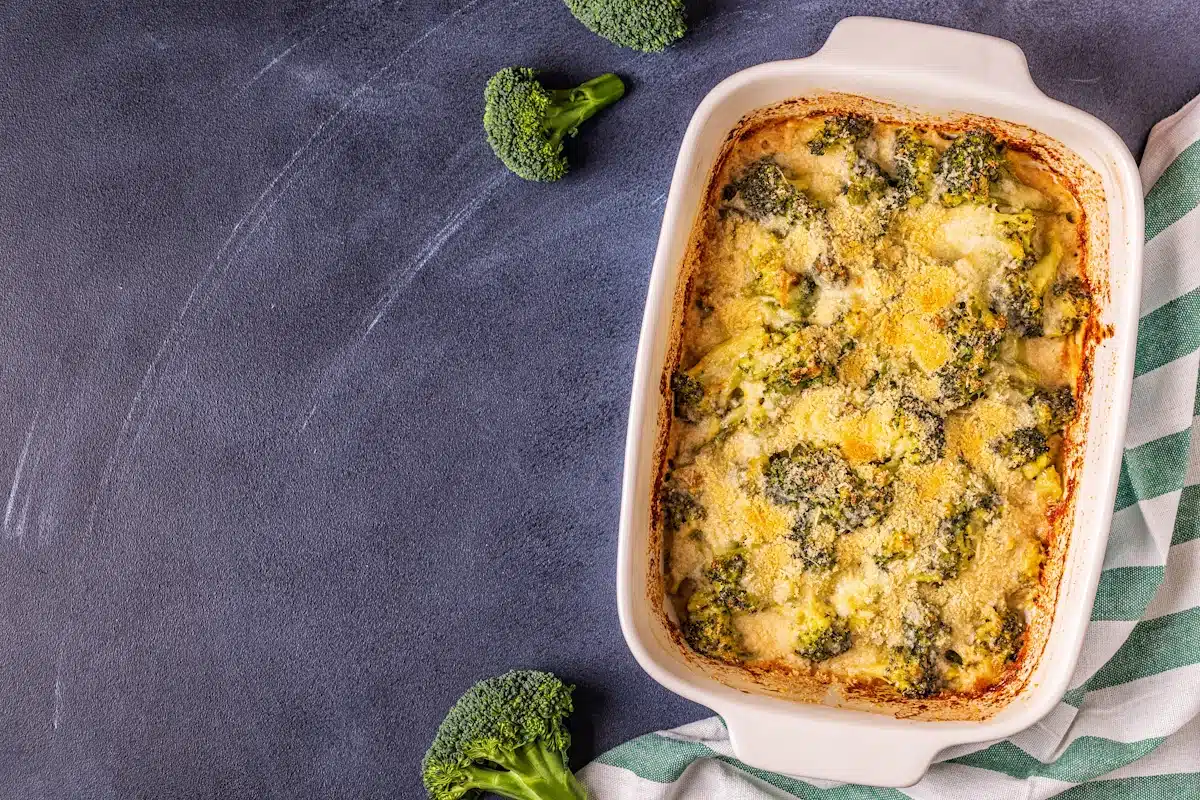
6. Cheesy Broccoli and Rice Casserole (Comfort Food That’s a Kid-Friendly Lunch That’s Actually Good For Them)
Casserole Components:
- 2 cups cooked brown rice
- 3 cups broccoli florets, lightly steamed
- 1 can cream of mushroom soup (or make a quick white sauce if you’re feeling fancy)
- 1½ cups shredded cheddar cheese (divided)
- ½ cup milk
- ½ cup breadcrumbs
- 2 tablespoons butter, melted
- Salt, pepper, and garlic powder to taste
Building Your Masterpiece:
- Preheat oven to 350°F and grease a 9×13 baking dish (or individual portion containers for easy lunch packing).
- Steam broccoli for 3-4 minutes until bright green but still firm.
- Mix rice, broccoli, soup, 1 cup of cheese, and milk in a large bowl—season with salt, pepper, and a pinch of garlic powder.
- Transfer to your baking dish and spread evenly.
- Mix remaining cheese, breadcrumbs, and melted butter for the topping.
- Sprinkle topping over casserole for that golden, crunchy finish.
- Bake for 25-30 minutes until bubbly and golden on top.
Smart Substitutions: Swap in cauliflower rice for lower carbs, or add cooked chicken for extra protein. Different cheese combos work great too – Gruyère makes it fancy, pepper jack adds a kick.
7. Healthy Homemade Chicken Nuggets (Better Than the Drive-Through Version)
Nugget Necessities:
- 1½ pounds chicken breast, cut into nugget-sized pieces
- 1 cup panko breadcrumbs
- ½ cup regular breadcrumbs
- ½ cup grated Parmesan cheese
- 1 teaspoon paprika
- ½ teaspoon garlic powder
- 2 eggs, beaten
- ½ cup flour
- Salt and pepper
The Nugget Process:
- Set up your breading station with three shallow dishes: flour in one, beaten eggs in another, and breadcrumb mixture in the third.
- Season chicken pieces with salt and pepper.
- Dredge each piece in flour, then egg, then breadcrumb mixture, pressing gently to adhere.
- Place on a parchment-lined baking sheet and spray with cooking spray (this is the secret to crispy baked nuggets).
- Bake at 400°F for 15-18 minutes, flipping halfway through.
- Check the internal temperature reaches 165°F (food thermometer = your friend).
Dipping Sauce Ideas: Honey mustard, ranch, or even yogurt-based sauces add fun without the sugar overload of some store-bought options.
8. Colorful Veggie and Hummus Wrap (The Wrap That Doesn’t Fall Apart)
Wrap Roster:
- 4 large whole wheat or spinach tortillas
- 1 cup hummus (homemade or store-bought)
- 1 cup shredded lettuce or spinach
- ½ cup shredded carrots
- ½ cup sliced cucumbers
- ½ cup sliced bell peppers (multiple colors if possible)
- ¼ cup sliced red onion (optional – know your audience)
- 4 slices of cheese (optional)
Wrap Wisdom:
- Warm tortillas slightly in the microwave for 10 seconds – this makes them more pliable and less likely to crack.
- Spread ¼ cup hummus on each tortilla, leaving a 1-inch border all around.
- If using cheese, place it down first – it creates a moisture barrier.
- Layer veggies in the center third of the tortilla horizontally.
- Fold in the sides first, then roll from the bottom, keeping everything tight.
- Wrap in parchment paper or foil if packing for lunch – this holds everything together.
Hummus Hacks: Try different flavors like roasted red pepper or garlic for variety. You can even blend veggies into plain hummus for extra nutrition stealth mode.
9. Quinoa and Black Bean Salad (The Protein Powerhouse)
Power Ingredients:
- 2 cups cooked quinoa, cooled
- 1 can (15 oz) black beans, rinsed and drained
- 1 cup corn kernels
- 1 red bell pepper, diced
- ½ red onion, finely diced
- ½ cup fresh cilantro, chopped
- 1 avocado, diced (add just before serving)
Lime Dressing:
- ¼ cup lime juice (about 2 limes)
- ¼ cup olive oil
- 1 teaspoon cumin
- ½ teaspoon chili powder
- Salt and pepper to taste
Bringing It Together:
- Cook quinoa according to package directions using broth instead of water for extra flavor.
- Spread cooked quinoa on a baking sheet to cool quickly – nobody wants a warm salad in their lunchbox.
- While quinoa cools, prep all vegetables and make the dressing.
- Combine quinoa, beans, corn, bell pepper, and onion in a large bowl.
- Pour dressing over salad and toss thoroughly.
- Add cilantro and gently mix – add avocado just before serving to prevent browning.
Staying Power: This salad lasts 4-5 days in the fridge (without the avocado), making it a great option for meal prep.
10. Creamy Avocado and Tuna Sandwich (The Upgrade Your Lunch Needs)
Sandwich Supplies:
- 2 cans (5 oz each) tuna, drained
- 1 ripe avocado
- 2 tablespoons Greek yogurt
- 1 tablespoon lemon juice
- 2 tablespoons finely diced celery
- 1 tablespoon finely diced red onion
- Salt, pepper, and a pinch of garlic powder
- 8 slices whole-grain bread
- Lettuce leaves and tomato slices
Sandwich Science:
- Mash avocado in a bowl until mostly smooth (a few chunks are nice for texture).
- Add Greek yogurt and lemon juice to the avocado and mix well.
- Fold in tuna, celery, and onion gently – you want to keep some texture.
- Season with salt, pepper, and garlic powder to taste.
- Toast bread lightly if desired (it helps prevent sogginess).
- Spread tuna mixture generously on four slices of bread.
- Top with lettuce and tomato, then the remaining bread slices.
Non-Tuna Options: This recipe works great with canned chicken, salmon, or even mashed chickpeas for a vegetarian version.
The Bottom Line (Because Every Good Story Needs One)
Look, we get it. Packing Kid-Friendly lunches day after day can feel like you’re stuck in some sort of culinary Groundhog Day. But here’s the beautiful truth: with these ten recipes in your arsenal, you’ve got at least two weeks of lunches without a single repeat. That’s two weeks of opening lunchboxes to find actual empty containers instead of rejected sandwiches.
The real secret? Don’t be afraid to get the kids involved. Let them pick which recipe to make for Sunday meal prep. Have them help with age-appropriate tasks (even toddlers can sprinkle cheese like champions). When they have skin in the game, they’re way more likely actually to eat what’s packed.
And remember, perfection is overrated. Some days, a perfectly balanced bento box happens. Other days, it’s crackers, cheese, apple slices, and calling it good. Both are perfectly valid lunch solutions, and your kids will thrive either way.
So go forth, brave lunch packers. May your containers always seal properly, your ice packs stay frozen, and your kids actually eat what you pack. You’ve got this!

