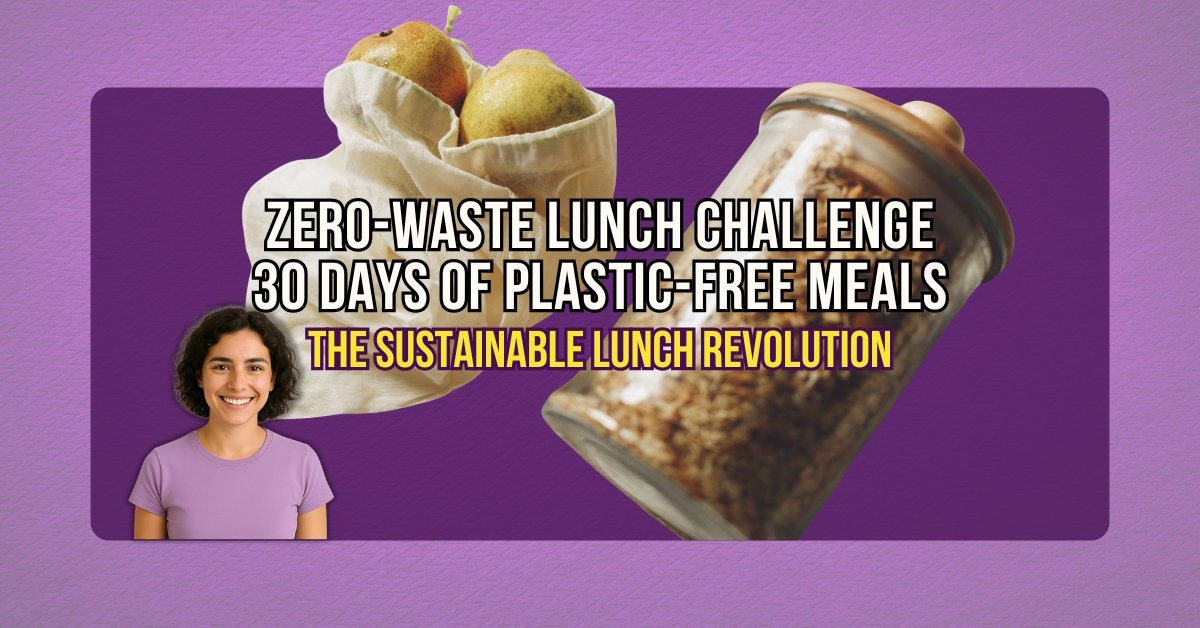

Breaking Free from Single-Use Plastic (And Feeling Pretty Good About It)
Let’s talk about the elephant in the lunch room—all that disposable plastic wrapping up our midday meals. Ready for a statistic that might make you rethink your lunch packing game? The disposable lunch gear, including plastic straws, bags, and utensils, generates over 67 pounds of waste per student over a nine-month school year in US schools. That’s just kids—imagine what we adults are contributing to the problem.
It’s time for a lunch revolution, and it starts with a simple 30-day challenge that’ll transform your lunch routine from a plastic-producing machine into a zero-waste success story. And the best part? You’ll actually save money while saving the planet. Win-win much?

The True Cost of Disposable Lunch Packaging (Spoiler: It’s Depressing)
Here’s a fun fact that’s not actually fun at all: more than 90 times the amount of plastic municipal solid waste was generated in 2018 compared to 1960. Single-use packaging contributes millions of tons to that total each year.
But here’s the hopeful news: reusable containers can outperform single-use packaging in all environmental impact categories. Translation? Your investment in good containers pays dividends to both your wallet and the planet.

Week 1: Foundation Building (No Overwhelm, Just Progress)
Days 1-7: Assess and Invest (Without Going Broke)
Start by taking inventory of what you already have. There’s no point in tossing perfectly good items in your kitchen just to buy new “eco-friendly” versions. That’s not very eco-friendly, is it? Instead, create a game plan for how you’ll replace items when they reach the end of their natural lives.
Your Essential Zero-Waste Kit:
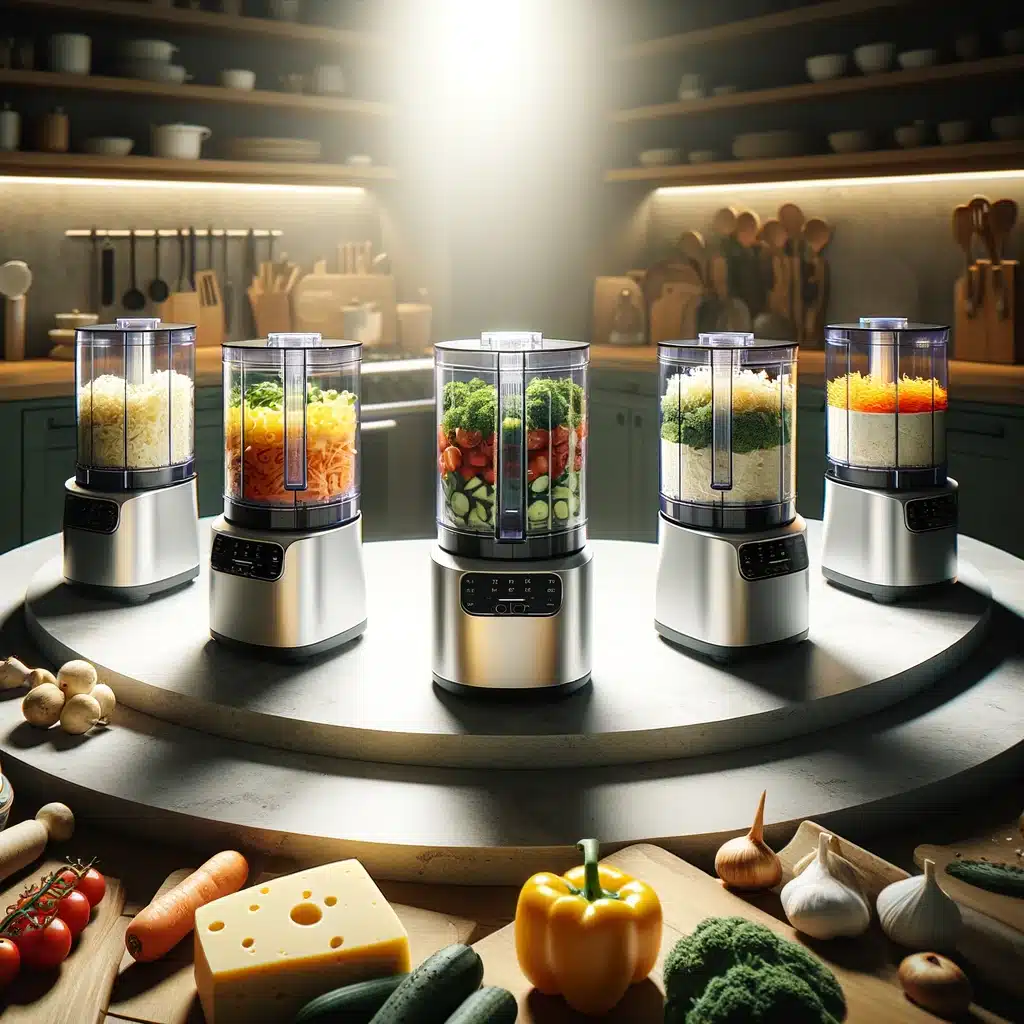
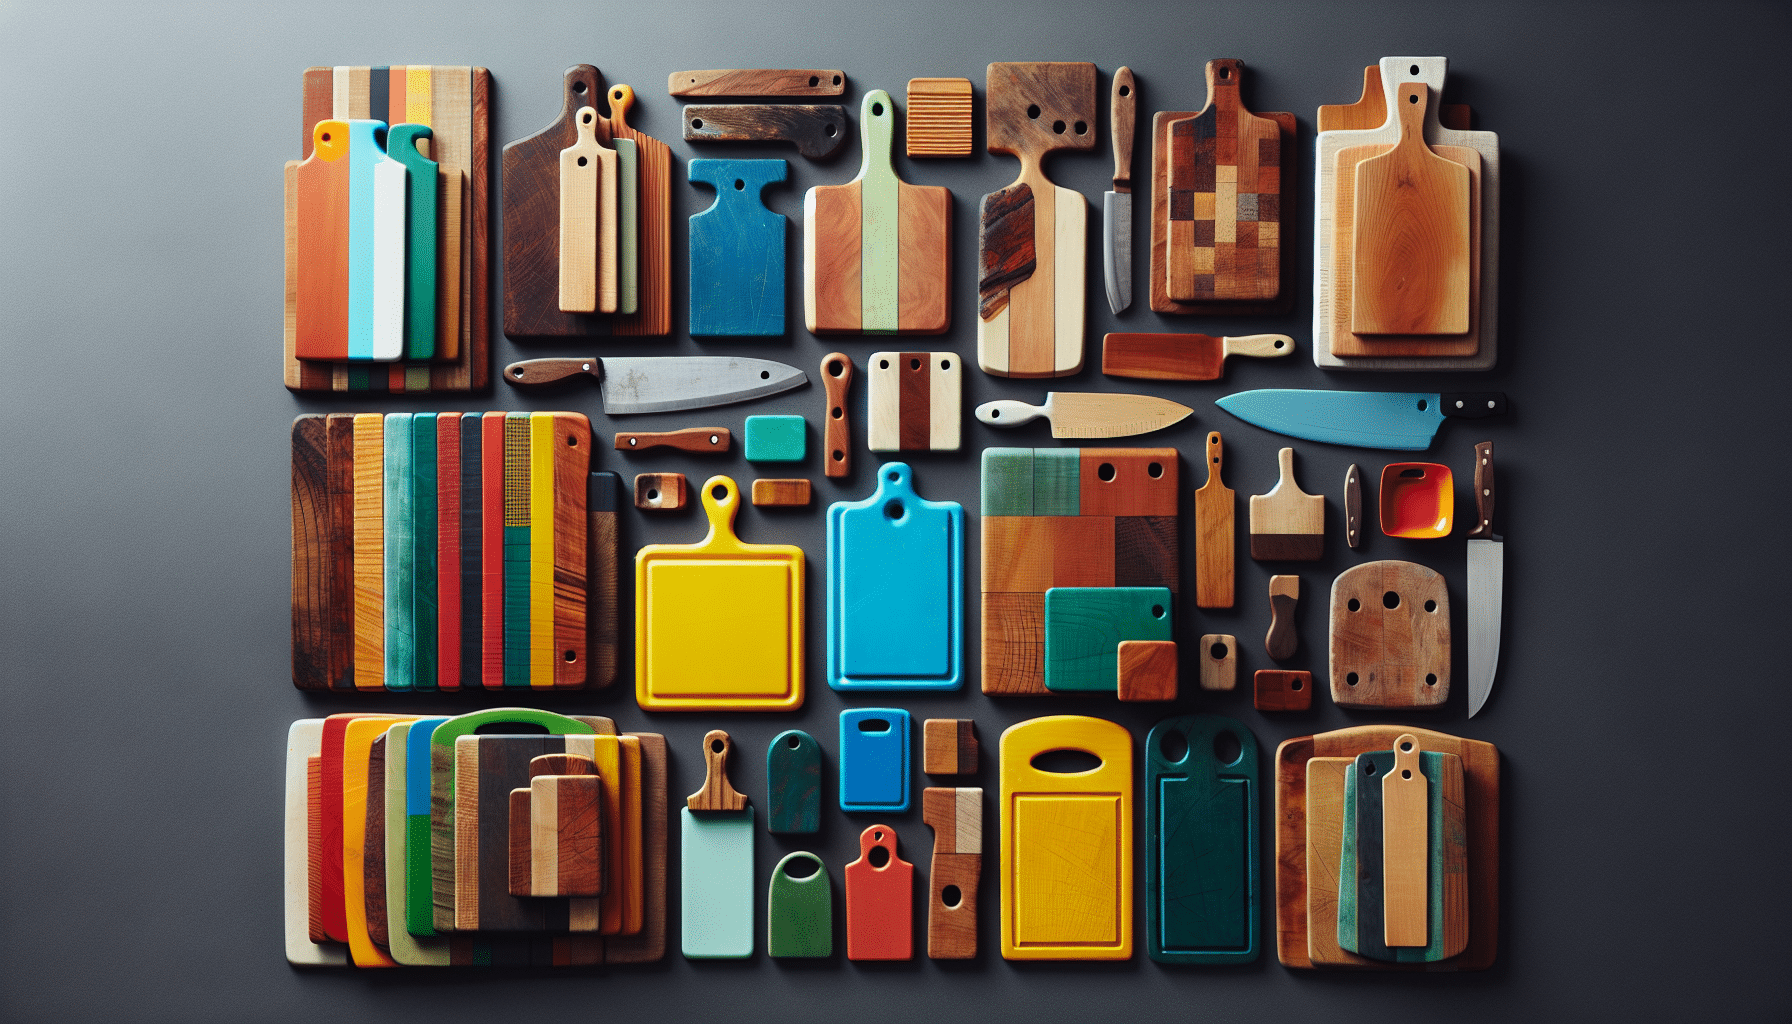
- Stainless Steel Containers: Durable champions that won’t retain flavors or stains
- Glass Containers: Perfect for salads and anything you’ll reheat (microwave-safe is key)
- Beeswax Wraps: The plastic wrap replacement that actually works
- Reusable Bags: Silicone or fabric options for various uses
- Portable Utensils: Bamboo or stainless steel set with a carrying case (because eating soup with your hands isn’t practical)
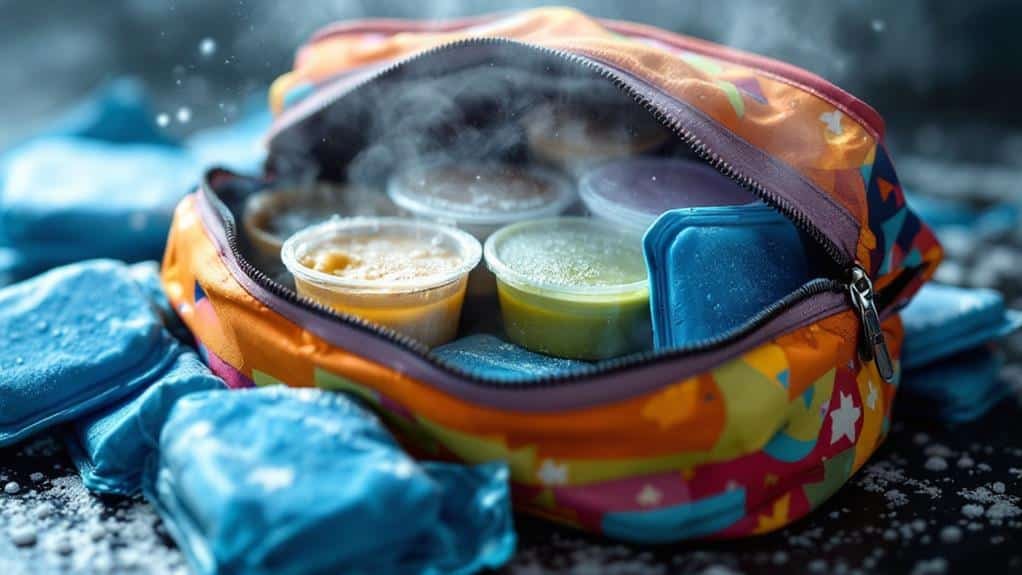
- Insulated Food Jar: For soups and hot meals that stay hot
- Reusable Water Bottle: Say goodbye to plastic bottles forever
Budget-Friendly Pro Tip: Start with repurposed glass jars from pasta sauce, pickles, and other foods. They’re free, they work perfectly for salads, soups, and grain bowls, and they have that rustic charm that makes you look like you have your life together.
Week 2: Mastering the Basics (AKA Container Tetris)
Days 8-14: Your Container Strategy
Time to learn the art of packing efficiently without waste. Think of it as adult Tetris, but with food and a better environmental outcome.
The Container Matching Game:
- Salads: Wide-mouth jars with dressing on the bottom (shake and eat—genius!)
- Sandwiches: Stainless steel containers or those beeswax wraps you invested in
- Soups: Insulated jars that maintain temperature like magical food thermoses
- Grain Bowls: Divided containers to keep components separate (nobody wants soggy everything)
- Snacks: Small containers or reusable bags (perfect for nuts, crackers, or fruit)
Pro Tip: Label your containers with your name and phone number. Trust us on this one—lunch containers have a mysterious tendency to wander off, and you’ll want them back.

Week 3: Advanced Techniques (Becoming a Zero-Waste Ninja)
Days 15-21: Shopping and Storage Revolution
Now we’re transforming how you shop for lunch ingredients to eliminate packaging waste from the source.
Zero-Waste Shopping Strategies That Actually Work:
- Bulk Bins: Bring your own bags for grains, nuts, and dried goods (and feel very sophisticated doing it)
- Farmers’ Markets: No packaging on fresh produce, plus you get to have those wholesome conversations with actual farmers
- Butcher/Deli Counter: Bring containers for cheese and proteins (they’ll think you’re eco-conscious and organized)
- Bakery: Use cloth bags for fresh bread (because plastic-wrapped bread is so last decade)
Storage Revolution: Write tare weights on your containers to streamline bulk shopping. Some companies have even started etching weights on the bottom of containers to make purchasing from zero-waste stores hassle-free.
Week 4: Lifestyle Integration (Making It Stick)
Days 22-30: Your New Normal
The final week focuses on making zero-waste lunches feel as natural as checking your phone (which, let’s face it, happens approximately 96 times per day).
Meal Prep for Zero Waste:
- Sunday: Batch cook grains and proteins
- Store prepped ingredients in glass containers like a meal prep maven
- Assemble lunches the night before (future you will be grateful)
- Keep backup containers at work for unexpected lunch situations
Your Zero-Waste Lunch Ideas (Because Variety Is the Spice of Life)
Monday: Mason Jar Salad Perfection
Layer dressing on the bottom, sturdy vegetables in the middle, proteins next, and greens on top. When lunch time arrives, shake and eat directly from the jar. Bring a real fork from home because plastic forks are banned from your new lifestyle.
Tuesday: The Beeswax-Wrapped Wonder
Whole-grain bread with hummus and vegetables, wrapped in beeswax wrap instead of plastic. Include a cloth napkin because you’re classy like that.
Wednesday: Glass Container Grain Bowl
Quinoa base with roasted vegetables, tahini dressing in a small jar on the side, and your trusty reusable utensils. Instagram-worthy and planet-friendly.
Thursday: Soup in Your Insulated Jar
Homemade lentil soup that stays piping hot for hours. Bring a real spoon from home and use that cloth napkin for cleanup like the zero-waste champion you’re becoming.
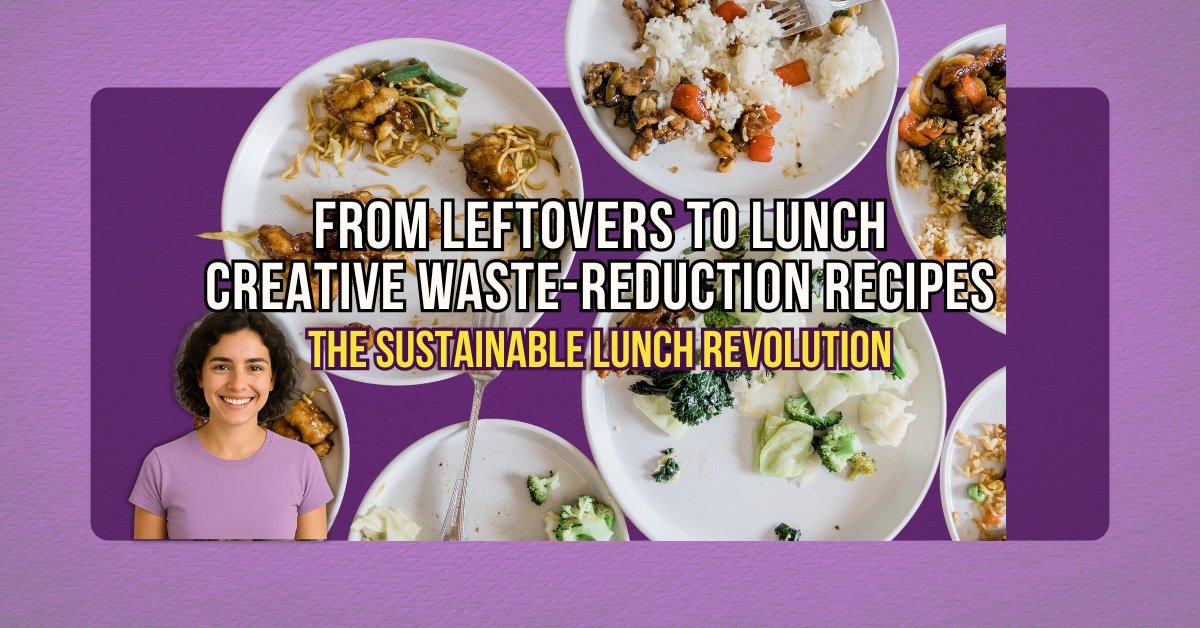
Friday: Leftover Transformation Magic
Yesterday’s dinner gets a new life in a glass container that can be reheated if needed.
Overcoming Common Challenges (Because We’re All Human)
Challenge 1: “I Keep Forgetting My Containers”
Solution: Keep a backup set at work and pack lunch containers with your work bag the night before. Habit stacking is your friend here.
Challenge 2: “Washing Containers Is Such a Pain”
Solution: Rinse immediately after eating to prevent food from becoming cement. Keep a small bottle of dish soap at work for easy cleanup.
Challenge 3: “The Initial Investment Seems Expensive”
Solution: Think of reusable containers as long-term investments. Start with one or two quality pieces and build gradually. Your future self will thank you when you’re not spending $5 daily on disposable lunch containers.
Tracking Your Success (Numbers Don’t Lie)
Week 1 Metrics:
- Count single-use items eliminated (prepare to be amazed)
- Calculate money saved on disposable items (prepare to be even more amazed)
Week 2 Metrics:
- Track days without creating lunch waste
- Note convenience improvements (spoiler: it gets easier)
Week 3 Metrics:
- Measure pantry packaging reduction
- Calculate bulk buying savings
Week 4 Metrics:
- Evaluate habit formation (are you doing it without thinking yet?)
- Plan for long-term sustainability
Graduation Day: Day 31 and Beyond
After 30 days, zero-waste lunches will feel completely natural. You’ll have:
- Eliminated approximately 150 pieces of single-use plastic (that’s just one person!)
- Saved money on disposable items
- Developed sustainable habits that’ll last
- Inspired others by example (whether you realize it or not)
The zero-waste lunch challenge isn’t just about 30 days—it’s about fundamentally transforming your relationship with food packaging. Every reusable container used is a vote for a more sustainable future, and every plastic item not consumed is a small victory for ocean life everywhere.
By the end of this challenge, you’ll realize that zero-waste lunches aren’t a sacrifice—they’re actually more convenient, more delicious, and infinitely more satisfying than their plastic-wrapped predecessors. You’ll join the ranks of people who look at single-use lunch packaging and think, “Why would anyone choose that when this works so much better?”
Your 30-day zero-waste journey starts with a single reusable container and a commitment to change. The planet—and your wallet—are rooting for you.