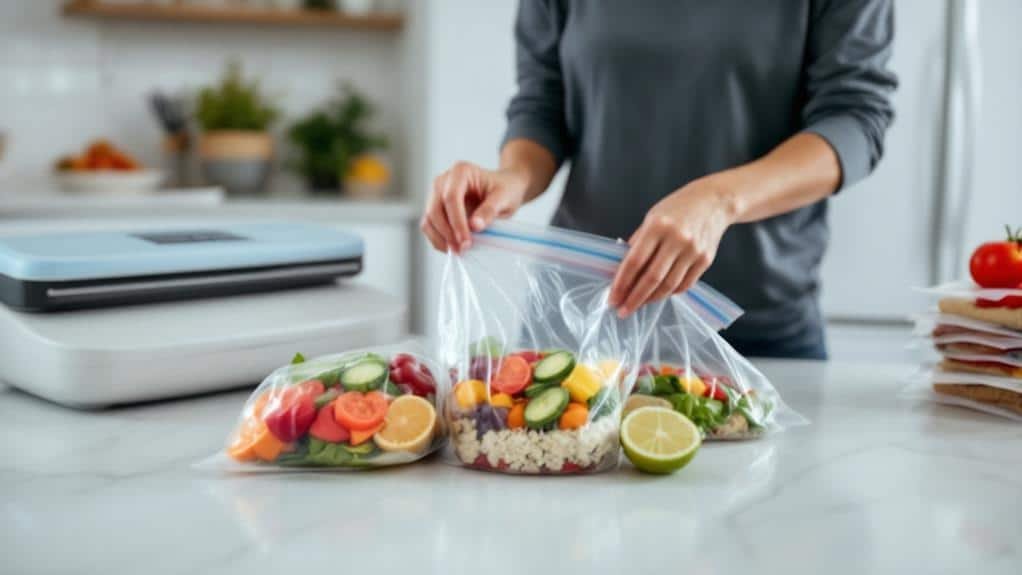
Ready to take your meal prep game to the next level? Vacuum-sealing batch-cooked meals is your secret weapon! Start by cooking your favourite dishes in larger quantities, then let them cool completely. Portion your meals into serving sizes that fit your lifestyle, and don’t forget to leave some space in those bags for effective sealing. Invest in a vacuum-sealer and quality bags, then seal away! Label each meal with the date and contents, and pop them in the freezer for future enjoyment. You’ll save time, preserve flavours, and have delicious homemade meals at your fingertips. Are you curious about the best techniques for different foods? There’s more to discover!
Key Highlights
- Cool meals completely before sealing to prevent steam issues and ensure food safety.
- Portion meals into serving sizes that fit your needs and leave space in bags for effective sealing.
- Use a vacuum sealer and appropriate bags to remove air and seal meals for extended freshness.
- Label sealed meals with names and dates using permanent markers for easy identification.
- Store sealed meals in an organized freezer, maintaining optimal temperature and rotating inventory regularly.
How to Vacuum-Seal Table of Contents
Benefits of Vacuum-Sealing Batch Meals
Efficiency is the name of the game when vacuum-sealing batch-cooked meals. You’re not just saving time; you’re revolutionizing your kitchen routine!
Imagine this: instead of slaving over the stove every night, you’re kicking back with your feet up, savouring a delicious meal you prepped days ago. That’s the magic of vacuum-sealing, my freedom-loving friend. With strong suction power and effective sealing capabilities, modern vacuum sealers can keep your food fresh up to 8 times longer than traditional storage methods.
But wait, there’s more! (Cue infomercial voice.) Vacuum-sealing isn’t just about time savings—though that’s a pretty sweet perk. It’s also your ticket to nutritional retention. Those vitamins and minerals you worked so hard to pack into your meals? They’re not going anywhere. Your food stays fresher longer, so you’re getting more bang for your nutritional buck.
Now, I know what you’re thinking. “But won’t my food taste like it’s been in a time capsule?” Fear not! With proper vacuum-sealing techniques, your meals will taste as fresh as the day you made them.
It’s like having a personal chef on standby, minus the hefty price tag. So go ahead and embrace the vacuum-sealing lifestyle—your taste buds (and your schedule) will thank you!
Discover More: Ready to unlock the secret to keeping your food fresh longer? Explore our updated guide to find the best vacuum sealer for your kitchenEquipment Needed for Vacuum-Sealing
Frequently, the cornerstone of successful vacuum-sealing is having the right equipment at your fingertips.
You’ll need to choose from various vacuum machine options, ranging from budget-friendly countertop models to high-end chamber sealers. Don’t worry – you don’t need to break the bank to join the vacuum-sealing revolution!
Next up, let’s talk about sealing bag types.
You’ve got options, my friend! There are textured bags for better air removal, BPA-free bags for the health-conscious, and even reusable silicone bags for the eco-warriors among us. It’s like a buffet of bag choices – pick your favourite!
Here’s a pro tip: invest in a good pair of scissors.
Trust me, you’ll thank me later when you’re not wrestling with stubborn packaging. Oh, and don’t forget a permanent marker for labelling. Unless, of course, you enjoy playing “mystery meal roulette” with your freezer contents.
Lastly, consider a vacuum canister for those oddly shaped items.
It’s like Tetris for your food storage – everything fits perfectly with the right tools!
Preparing Meals for Vacuum-Sealing
When you’re gearing up for vacuum sealing, the kitchen transforms into a meal prep paradise. It’s time to release your inner chef and create a stockpile of delicious, ready-to-eat meals that will free up your future self from kitchen drudgery.
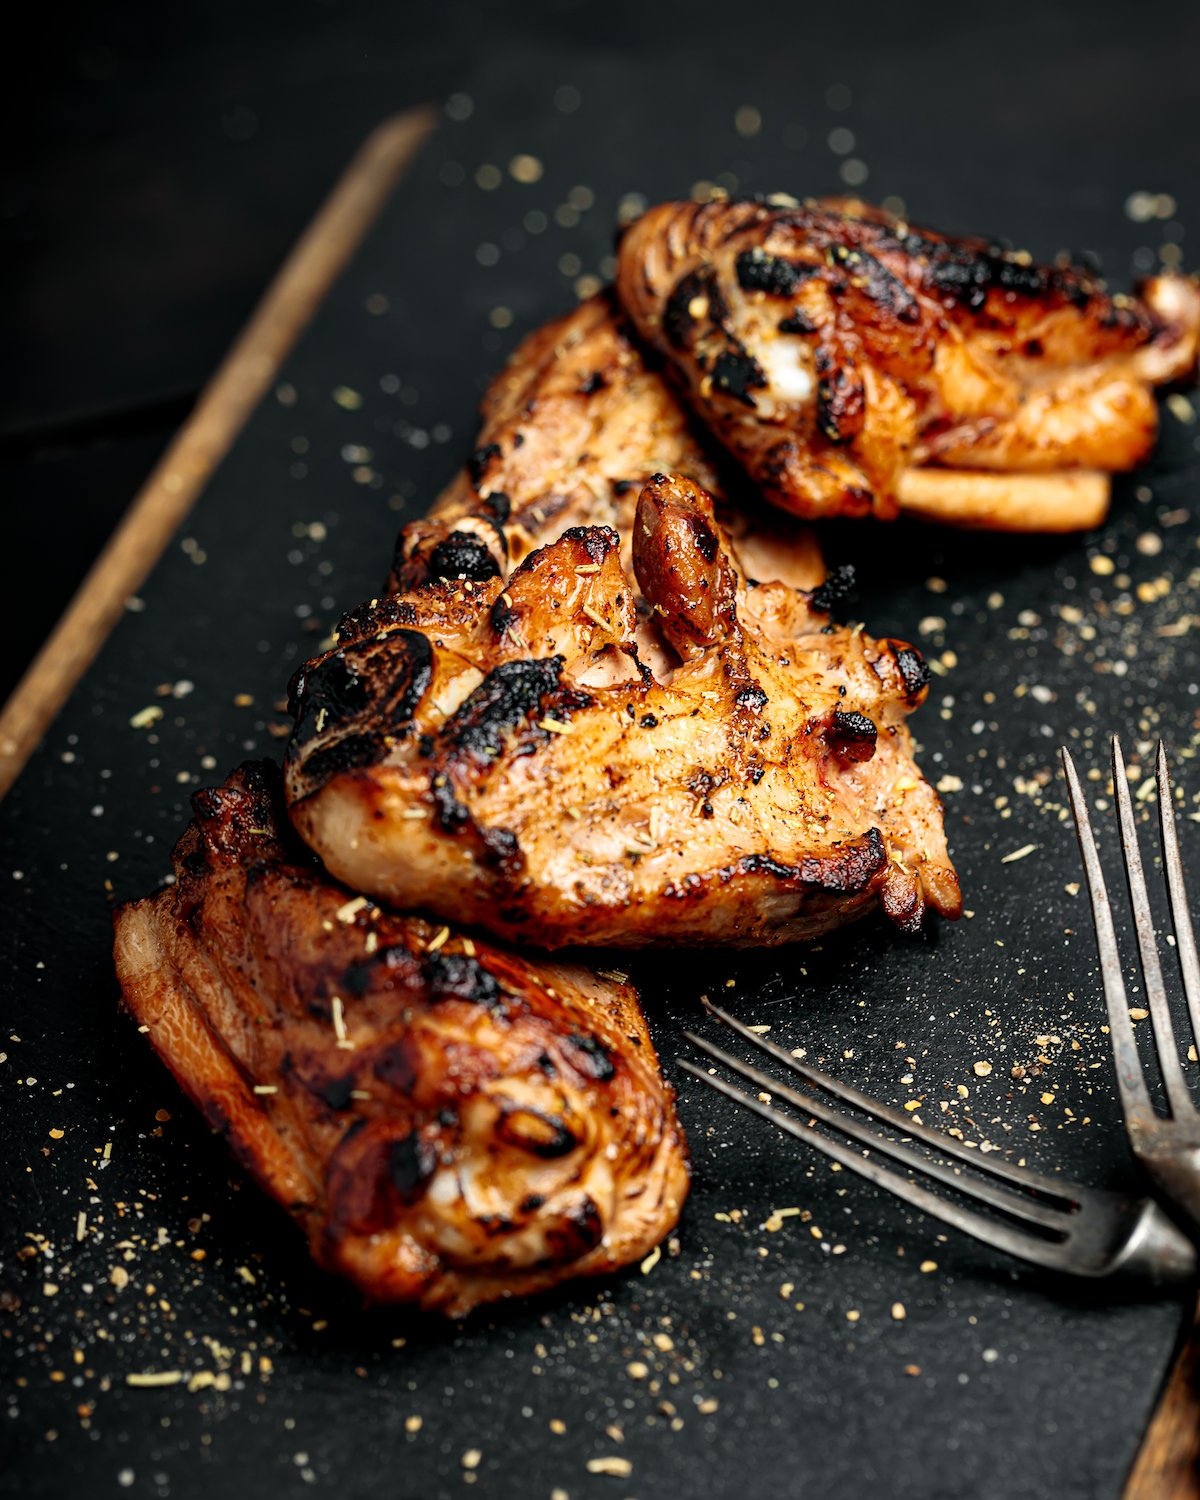
Start by cooking your favourite recipes in larger batches. Think hearty stews, flavorful curries, or versatile grilled chicken – anything that’ll make you do a happy dance when you defrost it later.
Once cooked, let your culinary masterpieces cool completely. Nobody wants a steam explosion in their vacuum sealer!
Now, here’s where the magic of ingredient storage comes in. Portion your meals into serving sizes that make sense for your lifestyle. Single? Individual portions it is! Feeding a small army? Family-sized portions are your friend.
Pro tip: Use freezer-safe containers or bags for easy transfer later.
Portioning Food for Vacuum-Sealing
Portioning your meals correctly is essential for successful vacuum-sealing. It’s not just about cramming as much food as possible into those bags—oh no, my freedom-loving friend! You’ve got to think smart and strategically when it comes to your meal prep adventure.
Consider incorporating creative meal prep bowls into your vacuum-sealing routine for added variety and nutrition. These versatile options can be easily customized to suit your tastes and dietary needs.
First things first, consider your portion sizes. Are you a solo diner or feeding an army? Tailor your portions accordingly. Single servings are perfect for those “I can’t be bothered to cook” nights, while family-sized portions are great for those “let’s gather ’round the table” moments.
Now, here’s a pro tip: don’t overfill those bags! Leave some breathing room for the vacuum sealer to work its magic. Trust me, you don’t want to wrestle with a bulging bag like it’s some kind of unruly balloon animal.
And hey, why not get creative with your portioning? Mix and match ingredients to create ready-to-go meal kits. It’s like playing Tetris with your food – fun and practical!
Just remember, the goal is to make your future self jump for joy when it’s time to defrost and devour.
Vacuum-Sealing Techniques for Different Foods
Now that you’ve mastered the art of portioning let’s tackle the nitty-gritty of vacuum-sealing different types of food.
It’s time to release your inner culinary freedom fighter and conquer the world of airtight storage!
For solid foods like meats and veggies, it’s straightforward: pop ’em in the bag and seal away.
But what about those tricky liquids and sauces? Here’s a pro tip: freeze them first! It’ll prevent a messy vacuum-sealing fiasco. Trust me, you don’t want to clean that up.
Are you feeling adventurous? Try marinating techniques while you seal. Toss in some herbs and spices before sealing, and you’ll have a flavour-packed meal ready to go.
It’s like meal prep meets sous vide – fancy, right?
Use the pulse function on your vacuum-sealer for delicate items like berries or baked goods. It’ll prevent them from getting squished while still keeping them fresh.
And don’t forget about dry goods – they’re perfect candidates for long-term storage.
Labelling and Organizing Sealed Meals
With your meals perfectly vacuum-sealed, it’s time to tackle the crucial task of labelling and organizing. Don’t let your future self down by playing a frustrating “guess that meal” game every time you reach the freezer. Embrace your inner organizing guru, and let’s plunge into some nifty labelling strategies!
First up, grab a permanent marker and go to town on those sealed bags. Jot down the meal name, date, and any reheating instructions. Feeling fancy? Slap on some colour-coded stickers to categorize your culinary creations. Red for spicy, green for veggie-packed – you get the idea.
Now, let’s talk organizing methods. You could stack ’em like Jenga blocks, but where’s the fun in that? Try filing your meals vertically in bins or baskets. It’s like a mini food library, and you’re the librarian!
Or, if you’re feeling rebellious, create a “meal of the month” system. It’s like a surprise party for your taste buds whenever you open the freezer. Whatever method you choose, just remember: a well-organized freezer is a happy freezer!
Freezer Storage Best Practices
After you’ve labelled and organized your vacuum-sealed meals, it’s time to focus on proper freezer storage. Think of your freezer as a treasure chest of culinary freedom, where your pre-prepped meals await their moment to shine.
To make the most of this frozen wonderland, let’s plunge into some freezer organization tips that’ll have you feeling like a meal-prep mastermind. This approach aligns perfectly with the growing trend of home meal preparation due to remote work, allowing you to save time during busy workdays while still enjoying nutritious meals.
First things first, embrace the art of freezer Tetris. Stack those vacuum-sealed packages like a pro, maximizing every inch of space. But don’t go overboard – remember, a cluttered freezer is the enemy of efficiency.
Now, let’s talk about storage duration. While vacuum sealing extends shelf life, it’s not a magic time machine. Keep track of when you stored each meal and aim to use them within 3-6 months for peak taste and quality.
Here are some freezer best practices to keep in mind:
- Use freezer-safe containers or bags to prevent freezer burn
- Store similar items together for easy retrieval
- Rotate your stock, using older items first
Thawing and Reheating Vacuum-Sealed Meals
Proper thawing and reheating techniques are essential for maintaining food safety and quality when it’s time to enjoy your vacuum-sealed meals. Let’s explore some thawing methods and reheating tips that will free you from the shackles of mealtime stress!
First up, thawing. You’ve got options, my friend:
| Thawing Method | Time | Safety Level |
|---|---|---|
| Refrigerator | Slow | High |
| Cold Water | Quick | Medium |
| Microwave | Fast | Low |
| Countertop | Slow | Danger Zone! |
| Sous Vide | Slow | High |
Now, don’t get your apron in a twist over that “Danger Zone” – we’re just looking out for you! Stick to the top three methods, and you’ll be golden.
When it comes to reheating, you’ve got choices galore. Microwave? Sure, it’s quick, but watch out for those hot spots! Oven? A bit slower but oh-so-tasty. Stovetop? Perfect for soups and stews. And let’s not forget the trendy sous vide method – it’s like giving your food a spa day!
Food Safety Considerations
Three critical food safety considerations should be at the forefront of your mind when vacuum-sealing batch-cooked meals.
First, let’s discuss those pesky foodborne pathogens. These microscopic party crashers can turn your culinary masterpiece into a stomach-churning disaster. But don’t fret! Proper handling and storage will keep these uninvited guests at bay.
Next on the menu: temperature control. Think of it as your meals’ thermostat. Too hot or too cold, and you’re in for a wild ride (and not the fun kind). Aim for that Goldilocks zone – just right – to keep your food safe and scrumptious.
Lastly, cleanliness is key. No one wants a side of bacteria with their lasagna, right?
Here’s a quick rundown of food safety must-dos:
- Cool cooked food rapidly before sealing
- Store sealed meals at appropriate temperatures
- Use clean utensils and work surfaces
Meal Ideas for Vacuum-Sealing
Now that you’ve got food safety down pat, let’s explore some mouthwatering meal ideas perfect for vacuum-sealing.
You’re about to start a culinary adventure to free up your time and tantalize your taste buds!
First up, hearty vegetarian chilli – a crowd-pleaser that’ll have even meat lovers asking for seconds.
For those craving a bit of spice, chicken curry is a fantastic option. It’s like a flavour explosion in your mouth!
Quinoa salad is perfect for health-conscious rebels, while beef stew is comfort food at its finest.
Are you feeling soupy? Lentil soup‘s got your back. It’s like a warm hug in a bowl!
Vegetable stir fry is ideal for those nights when you’re craving something light yet satisfying.
Pasta lovers, rejoice! Pasta primavera and baked ziti are both excellent choices for vacuum-sealing.
For a taste of the Mediterranean, try ratatouille. It’s like a vacation for your taste buds!
And let’s not forget stuffed peppers – they’re like little edible presents waiting to be unwrapped and devoured.
With these options, you’ll never be bored with your meal prep again!
Conclusion
You’ve now got the tools to become a vacuum-sealing pro! These techniques will save time and money and reduce food waste. Imagine whipping up a big batch of hearty chilli on Sunday, portioning it out, and having ready-to-eat meals for weeks. It’s like giving your future self a delicious gift. So go ahead and seal the deal on easier meal prep. Your taste buds (and your wallet) will thank you!

