
Published June 16, 2024 · Updated August 18, 2026
Grandma’s recipes work because they were built for real kitchens, not food photography: a chicken soup that simmers into a full dinner, a meatloaf that feeds a table of four in under 90 minutes, and an apple pie with a crust that holds together on the first slice. This collection gathers three of those recipes, tested and updated with today’s ingredients and equipment, so the results taste like the originals without guesswork.
Quick Stats: All 3 Recipes
Nutrition varies by recipe. See each recipe card for exact values.
Three of Grandma’s Recipes
Why These Recipes Work
They were built for a full table: each recipe here scales to feed a family in one pass, from a pot of soup that stretches into leftovers to a pie that cuts into eight slices.
The techniques are the point, not a shortcut around them: a proper vegetable soffritto for the soup, a rested meatloaf that holds its shape when sliced, and a pie crust that is chilled and handled just enough to stay flaky.
They use ingredients you can actually find: parsnips, dill, ground beef and pork, and Granny Smith apples are all regular grocery-store items, not a specialty-store shopping list.
Each one keeps and reheats well: that matters for a weekday lunch as much as a Sunday dinner, and all three recipes hold their texture through at least one round of reheating.
Canned and Frozen vs. Homemade
| Dish | Typical Canned or Frozen Version | This Homemade Recipe | Sodium Difference |
|---|---|---|---|
| Chicken Soup | About 700 to 900mg sodium per cup, canned | 950mg sodium per 350g serving, seasoned to taste | Full control over added salt |
| Meatloaf | About 700 to 850mg sodium per serving, frozen | 1200mg sodium per 250g serving, from real ketchup and Worcestershire | No preservatives or fillers |
| Apple Pie | Often 15 to 20g added sugar per slice, bakery-bought | 300mg sodium, 30g sugar (mostly from the apples) per slice | Real fruit, no shelf-stable filling |
The sodium figures for packaged soup and frozen meatloaf come from typical USDA FoodData Central listings for those product categories, not a specific brand. The point isn’t that homemade is automatically lower in every number; it’s that cooking from scratch means you choose what goes in, down to the last pinch of salt.
The first recipe here is a chicken soup built on a real family version, the kind that gets remade for a new generation rather than reinvented, in the same spirit covered in passing recipes between grandparents and grandkids. It’s a variation of a paternal grandmother’s own soup, carried forward with the same balance of sweet root vegetables and slightly bitter parsley that made the original work.
Bubby’s Chicken Soup with Parsnips and Dill:


Bubby's Chicken Soup with Parsnips and Dill
Ingredients
Equipment
Method
- In a large pot, cover the chicken with water and bring to a boil.
- Add the vegetables, salt and pepper.
- Reduce heat and simmer until the chicken is cooked through and the vegetables are tender.
- Shred the chicken and puree the vegetables
- return the chicken and pureed vegetables to the pot
- Boil a small quantity of noodles according to package directions
- add the noodles, a few sprigs of parsley and dill to your bowl.
- Pour the soup into the bowl with the parsley, dill and noodles and enjoy. Season with salt and pepper to taste.
Nutrition
Notes
Tried this recipe?
Let us know how it was!Parsnips do most of the work in this pot. They break down slightly as they simmer, adding natural sweetness to the broth without any added sugar, while fresh dill keeps the whole thing tasting bright instead of heavy. It’s a soup meant to be eaten as a full lunch, not a starter.
Classic Meatloaf
Meatloaf earns its place at the table through technique, not novelty: a panko-and-milk soak that keeps the loaf moist, a blend of beef and pork for flavor, and a ketchup glaze that caramelizes into a real crust in the oven’s last 15 minutes. Served with mashed potatoes, it’s the kind of dinner that also works cold, sliced, for lunch the next day.
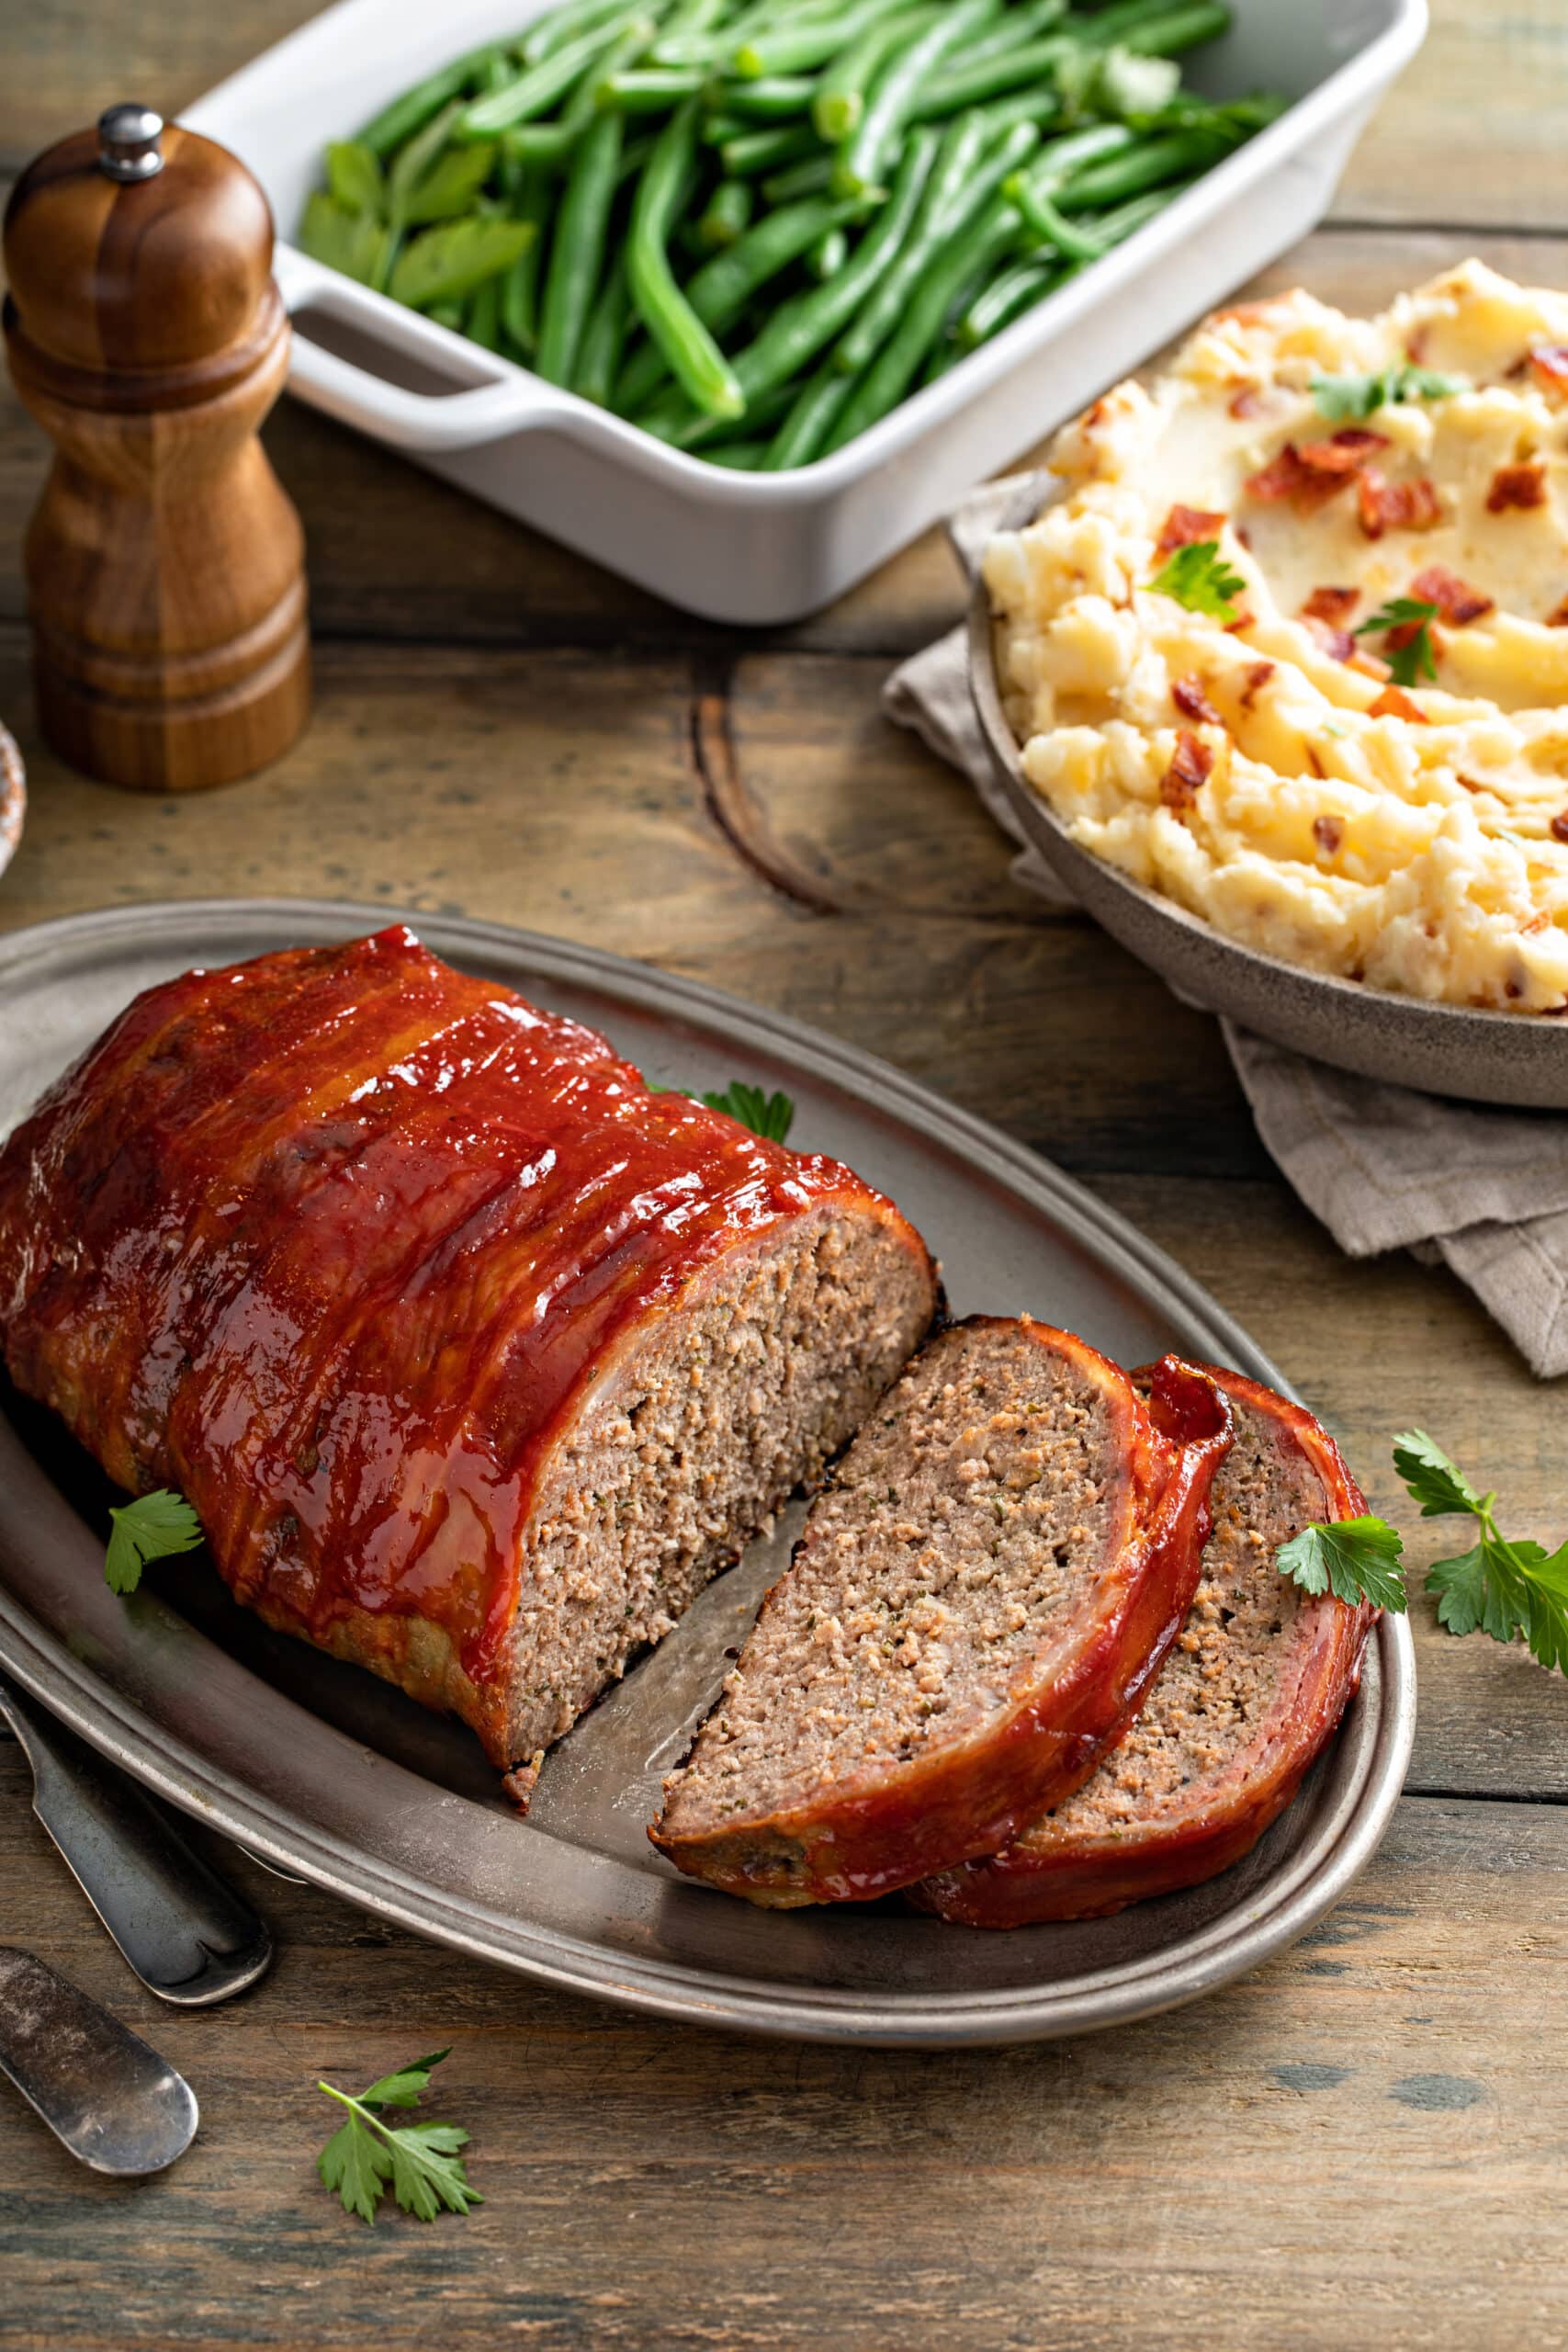
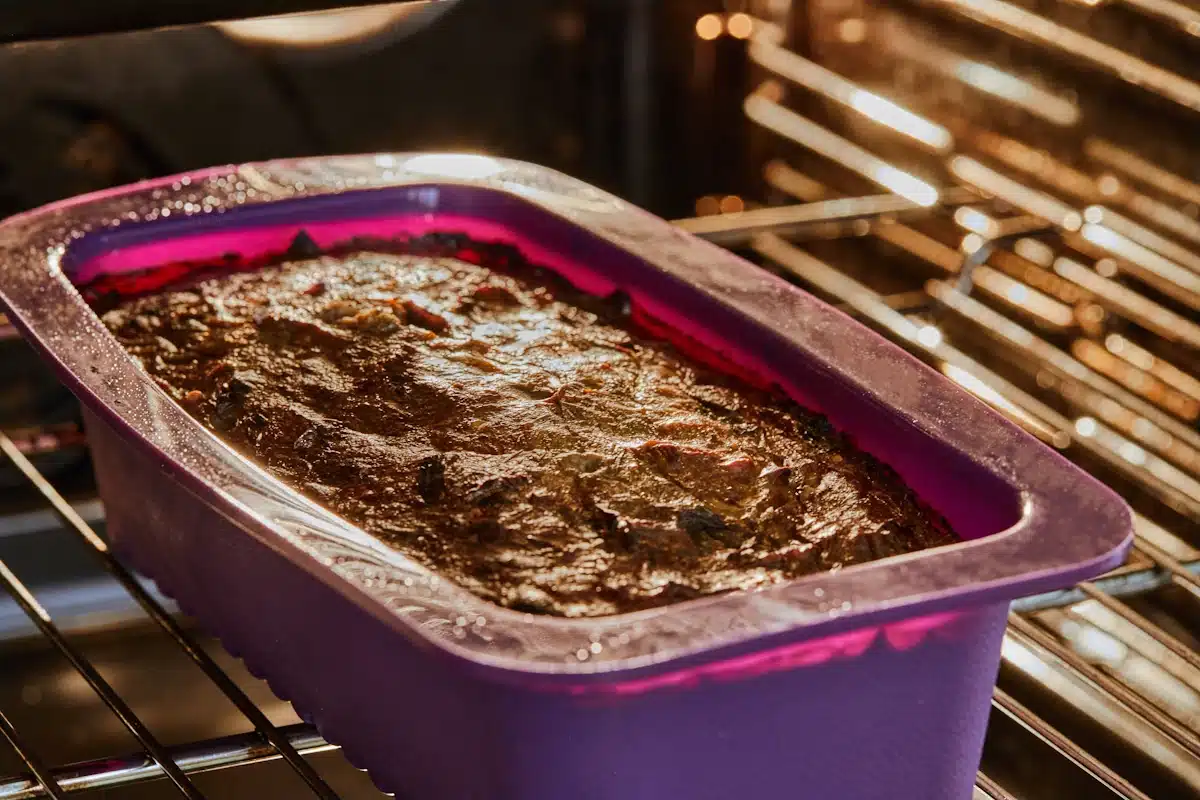
Classic Meatloaf
Ingredients
Equipment
Method
- Preheat the oven to 350°F
- In a large bowl, mix the ground beef, ground pork, onion, garlic, breadcrumbs, eggs, milk, ketchup, Worcestershire sauce, salt, and pepper.
- Shape the mixture into a loaf and place it in a baking dish.
- Spread 1/4 cup of ketchup over the top of the meatloaf.
- Bake for 1 hour, or until the meatloaf is cooked through and the top is slightly caramelized.
- Let it rest for a few minutes before slicing and serving.
Nutrition
Notes
- The nutrition values are estimated based on common ingredients and portion sizes.
- Variations may occur depending on specific brands of breadcrumbs, ketchup, and Worcestershire sauce used.
- Adding sliced pearl onions or other extra ingredients will slightly alter the nutrition values.
Tried this recipe?
Let us know how it was!Grandma’s Old-Fashioned Apple Pie
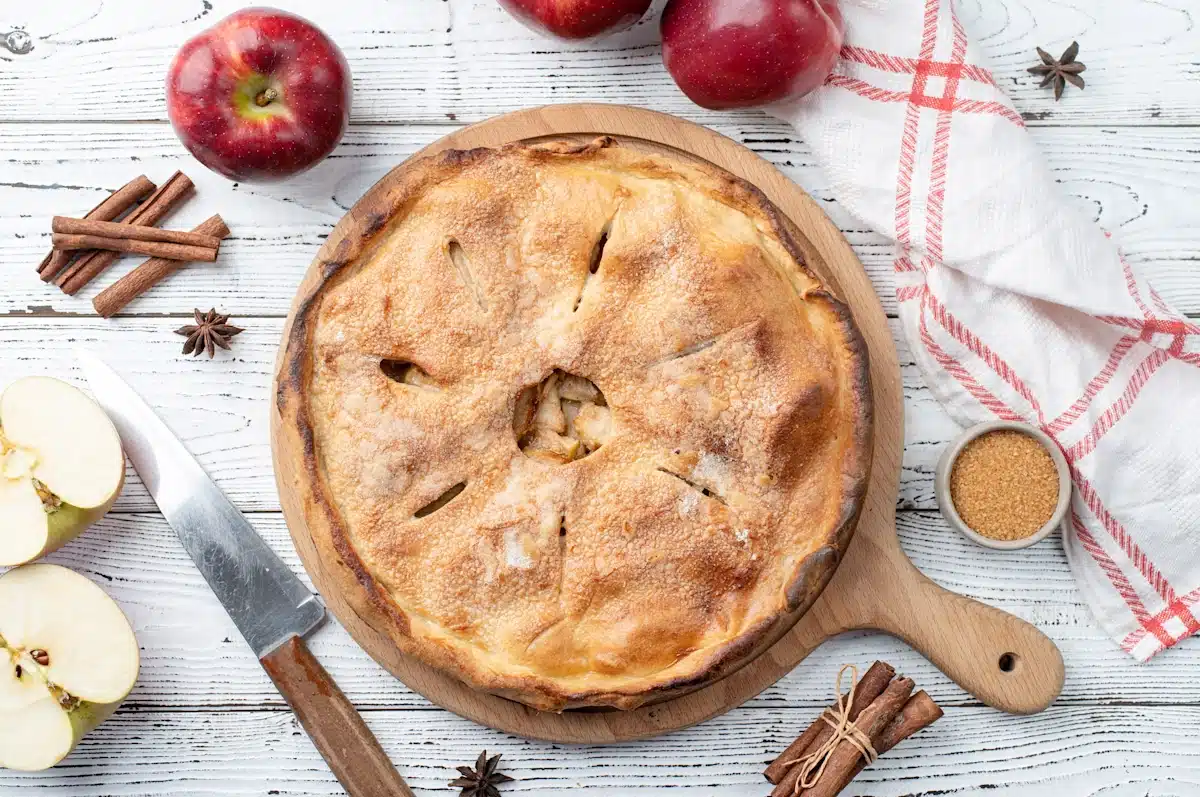
A properly old-fashioned apple pie comes down to two things: a crust that’s handled cold and briefly, and apples that hold some structure after baking. Granny Smith apples do that reliably, staying tart and slightly firm under a spiced filling, while a rest in the fridge before baking keeps the butter in the crust from melting before it hits the oven. If a crust isn’t in the cards this week, the Milk Street invisible apple cake uses the same apples with no rolling pin required.
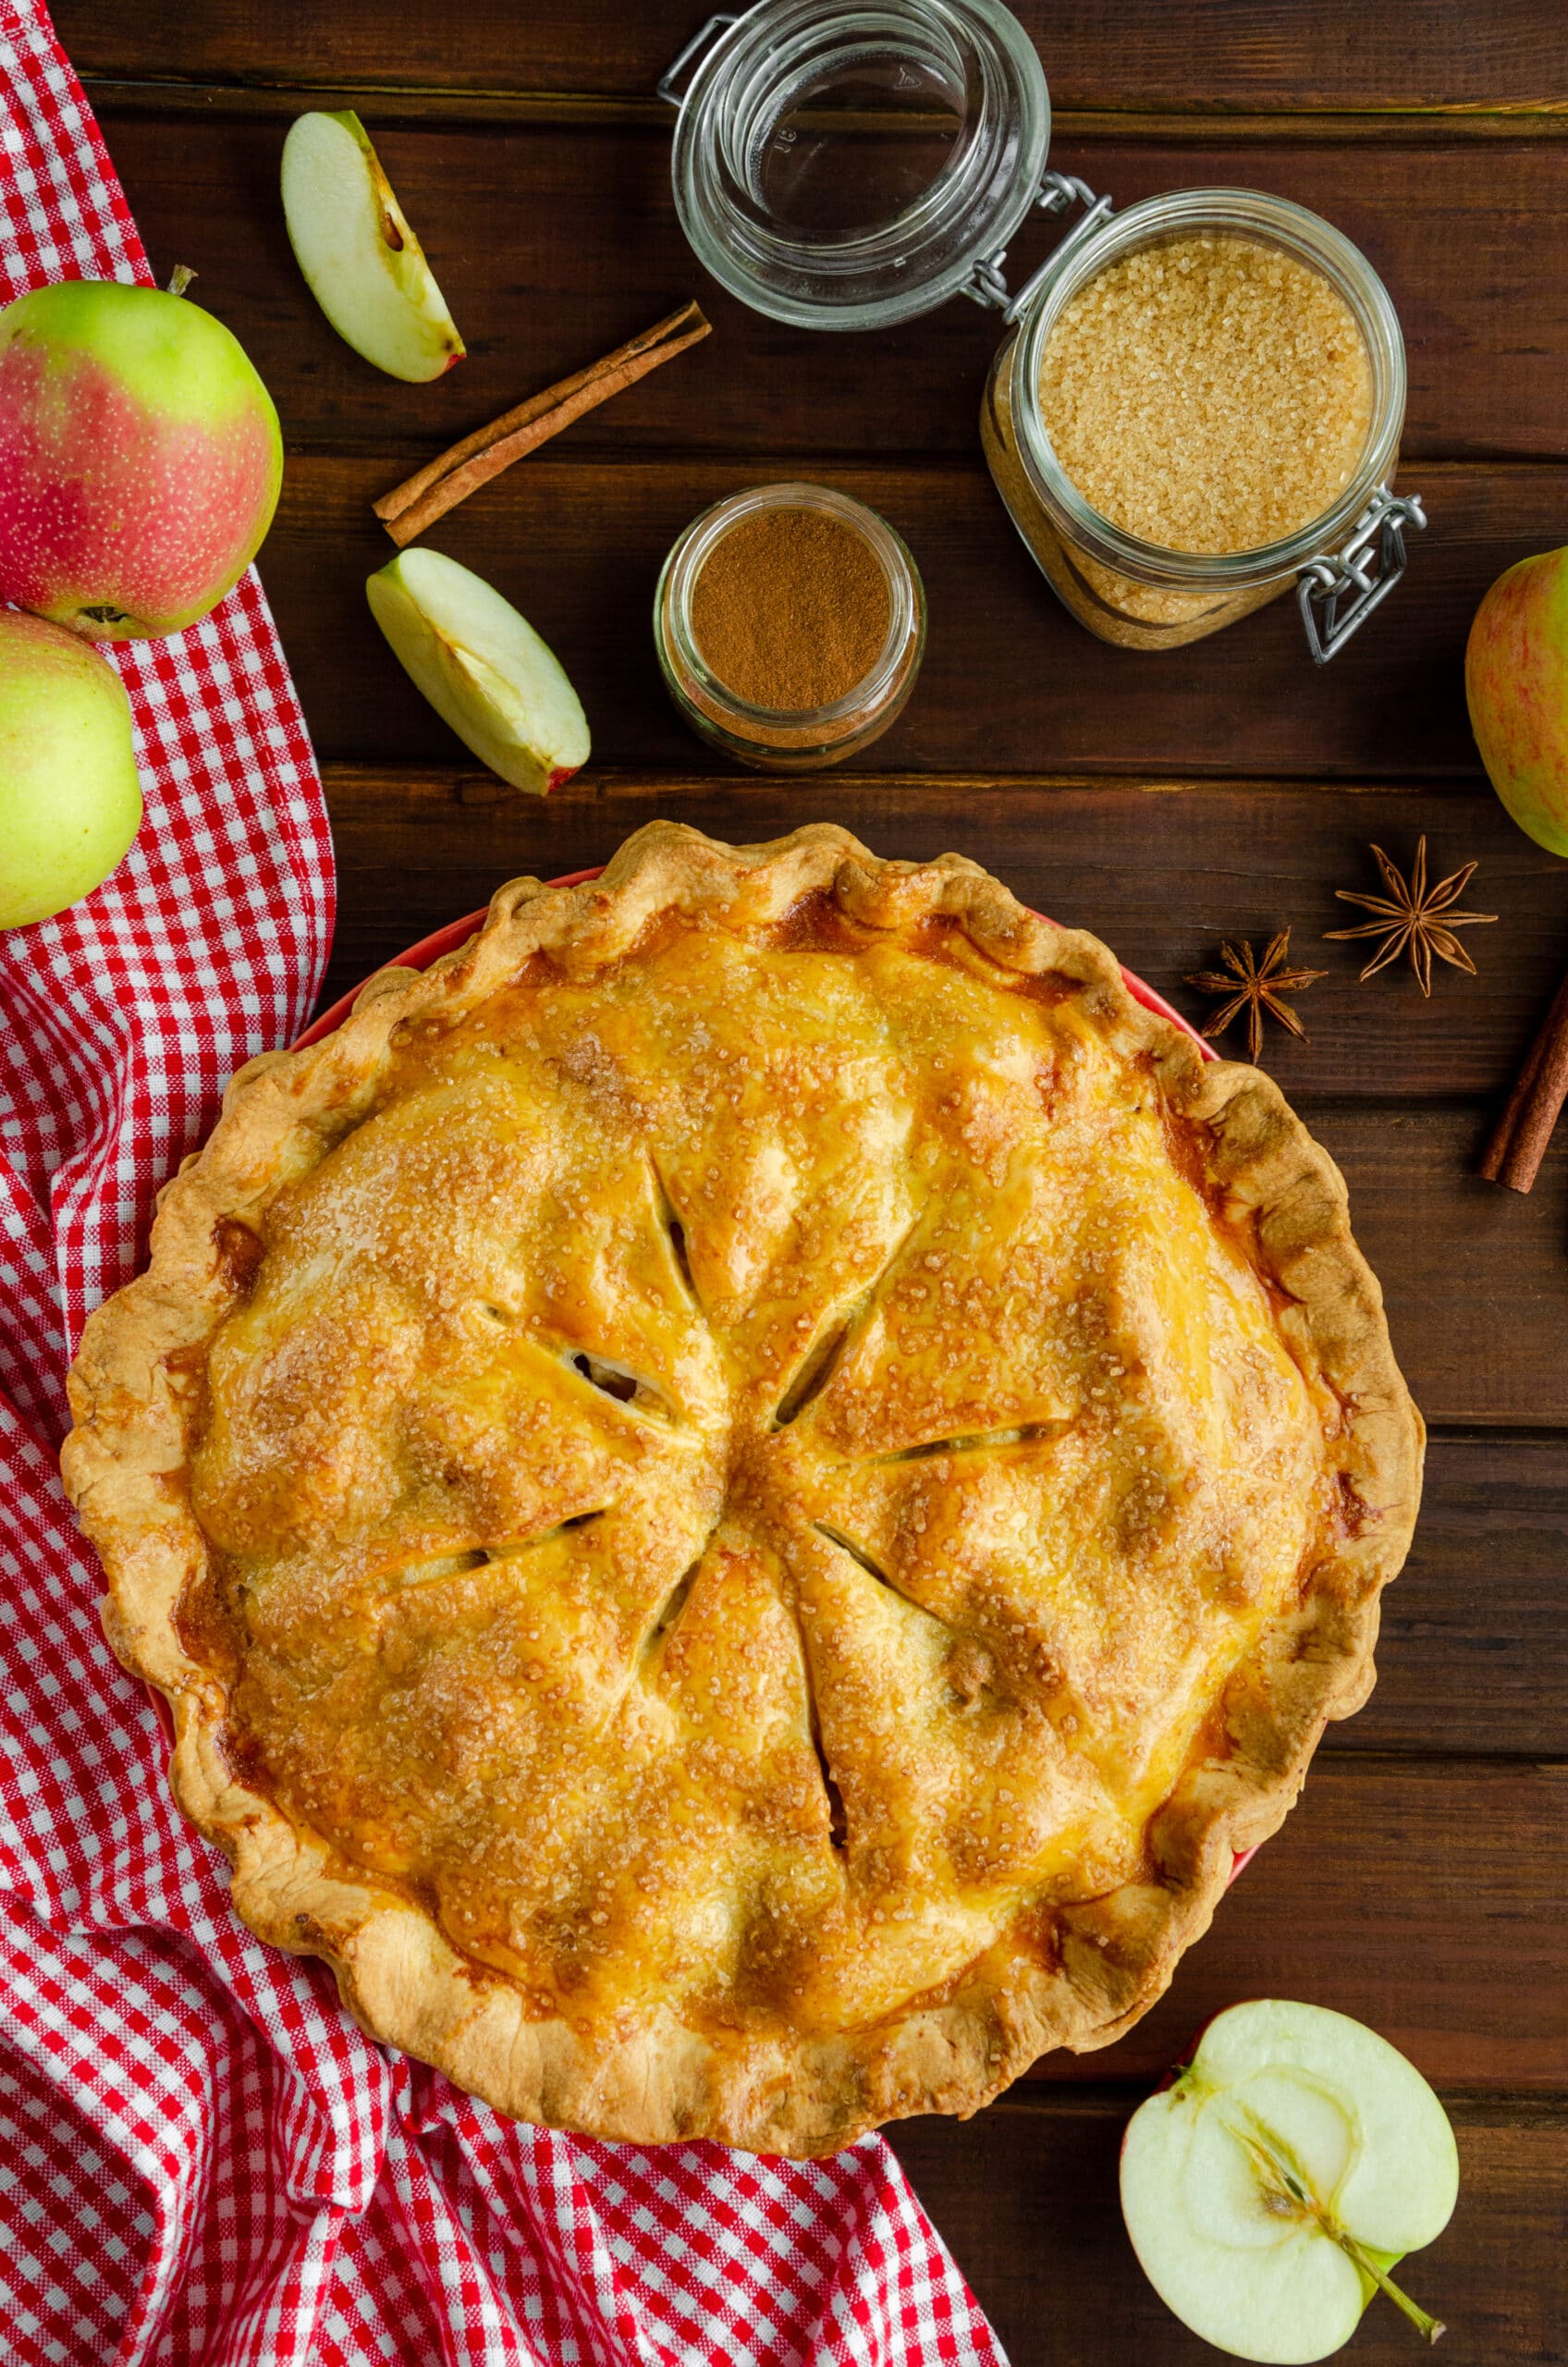
Grandma's Old-Fashioned Apple Pie
Ingredients
Equipment
Method
- Preheat the oven to 425°F
- In a large bowl, mix the sliced apples with sugar, flour, cinnamon, nutmeg, and lemon juice.
- Roll out the bottom pie crust and place it in a 9-inch pan. Fill with the apple mixture.
- Roll out the top crust and place it over the apples. Trim and crimp the edges to seal.
- Cut a few small slits in the top crust to allow steam to escape.
- Bake for 45-50 minutes or until the crust is golden brown and the filling is bubbly.
- Let cool before serving.
Nutrition
Notes
Tried this recipe?
Let us know how it was!You Might Also Like


Chef Tips for All Three Recipes
Salt the soup at the end, not the start: the broth reduces as it simmers, concentrating the salt already in it. Season in the last 15 minutes so you don’t oversalt by the time it’s done.
Rest the meatloaf before slicing: pulling it straight from the oven and cutting in releases the juices onto the pan instead of into the meat. A 10-minute rest keeps every slice moist.
Check the meatloaf with a thermometer, not a timer: ground beef and pork need to reach 160°F internally to be safe to eat, per USDA guidance. Oven times vary by pan shape, so a thermometer is the only reliable check.
Keep pie dough cold at every stage: if the butter softens while you’re rolling it out, put the dough back in the fridge for 10 minutes before continuing. Cold fat is what makes a crust flaky instead of tough.
Toss the apples in flour before filling the pie: a tablespoon of flour mixed with the sliced apples absorbs extra juice as it bakes, so the filling sets instead of running when you cut the first slice.
Storage and Serving Suggestions
Refrigerator Storage: the soup and meatloaf both keep for up to 4 days in an airtight container. The pie keeps for up to 3 days at room temperature, loosely covered, or up to a week refrigerated.
Freezer Storage: all three freeze well. Freeze the soup and meatloaf in individual portions for up to 3 months, and freeze the pie unbaked (add 15 extra minutes to the bake time from frozen) or baked and cooled for up to 2 months.
Meal Prep Strategy: the soup and meatloaf both reheat cleanly for weekday lunches. Portion them into containers the same day you cook, before the flavors have a chance to fade.
Complete the Meal: pair the meatloaf with a side from the site’s comfort food collection, or read more about where these traditions come from in Family Heirloom Recipes.
Frequently Asked Questions About These 3 Grandma’s Recipes
What makes an apple pie old-fashioned?
An old-fashioned apple pie uses a simple all-butter or butter-and-shortening crust, firm baking apples like Granny Smith, and a filling seasoned with just cinnamon, sugar, and a little flour to thicken the juices, without shortcuts like pre-made filling or a crumb topping.
Can I make the chicken soup and meatloaf ahead of time?
Yes. Both improve after a day in the fridge as the flavors settle, so they’re good candidates for cooking a day ahead of when you plan to serve them. Reheat the soup gently on the stove and the meatloaf covered in a low oven to keep it from drying out.
Why did my meatloaf fall apart when I sliced it?
This usually means it needed more rest time after baking, or the panko-and-milk binder was measured too loosely. Let the loaf sit for a full 10 minutes off the heat before the first cut, and measure the breadcrumbs and milk rather than eyeballing them.
Can I substitute the parsnips in the chicken soup?
Carrots alone will work if parsnips aren’t available, though the soup will taste sweeter and lose some of the slightly earthy flavor parsnips add. Turnip is the closest substitute if you want to keep that same background flavor.
These three recipes hold up because the techniques behind them still work: a soup built on real vegetables, a meatloaf that’s rested and checked with a thermometer, and a pie crust kept cold until it hits the oven. Make one this week, and you’ll see why they were worth passing down in the first place.
Medical Disclaimer: The nutritional information provided in this article is for informational purposes only. While we strive for accuracy, individual responses to foods vary. Always consult with your healthcare provider or registered dietitian about dietary changes.