
Published May 28, 2026 · Updated July 4, 2026
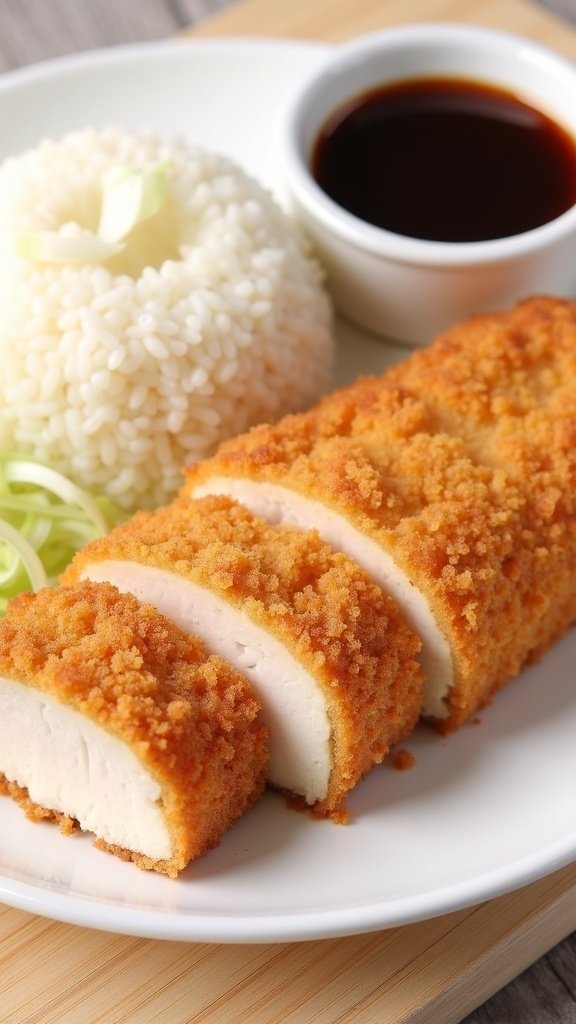
Chicken katsu is Japanese comfort food at its most satisfying: a panko-crusted chicken thigh fried at exactly 325°F until the coating turns golden and shatters on the first bite. The technique is a classic three-step breading procedure, and once you have it down, you will make this on repeat. Restaurant katsu has nothing on a batch pulled fresh from your own pot.
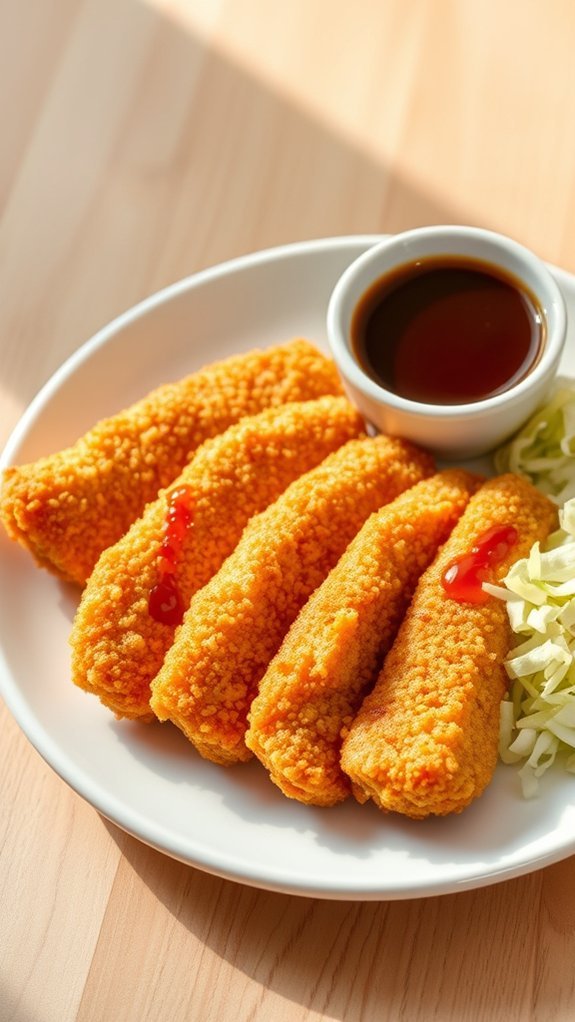
Chicken Katsu Recipe Quick Stats
Why This Chicken Katsu Recipe Works
Panko creates superior crunch: Regular breadcrumbs are finely ground and produce a dense, compact coating. Panko is made from crustless bread processed into larger, irregular flakes that fry up into a light, open-structured crust with significantly more surface area and crunch. That shattering texture when you bite through a properly made katsu comes entirely from the panko, not from technique.
Chicken thighs stay juicy under high heat: Chicken breasts dry out quickly when the breading is still forming its crust. Thighs contain more intramuscular fat and connective tissue that keeps the interior moist even if the oil temperature fluctuates slightly. The result is a juicy center inside a crispy shell, which is the defining quality of good katsu.
325°F is the precise target temperature: Too hot and the panko browns before the interior reaches 165°F, leaving you with a beautiful exterior over undercooked chicken. Too cool and the coating absorbs oil rather than crisping, producing a heavy, greasy result. A thermometer is not optional for this recipe.
Uniform thickness ensures even cooking: Filleting the thighs to a consistent half-inch thickness means every piece finishes at the same time. Uneven pieces force you to either pull the thin parts early or leave the thick parts in longer, and neither outcome is ideal for a dish where precision matters.
High protein content supports satiety: At 28 grams of protein per serving, chicken katsu provides a substantial protein dose that supports sustained fullness compared to carbohydrate-heavy alternatives. The combination of protein and fat from the chicken thigh itself makes this a filling lunch that does not leave you hungry an hour later.
Restaurant Chicken Katsu vs. Homemade
| Nutrient (per serving) | Restaurant | This Recipe | Difference |
|---|---|---|---|
| Calories | ~600 | 472 | -128 (21%) |
| Fat | 30g | 23g | -7g (23%) |
| Sodium | ~900mg | 326mg | -574mg (64%) |
| Protein | 25g | 28g | +3g |
| Sugar | ~5g | 2g | -3g (60%) |
Here is the Chicken Katsu Recipe that delivers that shatteringly crispy result every time:
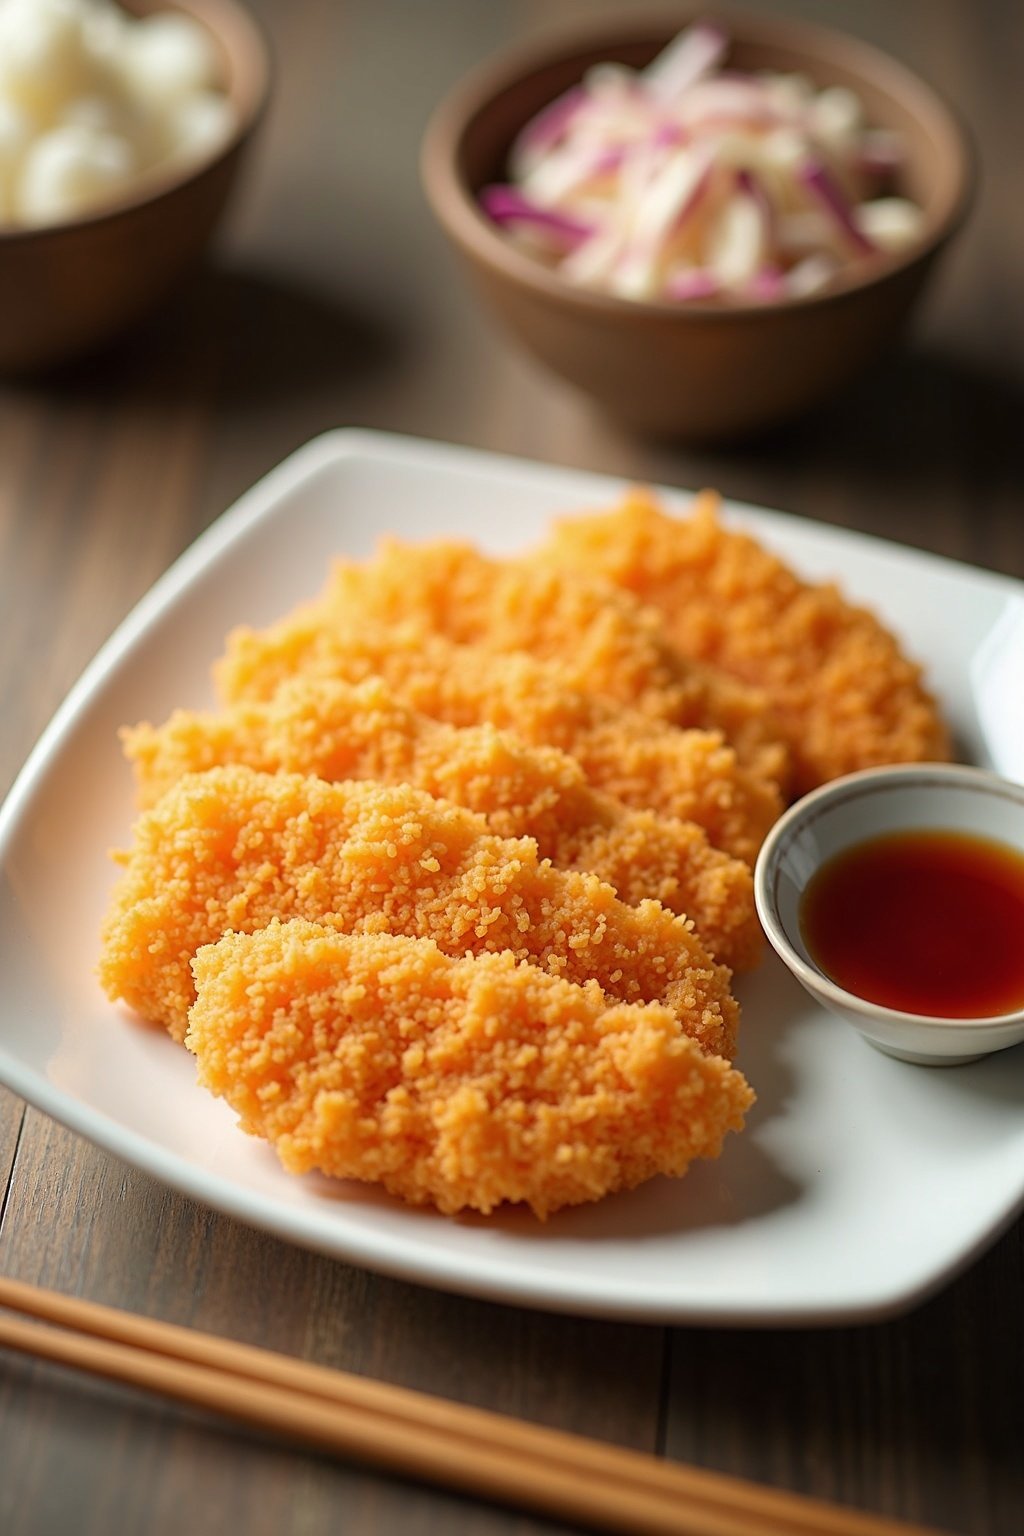

Chicken Katsu Recipe
Ingredients
Equipment
Method
- Trim all the fat from the chicken thighs and filet them into uniform pieces approximately ½ inch thick. Season the chicken with salt, white pepper, and garlic powder, ensuring each piece is well coated.
- In one 9×13 pan, whisk together the eggs and milk to create the egg wash.
- In a second shallow dish, add the flour. In a third shallow dish, add the panko breadcrumbs. Set aside a fourth clean dish or a half sheet tray to hold the breaded pieces.
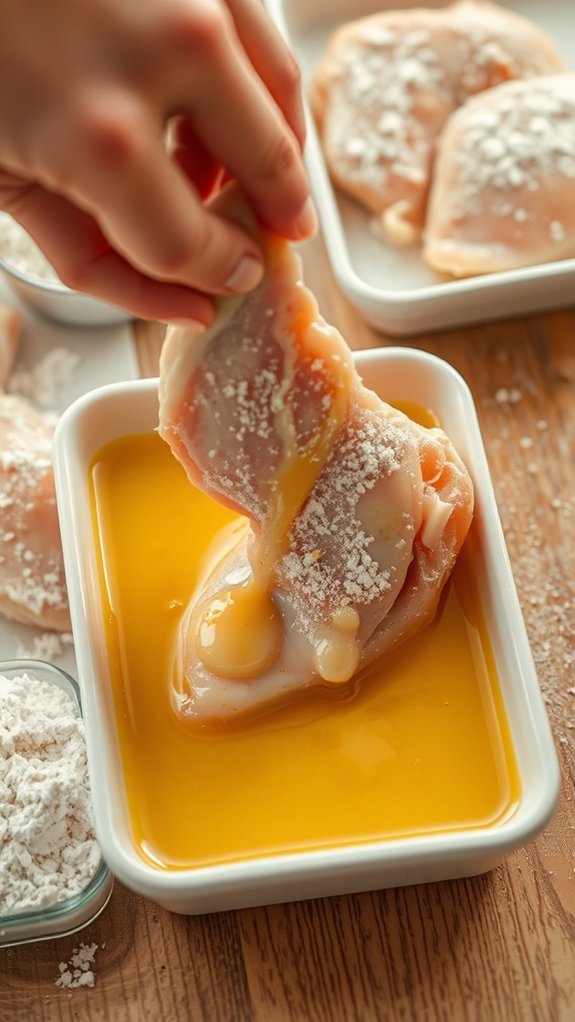
- Lightly dust each piece of seasoned chicken in the flour, shake off the excess, dip into the egg wash, let the excess drip off, then coat completely with panko breadcrumbs, pressing firmly to adhere. Place on the clean tray.

- Heat canola oil in the pot to 325°F. Fry the chicken in batches for about 5 minutes until golden brown. Test for doneness by ensuring juices run clear and internal temperature reaches 165°F. Drain on paper towels or a cooling rack.
- Once all chicken has rested and cooled slightly, slice into strips for serving.

Nutrition
Notes
Tried this recipe?
Let us know how it was!You Might Also Like
Chef Tips for Perfect Chicken Katsu
Pat completely dry before breading: Moisture is the enemy of panko adhesion. After trimming and seasoning, press paper towels firmly against every surface of each chicken piece. Any surface moisture creates steam during frying that lifts the coating off from the inside. A dry surface is what lets the flour stick properly in the first dredge.
Rest after breading, before frying: After the flour-egg-panko process is complete, set the breaded pieces on the sheet tray and leave them for 5 to 10 minutes before the oil is ready. This resting time allows the coating to bind and dry slightly, which dramatically improves how firmly the panko stays attached during frying.
Use a thermometer, not a guess: Oil temperature at 325°F is not a range. It is a specific number. A clip-on thermometer or instant-read thermometer keeps you from the two most common mistakes: burning panko on hot oil or producing greasy katsu on cool oil. The temperature will drop slightly when you add chicken, so let it recover between batches.
Fry in small batches: Adding too many pieces at once drops the oil temperature sharply and increases the surface area to heat ratio in an unfavorable way. Two to three pieces per batch, maximum, keeps the temperature stable and ensures every piece gets equal heat exposure on both sides.
Drain on a rack, not paper towels: A wire cooling rack over a sheet tray keeps the bottom of each piece elevated and lets steam escape from all sides. Paper towels trap steam underneath, which softens the very crust you worked to build. The difference in crunchiness at the table is noticeable.
Slice just before serving: Katsu begins losing its crunch from the cut edges within minutes of slicing. Serve whole or slice at the last moment. For bento-style prep where you need sliced katsu, a brief blast in a 375°F air fryer or oven for 3 minutes revives much of the crunch.
Chicken Katsu Recipe Storage and Serving Suggestions
Refrigerator Storage: Store cooked katsu in an airtight container for up to 3 days. Keep it whole rather than sliced to preserve crunch on as much surface area as possible. Reheat in a 375°F oven or air fryer for 5 to 8 minutes, which restores most of the crispiness. Avoid the microwave, which creates steam and turns the panko coating soggy.
Freezer Storage: Cooked katsu freezes well for up to 2 months. Freeze individual pieces on a sheet tray until solid, then transfer to a zip bag. Reheat from frozen in a 400°F oven for 12 to 15 minutes, flipping halfway through. The coating comes back remarkably well from frozen.
Meal Prep Strategy: Bread and refrigerate the uncooked pieces on a wax-paper-lined tray for up to 24 hours before frying. This splits the process into a prep session and a quick cook session, perfect for weeknight dinners. Fry to order for the freshest crunch.
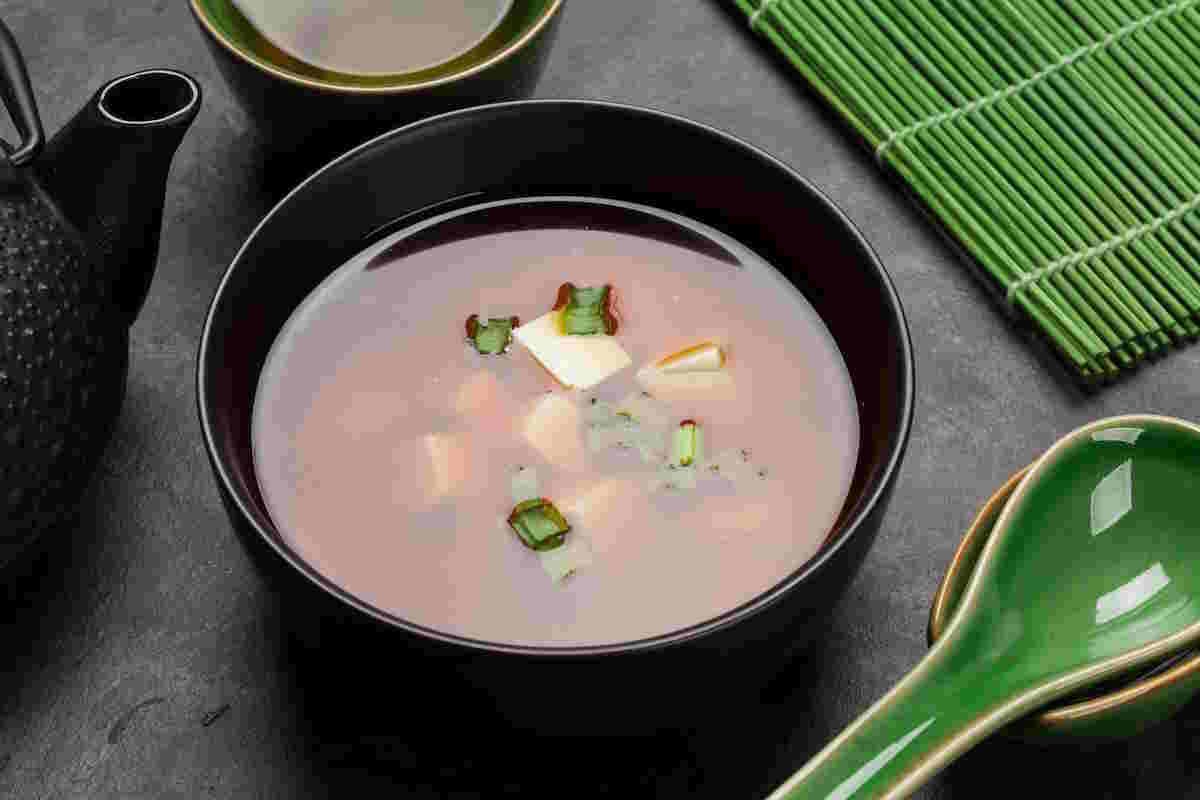
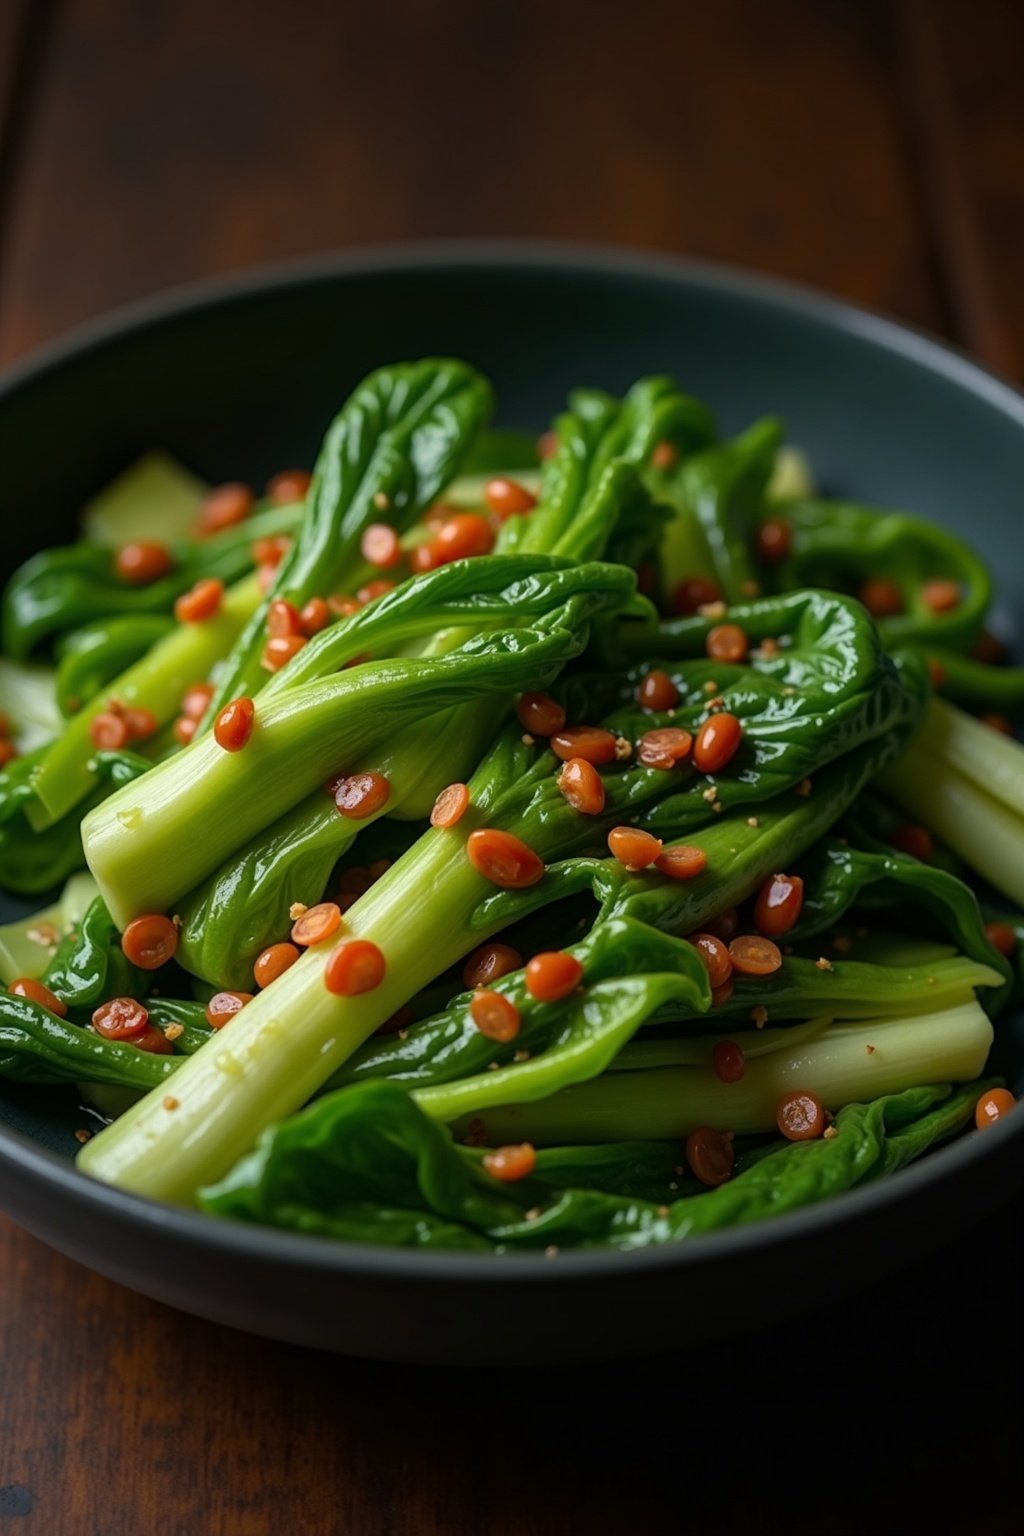
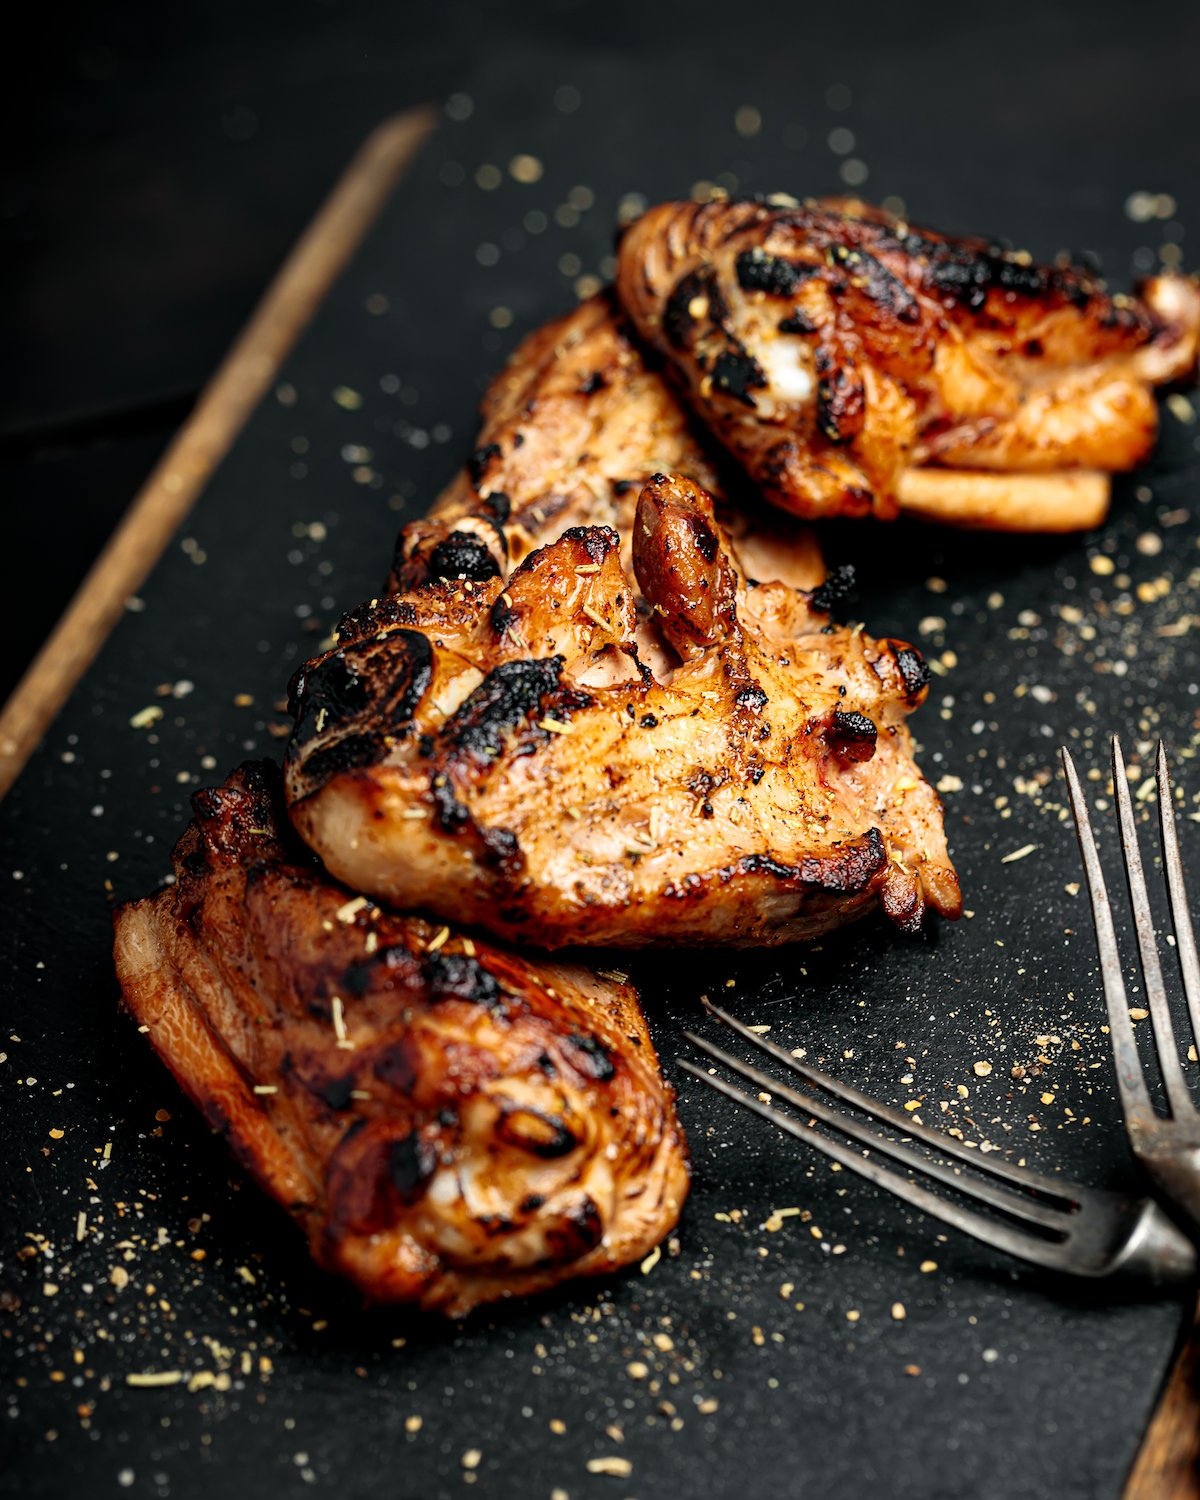
Complete the Meal: Chicken katsu is traditionally served over steamed rice with shredded cabbage and katsu sauce (a thick Worcestershire-based condiment). For a complete Japanese dinner pairing, a cup of miso soup alongside the katsu is the classic combination. A simple garlicky bok choy stir-fry makes an excellent vegetable side. For those exploring broader Japanese food territory, the keto Japanese food guide covers low-carb alternatives to many classic dishes including tonkatsu. For a lighter chicken option alongside, grilled chicken thighs use the same cut with a fraction of the carbs.
Chicken Katsu Recipe FAQs
What is the difference between chicken katsu and chicken tonkatsu?
Tonkatsu refers specifically to pork cutlets coated in panko and deep-fried. When the same technique is applied to chicken, it becomes chicken katsu (or tori katsu). The cooking method, breading technique, and sauce are identical. Tonkatsu is the original Japanese dish; chicken katsu emerged as a lighter, more accessible variation for people who prefer poultry. Both are served sliced over rice with cabbage and katsu sauce.
What oil is best for frying chicken katsu?
Canola oil is the standard choice because of its neutral flavor and high smoke point, which is around 400°F. Vegetable oil works identically. Avoid olive oil, which has a lower smoke point and a distinctive flavor that competes with the panko coating. For a more authentic Japanese flavor, some cooks use rice bran oil. The key is a neutral oil that can hold a steady 325°F without smoking.
Can I make chicken katsu in an air fryer?
Yes, with a few adjustments. Spray the breaded pieces generously with cooking oil on both sides, then air-fry at 400°F for 10 to 12 minutes, flipping halfway. The result is noticeably less golden and slightly less crispy than deep-frying, because dry heat does not produce the same browning as hot-oil immersion. It works well as a lighter weeknight option, but it is not equivalent to the classic technique.
What is katsu sauce, and can I make it at home?
Katsu sauce is a sweet-savory condiment made primarily from Worcestershire sauce, soy sauce, ketchup, and a small amount of sugar or mirin. It is the Japanese equivalent of steak sauce, and Bull-Dog brand is the most widely available commercial version. To make it at home, whisk together 2 tablespoons Worcestershire sauce, 1 tablespoon soy sauce, 1 tablespoon ketchup, 1 teaspoon mirin, and half a teaspoon of sugar. Adjust to taste.
Chicken katsu is proof that the simplest techniques, done correctly, produce the most satisfying results. The three-step breading process has not changed in generations because it does not need to. Get your oil to 325°F, keep your batches small, and drain on a rack. That is everything you need to know.
Medical Disclaimer: The nutritional information provided in this article is for informational purposes only. While we strive for accuracy, individual responses to foods vary. Always consult with your healthcare provider or registered dietitian about dietary changes.


