Ingredients
Equipment
Method
- Rinse the rice until the water runs clear. Heat the oil in a large skillet over medium-high heat.
- Add the sliced beef and cook until browned, about 3 to 4 minutes. Remove and set aside.
- In the same pan, add the garlic and ginger and saute for 30 seconds.
- Add the rice, water, soy sauce, mirin, and brown sugar. Bring to a boil, then reduce heat to low, cover, and simmer for 15 minutes.
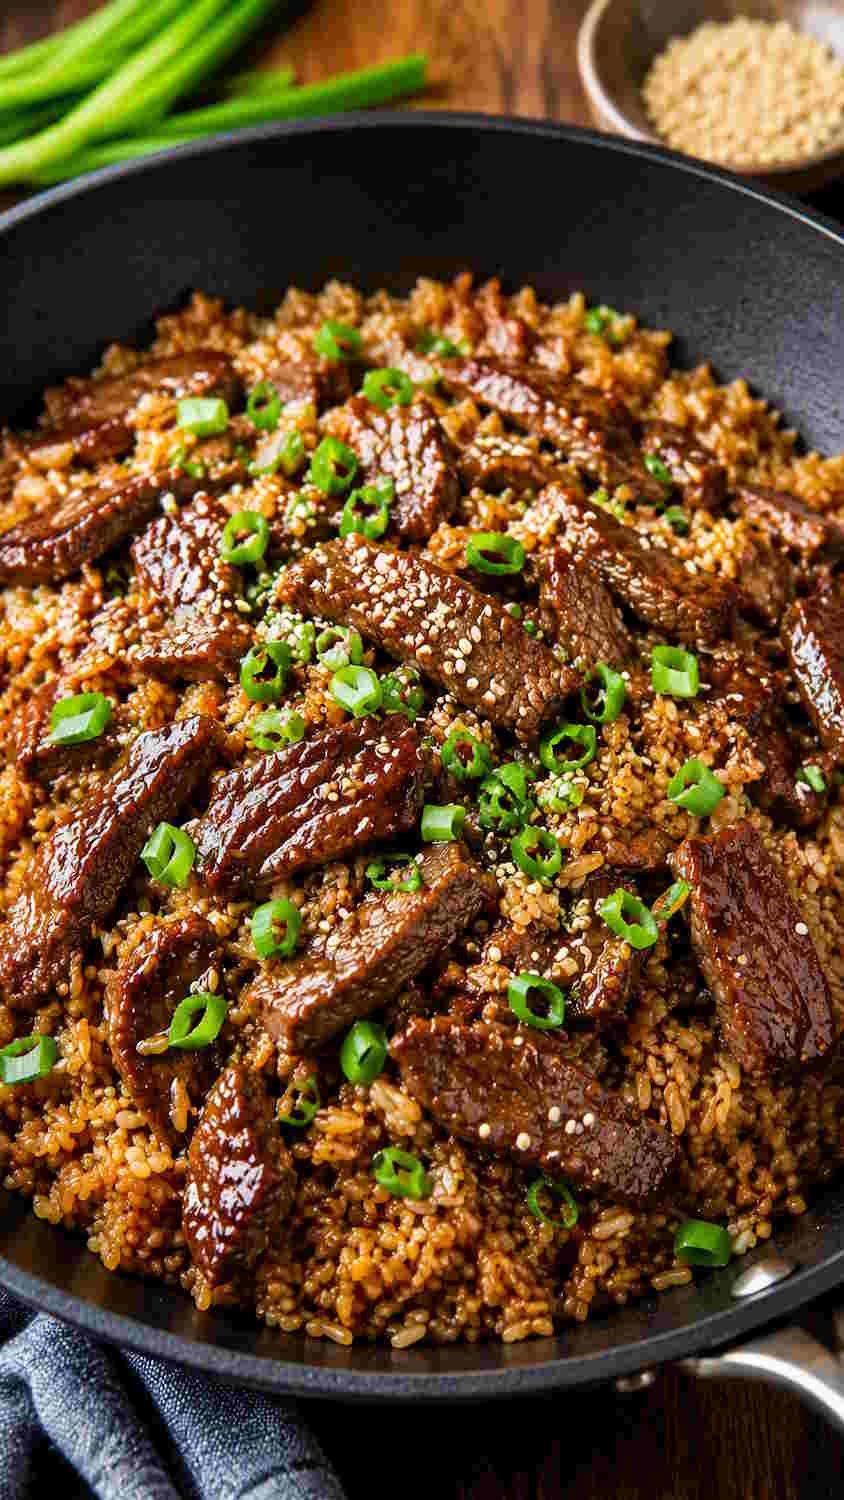
- Return the beef to the pan, cover, and cook for an additional 5 minutes. Let rest 5 minutes before serving.
- Garnish with chopped green onions and sesame seeds.
Nutrition
Notes
Net carbs: 50g per serving (52g total carbs minus 2g fiber).
Substitutions: Use tamari for a gluten-free version. Avoid very lean cuts like tenderloin, which can toughen; flank or ribeye are ideal.
Storage: Refrigerate in an airtight container for up to 4 days.
Reheating: Reheat gently on the stovetop or microwave with a splash of water until warmed through.
Tip: Freeze the beef 15 to 20 minutes before slicing for paper-thin cuts, then bring to room temperature before cooking for even results.
